Tips To Prepare Your Kitchen For Canning Foods
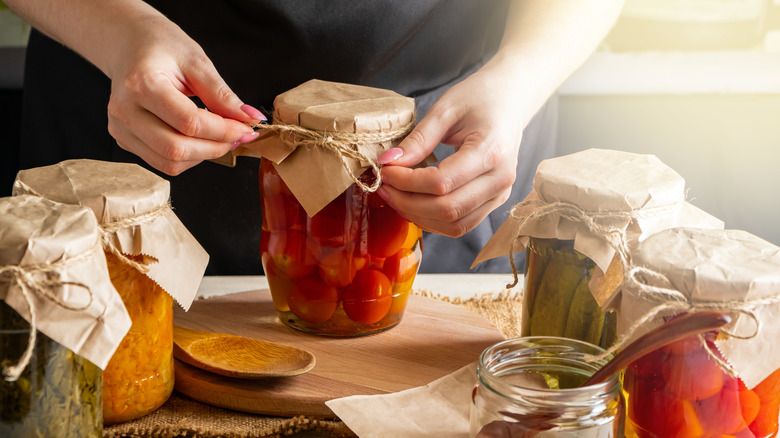
As the end of summer nears, home canners across the country prepare their kitchens for preserving the year's harvest. There is an undeniable comfort in being able to reach into a full pantry of home canned goods and enjoy a taste of summer on the darkest days of winter (or whenever you might need it). Born out of necessity, home canning has been practiced in the United States for over a century, according to the International Food Additives Council, reaching its peak during WWII as a way to extend food rations. Although the popularity of home canning declined after the war, the practice has seen a recent resurgence, especially during the lockdowns sparked by COVID-19.
With more people starting home gardens amid growing concerns of food shortages, this practical skill is an increasingly popular way to combat rising prices, reduce food waste, and provide the peace of mind that comes with a stocked pantry.
To find out more about how experienced home canners prepare their kitchens for canning, we reached out to food writer, author, and canning teacher, Marisa McClellan, from the highly-regarded Food in Jars. Marisa grew up in a household that canned food every summer, and created Food in Jars in 2009 as a place to share her knowledge, tips, and recipes with those interested in home canning. With the help of Marisa, we've compiled our top tips for preparing your kitchen for canning food at home.
Choose your canning method
Once you understand the process, home canning is no more difficult than everyday cooking. As described by Ball Mason Jars, the food is processed in closed jars at high temperatures which forms a vacuum seal to protect the goods inside. As you begin the process of food preservation, you must first decide which method you want to use. In addition to drying, freezing, curing, fermentation, and pickling, home canning is an excellent way to preserve end-of-summer produce and store food over long periods. There are two main methods commonly utilized by home canners: water bath and pressure canning.
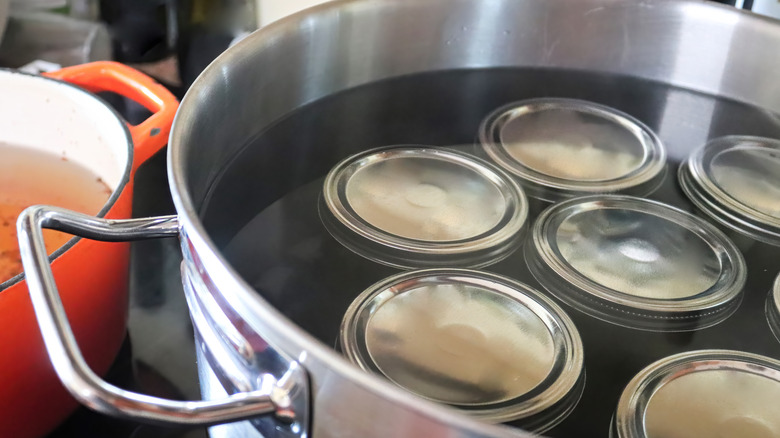
Water bath, or boiling water canning, is perhaps the most popular thanks to its simplicity and accessibility. In a large pot, jars are heated and filled, then sealed as they process over a specified amount of time. For the second method, a pressure canner requires a special type of kettle that uses pressure to create high temperatures that effectively sterilize the food and can be dangerous or ineffective if not properly managed. Generally, pressure canning is best for lower acid foods such as vegetables, stews, or stock, notes the National Center for Home Food Preservation. Water bath canning, Food in Jars says, is used for higher acid foods such as pickles, tomato sauce, salsa, or jam. Some foods can be processed using either method. Because water bath canning is the most popular and easiest to access, we will focus on this method.
Take stock of your equipment
When it comes to water bath canning, you don't need a lot of specific equipment as long as you have a pot that is tall enough to hold a rack and the jars. Your pot should be large enough to hold a rack with about 1-inch of water over the top of your jars.
To keep the jars from resting directly on the bottom of the pot, you could use a round cooling rack, a layer of old jar rings, a dedicated canning rack, or Marisa's preference, a silicone trivet. Of course, you will need jars, rings, and unused lids, as well as pots or pans for preparing your produce. Heatproof tools for stirring or scraping like silicone spatulas are helpful, as is a wide mouth funnel, jar lifter, and ladle for transferring your food into the jars. You will also want to have plenty of paper towels or kitchen towels on hand. Other recommended, but not necessarily essential, tools include a potato masher to help break down large chunks in sauces or jams and skinny silicone spatulas for easing air bubbles out of things like pickles or canned whole fruit, notes Food in Jars.
Check jars and lids
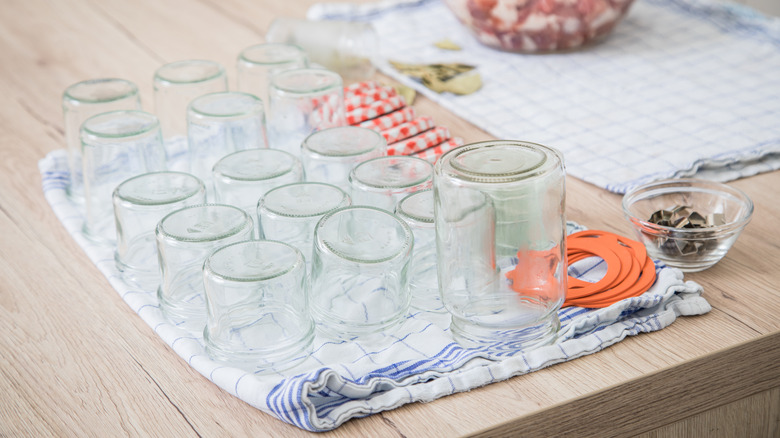
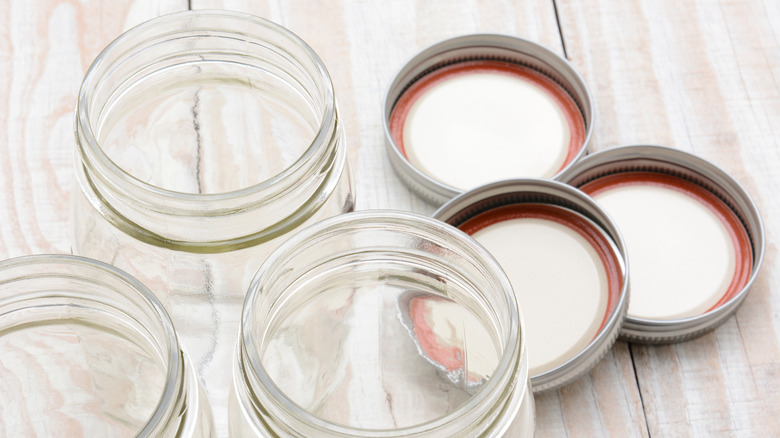
Some of the most important pieces of equipment you will use in home canning are jars, rings, and lids. While taking stock of your equipment, you will also want to make sure that everything is clean and in good condition, including your jars and lids, ensuring they are free of any chips, nicks, scratches, or rust. The National Center for Home Food Preservation recommends regular and wide-mouth jars with self-sealing lids. They are available in a variety of sizes with either a standard or wide mouth opening. Popular brands include Ball Mason Jars and Kerr, which come in a range of sizes and with recommendations of use for each variety, adds Bell Mason Jars.
Although the jars and rings are reusable as long as they are in good condition, you will want to use new lids each time you are canning. For products that are processed in less than 10 minutes, jars should be sterilized before filling (via Utah State University). To sterilize your jars, boil them in hot water for 10 minutes before they are filled. Follow the guidance of the National Center for Home Food Preservation for sterilization and processing at different altitudes.
Grab some kitchen towels
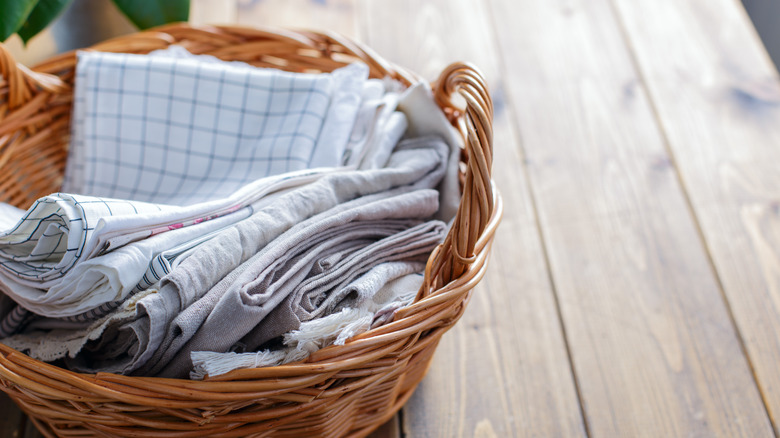
When it comes to equipment, a stack of kitchen towels might not be the first thing that comes to mind, but they quickly become indispensable throughout the canning process. Working with lots of produce and hot water makes towels a necessary item during what can often be a messy undertaking. Marisa says that she likes to have a roll of paper towels and a few dish towels standing by to handle everything from wiping down jar rims to soaking up splashes and spills. Beyond drying your hands as needed, a nearby supply of kitchen towels can help protect you from potential burns from the hot water.
While preparing your produce, you might use a damp towel folded underneath your cutting board to keep it in place. Cotton or linen towels are also great for use as a makeshift rack for inside the canning pot in a pinch, and they make excellent trivets to spread out on a counter or table for hot jars that are waiting to cool. The more time you spend in the kitchen, whether cooking, baking, or home canning, the more uses you will find for the humble dish towel.
Select and prepare your produce
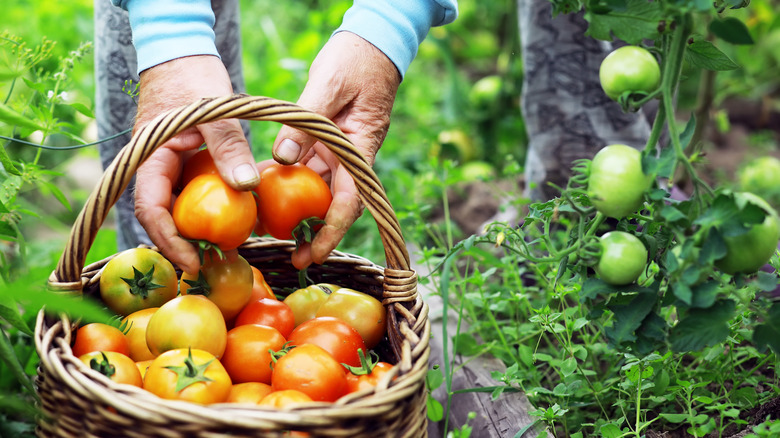
Selecting and preparing your produce is a critical step in the process of home canning. Whether you are harvesting green beans from your garden, slicing cucumbers for pickles, or searching for the best tomatoes to make tomato sauce, the USDA Complete Guide to Home Canning is a valuable resource for guidance on choosing the right produce for home canning. This useful guide breaks down average quantities needed, qualities to look for, and the recommended procedure for preparing a product for preservation. The guide also includes information on cooking and packing procedures as well as processing times.
Canning jar producer, Kerr, advises home canners to wash all foods thoroughly and discard or remove any spoiled, bruised, or decayed spots to help prevent these blemishes from causing the entire jar to go bad. Some foods such as zucchini, pureed pumpkin, and pesto, among others, should not be canned and are better suited for a different preservation method such as freezing, reports Clemson University College of Agriculture, Forestry and Life Sciences. The USDA has withdrawn its recommendations for canning zucchini and summer squash due to uncertainty regarding processing times to ensure a safely canned product. Before you start slicing your vegetables or preparing your jam for water bath canning, Marisa recommends getting your canning pot set up and boiling so your pot and jars are already hot when you are ready to fill them.
Make sure you have enough ingredients
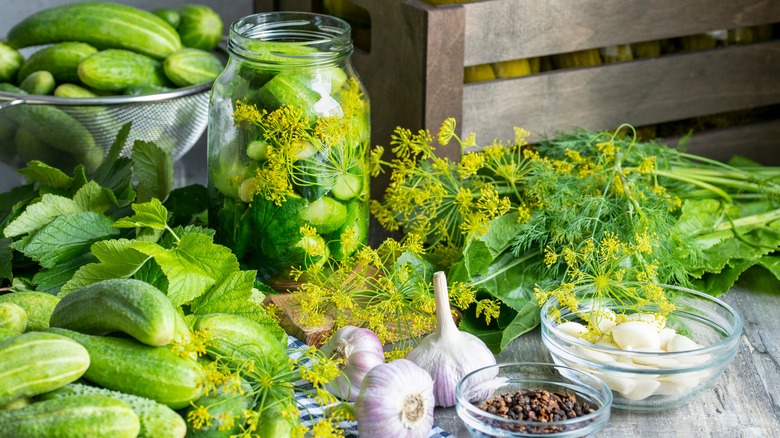
In addition to fresh produce, there are a few common ingredients you are likely to need when home canning. For many items such as pickles, salsa, and tomato sauce, pre-made mixes are readily available. But if you prefer to prepare your own, be sure to stock up on ingredients such as canning salt, vinegar, and spices. Vinegar is a useful ingredient both inside and outside of the jar. For water bath canning, Marisa suggests pouring some vinegar into your pot before filling it to prevent minerals from the water from depositing on your jars or equipment. Canning salt, also called pickling salt, is made from pure granulated salt that is free of anti-caking ingredients and additives that can make a pickle brine cloudy or alter the color.
The fine granules of canning salt also dissolve more easily into a brine. On Food in Jars, Marisa compared different types of salt and found that kosher salt is the best substitute if canning salt is unavailable. Healthy Canning offers a thorough list of common ingredients for home canning and how each is used. Pickle lovers might want to keep calcium chloride on hand which aids in maintaining the crispness of the cucumbers. Citric acid raises the acidity level of the food and may preserve the quality of flavor and color. Make sure you have all of the ingredients for your recipes including any thickeners, herbs, and seasonings.
Get organized
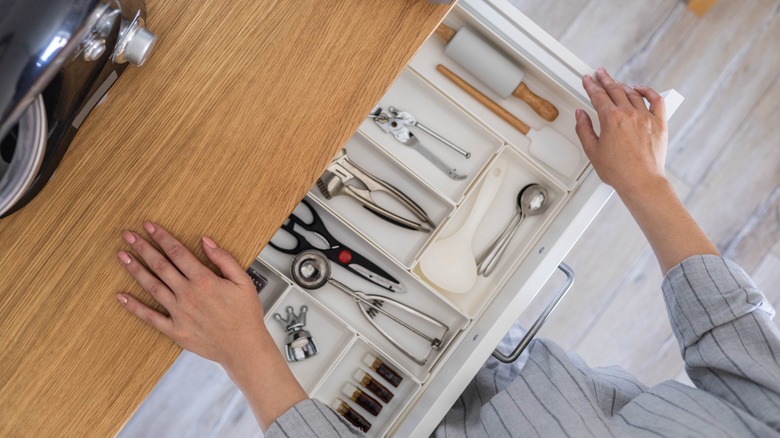
Now that you have all of your equipment accounted for and ready to go, it is time to get the kitchen clean and organized. When getting ready to begin a canning project, Marisa says, "I like to try and make sure my kitchen is clean. Sink emptied, dishes are done, counters clear. That way, there's plenty of space for my canner, jars, and ingredients." Especially for those who are working in smaller kitchens, it makes all the difference to have the area clean and with everything in its place so it is easier to find when you need it.
On Food in Jars, Marisa recommends storing your canning equipment, recipes, and ingredients such as vinegar and canning salt in the same place if possible for easy organization and access. This might be on a dedicated shelf in a storage room or a designated kitchen cabinet. Once you have your workspace clean and organized, it's time to get the canner going and start preparing your produce. Marisa likes to set up the canning pot and start heating the water and jars so they are ready to fill by the time she has finished preparing the recipe.
Keep track of processing times
From jams and jellies to fruits and vegetables to pickles and chutneys or soups and stocks, there are a huge variety of foods that can be preserved with home canning. However, these different foods each have specific recommended processing times to ensure they are safe to eat and store. Canning timetables are generally included in the recipe, but can also be found and verified on the website of the USDA and the National Center for Home Food Preservation. Be sure to account for altitude adjustments, adds Food in Jars, if applicable.
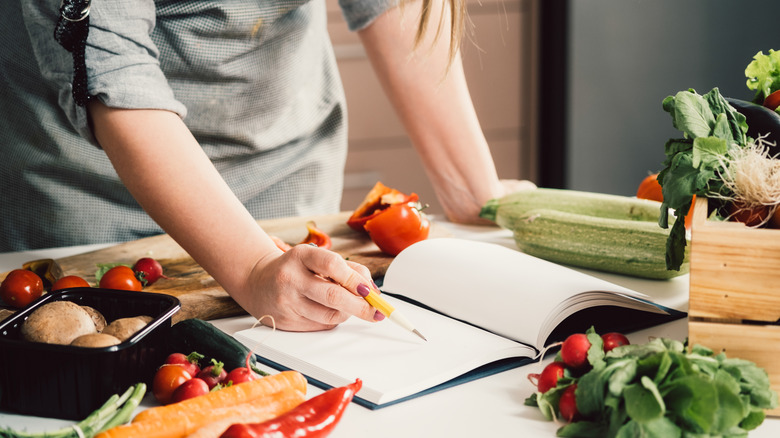
Especially if you are processing multiple products at the same time, it is helpful to have a pen and notepad, excel sheet, or some other way to keep track of when each batch should be finished. To keep track of her processes, Marisa likes to use either a timer on her watch or ask Alexa to set timers for each batch. Whether you prefer the assistance of technology or an old-fashioned pencil and paper, be sure to keep track of it all somehow.
Be safe
Just like when cooking or baking, the kitchen can be a dangerous place for home canning if you are not following safe practices and procedures. Apart from normal cautions such as handling sharp knives or working with hot water and steam, the main concern when it comes to home canning is preventing the toxin that causes botulism from developing in your food. According to the Centers for Disease Control and Prevention, "Botulism is a rare but serious illness caused by a toxin that attacks the body's nerves. Improperly canned, preserved, or fermented foods can provide the right conditions for the bacteria to make the toxin." The toxin has no smell or taste but can cause a serious illness.
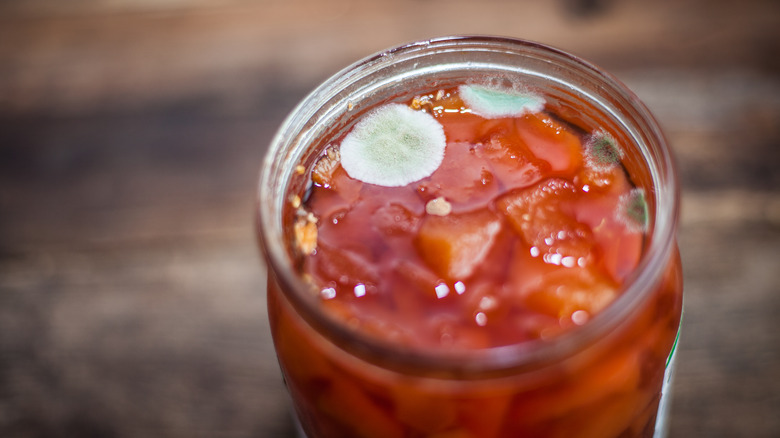
To prevent foodborne botulism, be sure to read and carefully follow instructions and recipes that adhere to the USDA and NCHFP guidelines. Use the right equipment and procedures for the type of food you are canning whether you are using the water bath canning method or a pressure canner. Once you have processed your food, be sure to check that each jar has been properly sealed and keep an eye out for any leaking, swelling, cracking, discoloration, mold, or off-putting smells coming from your canned products. If you have any doubt whether your home canned foods are safe to eat, you should promptly and properly discard them.
Use up-to-date recipes
As our knowledge and technologies continue to develop, recommended methods for home canning sometimes change to reflect new information regarding these processes. For example, updated guidance following research from the University of Wisconsin has emerged over the past several years related to steam canning, deeming the process safe for certain foods that meet a list of specific criteria. Experimental processes such as dry canning are not recommended by the USDA and are considered very hazardous since there is no guarantee the process destroys the bacteria that can cause botulism, notes the University of Wisconsin.
Other vintage techniques that should be avoided include open kettle canning, paraffin wax seals, and upside-down sealing (via Food in Jars). Home canning is less of a creative activity than other types of food preparation and requires strict adherence to research-based and thoroughly tested guidance to ensure a safe and long-lasting product. Even if you are using your grandmother's heirloom recipes that she followed for years, you should verify that the processes are still in line with current guidelines through the USDA, the National Center for Home Food Preservation, or your local gardening extension office.
Store your canned foods properly
Once your canned foods have been processed and cooled, you will want to test the seals to ensure that the process was successful. Usually, during the process, you will hear a distinctive pinging sound to verify that the canner has done its work, but there are other ways to test that the jars have been properly sealed. Marisa offers three tests she uses to check for a successful seal. First, press down on the center of the lid to check for movement. If the lid feels solid and concave, your seal is probably good. Tap on the lid while listening for a tinny or hollow sound. A tinny sound means the seal worked, while a hollow sound means there may be a problem. Finally, unscrew the ring and pick up the jar by the lid. If you have a bad seal, you will know right away.
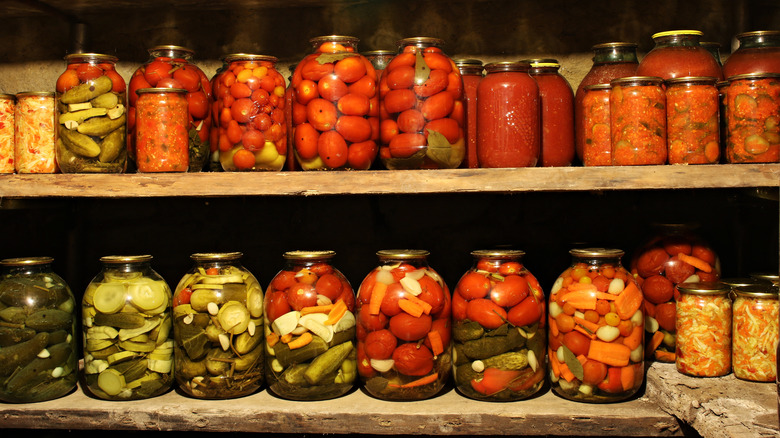
After testing your jars and reprocessing if needed, it is time to date and store your freshly canned foods. Many home canners simply write the name of the item and processing date on the lid to keep track of their products. Before storing, the National Center for Home Food Preservation recommends removing the ring bands and washing the jars and lids. If you choose to reapply the ring bands, make sure they are clean, dry, and loosely tightened. The food should be stored in a cool, dark place with temperatures between 50 F and 70 F and checked occasionally.
Toss the canned food that has expired
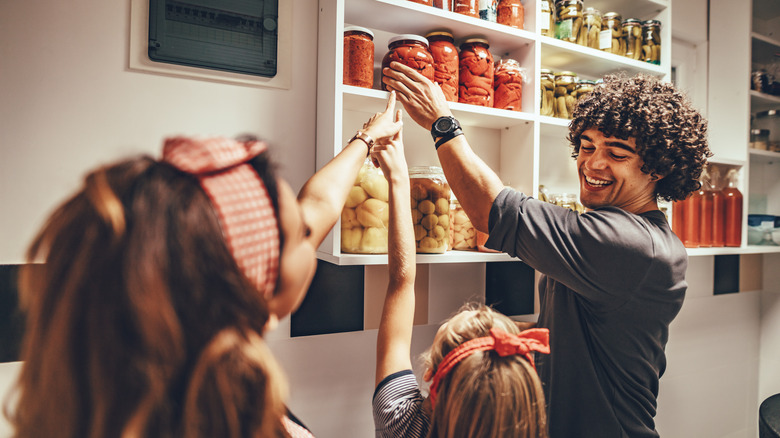
Having a good storage system for your home canned foods has many advantages. Organized storage makes it easy to access and keep track of how much and which products you have available. Knowing what is already on your shelves can assist in planning for your next canning session by helping you decide what to grow or buy. Well-organized canned foods are also easier to check for problems that may make them unsafe to eat. The National Center for Home Food Preservation lists signs of spoilage, such as swelling, breakage, and off colors or odors.
When it comes to home-canned goods that may have gone bad, Marisa says, "When in doubt, throw it out." Due to the high risk of botulism, certain foods, especially low acid products, need to be discarded in a specific way. Spoiled home canned products should not be poured into compost piles, down the drain, or thrown in normal trash. Wearing protective gloves, place sealed jars into two layers of plastic and seal to close, putting the bags in a bin that is out of reach of people and pets. Open jars should be detoxified before disposal by carefully boiling for at least 30 minutes and the area thoroughly cleaned with bleach (via NCHFP). Marisa also notes that any towels or gloves that came into contact with contaminants should be likewise discarded.
