Tips You Need When Cooking With Duck
Duck isn't the kind of meat you see everywhere — we would bet good money that McDonald's isn't going to roll out any kind of duck burger in the near future. But if you haven't experienced duck for yourself, you don't know what you're missing out on. It's deliciously rich and fatty, succulent, and juicy — the perfect main course for a celebration when you really want to go all out. And while it's not too difficult to find in restaurants in big cities, you may feel intimidated by the idea of making duck at home.
We get it: Cooking duck for the first time can seem like a daunting process. But we're here to inform you that cooking duck is a lot easier than you probably think it is. By learning some of the most helpful tips and tricks, you can figure out how to cook a duck whenever you're craving one. Whether you're trying to keep things simple by just going for the breast or you're willing to take on the challenge of cooking a whole bird, completing a duck-cooking project is likely to leave you feeling very confident in your culinary skills.
Without further ado, here are some of the tips you need when you're cooking duck.
Buy your duck as fresh as possible
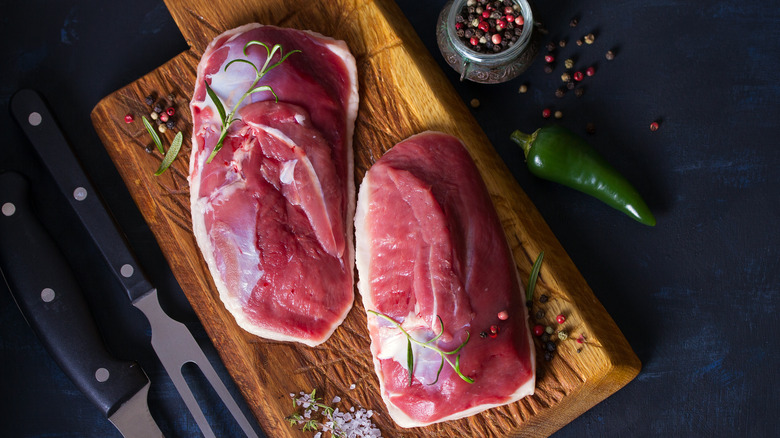
The first tip for cooking the best possible duck at home starts before you even step foot in the kitchen. Before you do anything else, it's important that you start with the right ingredients. First, you'll want to choose your duck. Generally, unless you have a very well-stocked grocery store near you, you're not going to find duck at an average grocery store meat department. A specialty shop, farmer's market, or butcher is your best bet, especially if you're looking for high-quality meat (which you should be). Keep in mind that duck can be significantly more expensive than chicken, so you'll want to be willing to fork over a decent amount of money for your bird — that's why it's something we save for special occasions.
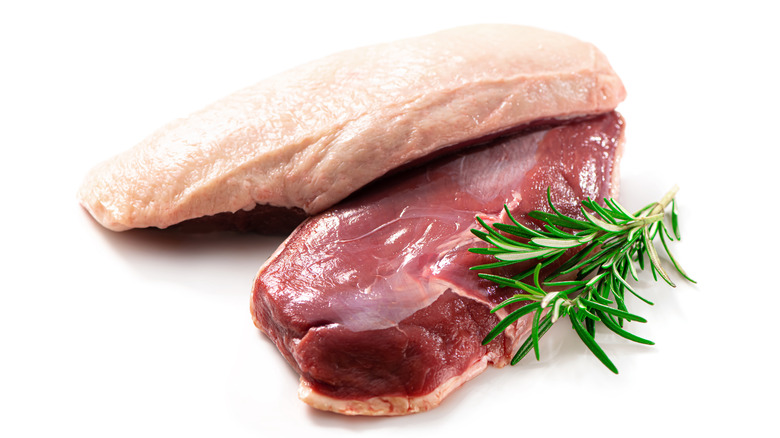
According to Great British Chefs, you should search for a duck with "supple skin, plump breasts and a flexible beak" and recently hunted if you're buying a wild variety. Fresh duck is key: the higher fat content in the meat means that it can expire more quickly. Also, cooking on the fresher end of a three-day timeline will ensure a higher level of quality. Feel free to ask your butcher any specific questions you may have about the freshness of the meat you're getting.
Let your duck get to room temperature before cooking
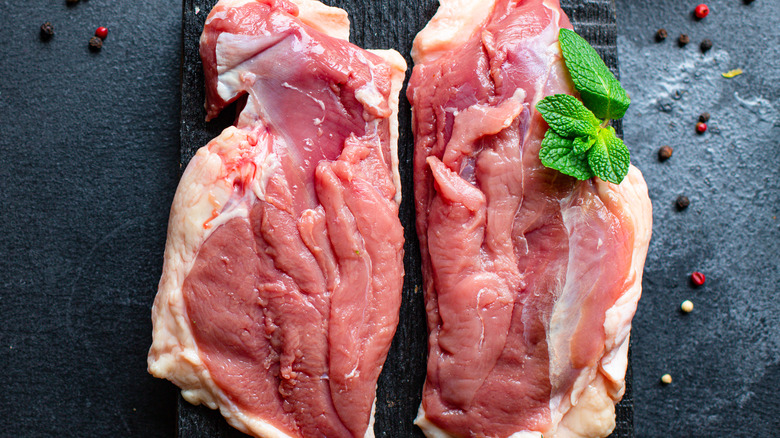
Once you buy your duck and get it home, you'll probably put it in the fridge until it's time to start cooking. But like a lot of meat, you generally aren't going to want to prepare your duck straight out of the fridge. You're going to have a lot more control over the temperature of the meat if you start cooking at room temperature instead. On the other hand, if you decide to make the duck when it's still cold, it could end up cooking unevenly, forcing you to overcook the exterior to get the interior of the cut to the desired temperature. However, you can make an exception to that rule if you're working with very small duck breasts — refrigerating them before you prepare them can help reduce the likelihood of overcooking.
So, how long should you let your duck breasts rest on the counter before you start making your meal? According to Hunter Angler Gardener Cook, it should only take them about 30 minutes to come to room temperature, so take them out of the fridge shortly before you're ready to start cooking. Prepping the rest of the ingredients for your meal in the meantime can help you manage your time and ensure you don't leave the duck out for too long.
Remember to score the skin of duck breasts
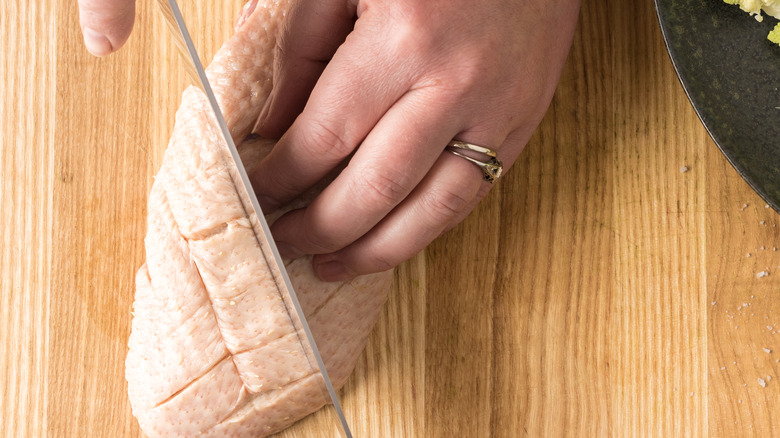
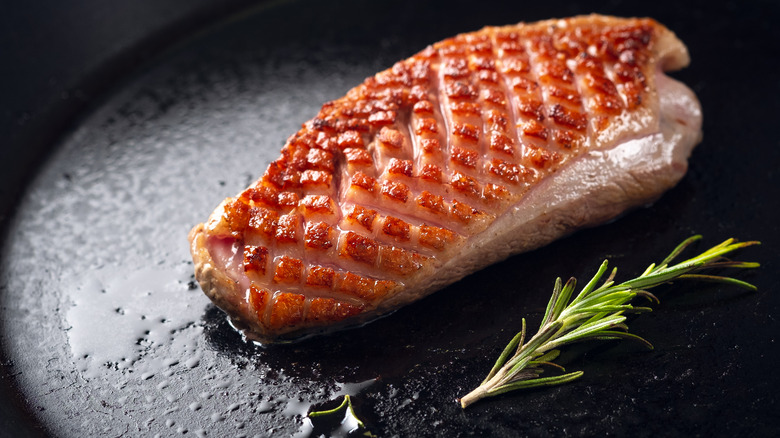
Working with duck breast? It's one of the easiest ways to break into cooking duck at home. But just because it's easy doesn't mean the meat should be treated like any other bird, such as chicken. If you're getting duck that still has the skin on (which is what you should get), you'll need to render some of the fat that sits below the skin. A smart way to do this, according to BBC Good Food, is to score the skin of the breast before you start cooking it. To score, take a knife and cut a criss-cross pattern into the duck's skin.
This allows the duck's fat to be more exposed. When you're ready to cook the breast, place it skin-side down on the skillet, and allow that fat to melt and the skin to crisp up. If you score the skin properly, you should get that crunchy, crispy skin you're looking for, bathed in the duck's own fat. And yes, it's just as good as it sounds.
Air-dry duck breasts in the fridge before searing
You know when you throw something in the pan to sear it, only to discover that the moisture left in whatever you're cooking renders achieving a nice sear nearly impossible? It can ruin a dish, especially when that dish involves duck breasts. If you plan on searing your duck breasts, you should ensure they're thoroughly dry before you even think of getting them anywhere near a pan. The best way to do that? According to Masterclass, all you have to do is place the breast in the refrigerator to air-dry for a few days. If you can allow it to sit for about three days (at most), you'll see that it gets super dry, which is ideal for searing. But even just one day in the fridge can make a big difference.
Just remember to take the duck breast out of the fridge so it can get to room temperature before you start cooking for the best results.
Don't throw the duck fat away
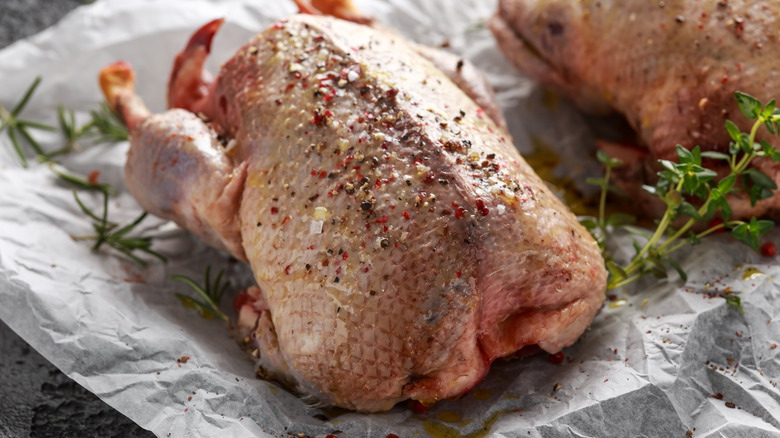
Have you decided to roast your duck? If you're dealing with the whole bird, this may be the best way to cook it — you're left with crispy skin and succulent, fatty meat that just falls off the bone. Who wouldn't want to eat that for dinner? But keep in mind that if you decide to roast, you'll have to keep a tray underneath the duck to catch all the fat that drips off of it — and there will be a lot as duck is very greasy. It may seem like common sense to simply throw those drippings away, but we're here to tell you that throwing the fat away is throwing away a valuable ingredient.
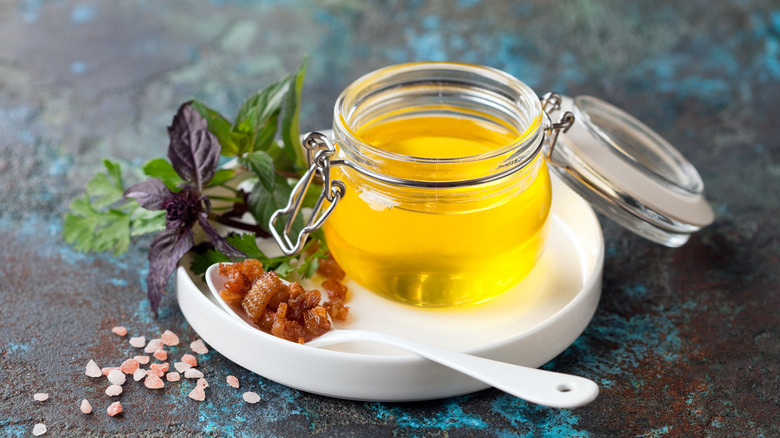
Once the bird is out of the oven and resting, you'll be left with that dirty pan. What should you even do with it? According to Luv-a-Duck, you'll want to keep the duck fat from it to reuse later. If you don't want to worry about storing the fat, simply toss some veggies into the pan with seasoning to roast, and you'll be left with rich, fatty vegetables that make the perfect side dish for your duck. Plus, you don't even have to worry about cleaning an extra pan afterward. If you are interested in experimenting with other recipes with this versatile ingredient, store a jar of the drippings in the refrigerator.
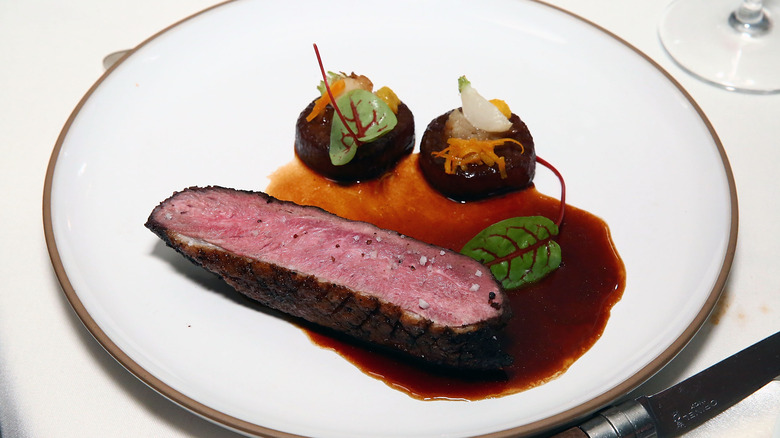
Place your duck breast skin-side up when serving
After you've finished cooking duck breasts, the aroma will be irresistible, and you'll want to dig in right away. But if you want to ensure you get the best duck-eating experience possible — and impress your guests — make sure you serve it correctly. After all, you did all that work to cook the duck in the first place, so the last thing you'd want to do is mess up the last step — the presentation.
According to Hunter Angler Gardener Cook, one of the most important serving tips you should remember is to serve your duck breasts skin-side up. Why? Well, you just put in all this effort to get a nice sear on them so you can enjoy that crispy, crunchy skin. By placing that skin down on a surface, it can get soggy, negating the point of searing the meat. But when you serve the duck breasts with the skin facing up, you won't have to worry about too much moisture collecting and rendering your duck breasts chewy. This small effort is definitely worth it.
Render duck fat for a rich cooking medium
These days, meat is getting more and more expensive, and that's true for luxury cuts of meat like duck as well. Therefore, if you do decide to treat yourself by getting some duck to cook at home, you'll want to make sure that you don't waste any of it. If you really want to get the most bang for your buck, you'll need to render the duck fat. This way, not only will you be able to enjoy the meat of the bird, but you'll have a new cooking ingredient at your fingertips that you can use for cooking a variety of dishes.
According to Hunter Angler Gardener Cook, you'll need to cut up all the fattiest parts of the bird, then place them in a pan on the stove. Cover the meat with water and bring it to a boil. Once the water has evaporated, turn the heat down, and wait until the fat starts to become transparent. This should take around 30 to 45 minutes. Then, you can let the fat cool and store it for later use. Whether you're going to prepare confit duck legs later or just want to use the fat for everyday cooking, you'll be glad you have this rich ingredient on hand.
Salt your duck before you cook it
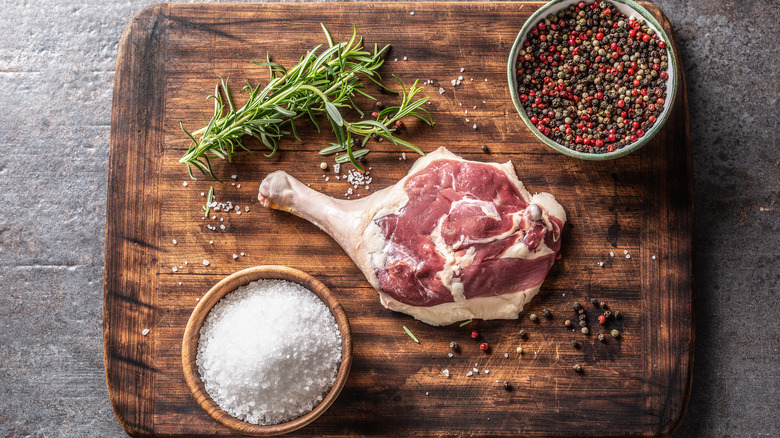
You want to make sure that the duck you paid for comes out as flavorful as possible, right? Well, that's why it's so important to salt your duck before you cook it. This process is called dry brining, according to the Art of Manliness, and it's important with pretty much any cut of meat you decide to prepare. When you add salt to a hunk of meat before you cook it, you'll get a juicier result. It'll also be more difficult to overcook the piece of meat you're working with. And the best part? It imparts a ton of flavor as well. It's such a simple step to take before you start cooking, but it can make a significant difference in the end.
Duck can also handle quite a bit of salt before it even touches a pan: you can leave the salt on overnight for a more flavorful result, or you can add it an hour or so before you start cooking.
Cook duck breasts like you would cook a steak
Cooking duck for the first time can definitely feel intimidating, and you may be questioning where to start. Because duck is a type of bird, many home cooks who haven't experienced the ingredient before assume that it's very similar to chicken and therefore expect to prepare it in a similar way. However, that's not really the case. In fact, per Hunter Angler Gardener Cook, you should actually be making your duck breasts like a steak. Cook your duck breast until it reaches an internal temperature of 125 to 140 degrees F. This will result in rare to medium breasts.
The USDA, on the other hand, recommends heating your duck to an internal temperature of 165 degrees F, but ultimately, it all comes down to what you're comfortable with. Regardless, though, if you know how to cook a decent steak on the stove, you shouldn't have too difficult a time with duck breasts.
Place sauces under -- not on top of -- your finished duck
Duck is super flavorful on its own, but if you want to add even more flavor to your plate, making a sauce is a great way to do it. Whether you're sticking to something simple like a duck fat-based gravy or you're trying something a little more adventurous, there is one important tip you're going to want to remember: you should place your sauces under — not on top of — your duck dish, per Luv-a-Duck.
Why is this such an essential tip? Well, as previously mentioned, you'll want to preserve the crispiness of your duck if at all possible. Therefore, the last thing you'll want to do is add moisture to it. Instead, you can pour a bit of your sauce onto your dish before you plate the duck. This way, you can drag the duck meat across the sauce, picking up all that flavor, without ruining the skin you worked so hard to crisp. It may seem counterintuitive to place the sauce below the meat, but trust us when we say it truly saves your duck from becoming a soggy mess.
Pair your duck with fruity flavors
So, you've finally decided to take the leap and make duck for the first time — that's great! But duck alone does not a meal make. Rather, you're going to have to find something to go with your duck, something that complements the flavors and balances out the intense fattiness of the meat. One of the most common combos is duck and citrus. Ever heard of duck l'orange? The acidity from the citrus pairs beautifully with the richness of the duck. But you don't have to stick with orange or even citrus, for that matter. Duck goes beautifully with a variety of fruit.
Some opt to make a plum sauce for their duck, while others serve it with currants or pomegranates. Try a lychee sauce if you feel like you want to explore tropical flavors, or add prunes to the dish for a fall weather feel. Basically, just don't be afraid to experiment with fruit and duck together. The freshness and tang of any fruit can be incorporated into a duck dish with relative ease.
Confit duck legs and wings
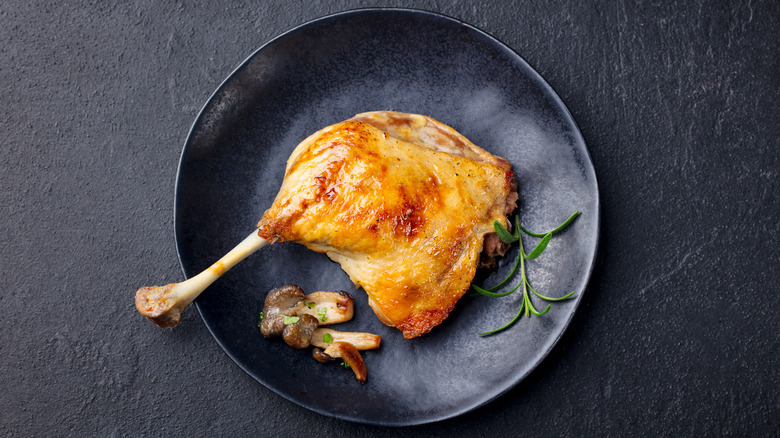
Duck breasts might be one of the more common cuts of duck out there, but that doesn't mean you always have to stick to it. If you're looking for a way to branch out without having to opt for the entire duck, you should consider confiting the legs and wings. These delicate parts of the bird can be easy to overcook, but confiting them negates that problem altogether. This is because "confit," according to Hunter Angler Gardener Cook, means to slow cook something in fat. In the case of duck, you can use the fat you already rendered from the bird or a different fat entirely. No matter which type of fat you use, though, you'll see that duck confit comes out moist, juicy, and supremely appealing pretty much every time.
There are different ways to confit your duck, so you'll have to figure out which method works best for you. You can either confit the legs and wings on the stove or use a sous vide machine. If you cook your duck legs and wings in a large batch, you can keep them in the fridge for a while and grab them whenever you're looking for a quick, special meal.

