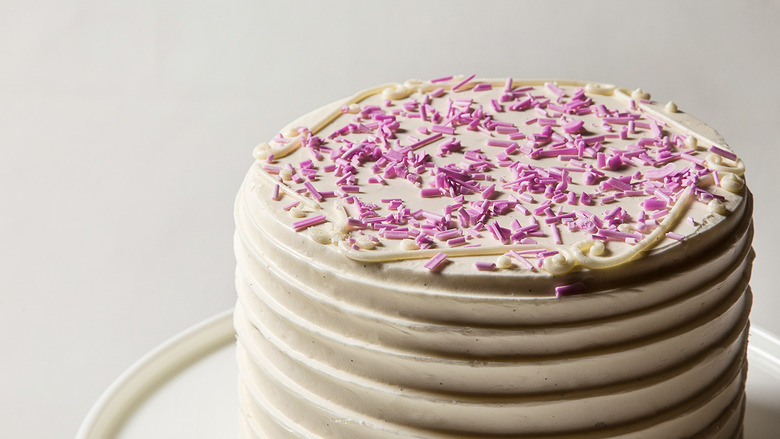
An Easy Recipe For Homemade Sprinkles
Making your own sprinkles is easier than you think
We may receive a commission on purchases made from links.
To New Englanders, they're "jimmies." For hyper-literal people, they're "sugar strands" (really). And for some weird reason, they're also called "hundreds and thousands," supposedly because of how difficult they are to count. Though anyone who's gotten up into the thousands while counting sprinkles should probably find another hobby.
For consistency's sake, I'm going to stick with calling them "sprinkles." An ice cream cone without the rainbow sugary specks is like a freakum dress without sequins. And without sprinkles, funfetti is just fetti. But the store-bought kind are reliably waxy, sure to disappoint with their bland ambiguous taste. Here's a solution: Make your own. This homemade version actually tastes like something—sweet, lemony dreams, to be exact—making it more than just a pretty face.
RELATED Embrace Your Inner Kid with This Sprinkle-Filled Napoleon Cake "
Start by mixing 2 teaspoons of meringue powder with 2 tablespoons of water. Powdered egg whites work, too, but I generally try to minimize my risk of salmonella when possible—I have to balance out all that raw cookie dough I eat somehow. Stir the liquid into 2 cups (8 ounces, for those with a kitchen scale) of sifted confectioners' sugar.
By this point, you'll have a large clump of goop sticking to the whisk, but don't panic. Thin it out by adding warm water as you go, 1 teaspoon at a time. You might need up to 2 or 3 tablespoons total, but don't add it all at once, because there's no going back. That's maybe a bit too dramatic as far as neon sprinkles are concerned, but do go slow on the water. Once you have a consistency of thick but pourable frosting, add ¼ teaspoon of lemon or vanilla extract (or princess emulsion!) to flavor your sprinkles, plus as much or as little food coloring as you desire.

Add the pre-sprinkle mixture (pro tip: It's just royal icing at this point) into a pastry bag with a tiny No. 2 tip or practice your origami by fashioning a parchment paper piping bag. Pipe the icing into lines on a wax paper-lined tray (as pictured above) and let dry overnight or for up to 24 hours. When they're dry and ready, cut the strands up into little bits and use them to decorate sugar cookies, cupcakes, ice cream, oatmeal, etc.
Yes, I know. Even though this is an extremely simple project, it's still a lot easier to buy them in the grocery store. But what fun is that? Unless you're using the handheld scanners. That's always fun. Everything's more gratifying when you make it yourself, and if you're one to avoid excess food preservatives, this DIY route is the way to go. With a free 20 minutes, you could stream an episode of 30 Rock, or you could make a month's worth of sweet, colorful food decoration. I'll let you decide which one results in a better bowl of ice cream.
