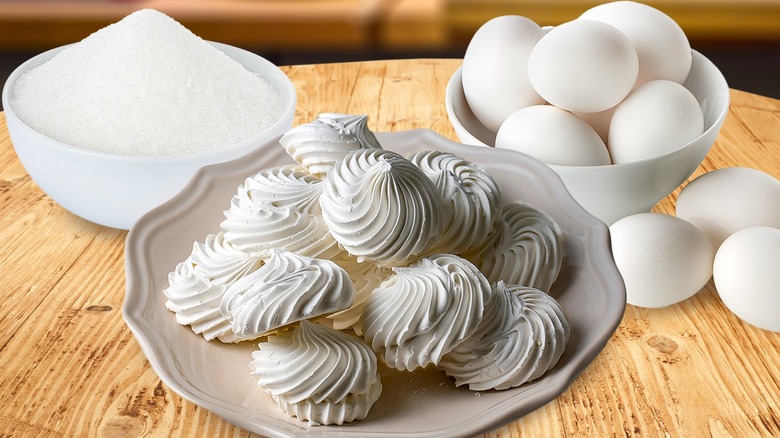
11 Tips For Making Bakery-Worthy Meringue At Home
We may receive a commission on purchases made from links.
Meringues are one baked good that I admit to having nightmares about. I can shut my eyes and see a batch of egg whites just swirling and swirling around in a stand mixer, like an endless spinning vortex that I can't escape. Despite the negative experiences I've had with these treats in the past, I've come to realize that making your own batch of homemade meringues is not as difficult (and perilous) as it first seems. While there are certainly some tricky bends, the work you put into understanding the concept of how to make good meringues will not just give you tantalizing meringue cookies fit for a holiday spread, but it will also serve as the fundamental for other more complicated bakes, like pavlovas and macarons.
I have cried over a batch of meringues a time or two (and been careful not to get any tears in the bowl, since this too will cause issues with their consistency). However, I have assembled words of advice from these learning experiences and created a list of some of the best tips you need for making meringues at home.
1. Select the right meringue recipe
Baking, in general, starts the moment you select what to bake. And when it comes to making something like meringues, it's important to note that the nuances between the different varieties are very, very important. While it might not seem like there's a big difference between Swiss, Italian, and French meringues, selecting the wrong one can result in disaster.
Most people know meringues as the French meringue — the kind that's made when you combine granulated sugar with stiffened egg whites. The stability on it isn't as great as other meringues, but it's the type that I would recommend novice bakers experiment with first before moving to the more complicated varieties. Swiss meringue takes things up a notch and cooks those egg whites in a double boiler. As you would imagine, cooking the egg whites with the sugar yields a better structure; it's why you'll often see this meringue variety used for frostings. Italian meringues are one of the most versatile (and arduous) types of meringues, as you'll find it used in frostings, mousses, and more. The key thing that makes it different is that it's made with a stream of hot sugar syrup. So, you'll not only be paying attention to the egg whites, but also the temperature of the syrup.
You'll want to read your recipe before you select a type of meringue to make. And while it might seem easier to just swap out the Italian meringue with the far-simpler French variety, just know that there will potentially be consequences for the structural integrity of your meringue and the other components of your recipe as a whole.
2. Clean your bowls and tools well before making your meringues
We've all been guilty of grabbing a mixing bowl from the back of our pantry, giving it a quick wipe with the nearest kitchen towel (clean or not), and starting to prepare our ingredients with it. While this process might be fine with a chocolate chip cookie or a cake batter, the meringue is much more needy and particular. If your kitchen bowl has a lick of leftover butter or oil in it, your meringues won't whip up as well as if they were prepared in a completely clean bowl.
You may even be getting fat into your meringues from sources and ways that you wouldn't otherwise think of. For one, plastic bowls tend to hold more oil residue than glass or metal ones, and thus should be avoided. You could also be getting a little messy when cracking your eggs and accidentally getting some of the fatty yolk into the whites.
While this meringue mistake is relatively easy to make, it's something you can easily avoid in the future. Rub the outside of the bowl with a little bit of lemon juice or a swipe of white vinegar to remove any of the pesky lingering oils. Or, crack your eggs in a separate container and use an egg separator, rather than just your hands, to ensure that you're just adding the whites to the bowl.
3. For optimal fluffiness, use room temperature eggs
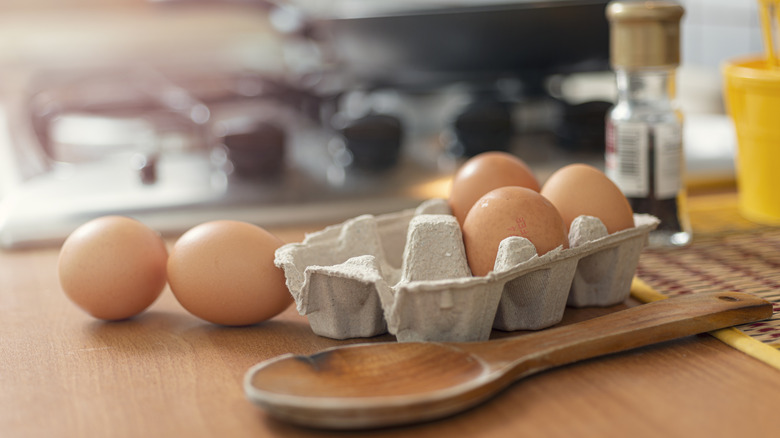
Temperatures matter with meringues (more on that later). But it's not just the room temperature that you should be concerned with when it comes to making meringues; it's also the temperature of your eggs. The main reason why you should use room temperature eggs for your meringue recipe is because they will whip up more readily than ones that are cold. The ideal temperature zone for your eggs is between 68 and 72 degrees Fahrenheit — which is just about room temperature. There are many ways to get eggs to room temperature, from running them under warm water to submerging them completely in a bowl to get them ready to go.
Here's where things get complicated (and dishes pile up): If you want to get a clean separation between your yolks and whites, do so when the eggs are cold. Then, you can plop your bowl of egg whites on the counter and let them come up to temperature. Although this might require some more foresight than just adding the eggs straight to the mixer and going with it, it will yield you fluffy egg whites that are ready to be mixed up with your sugar.
4. Check how old your eggs are before you work with them
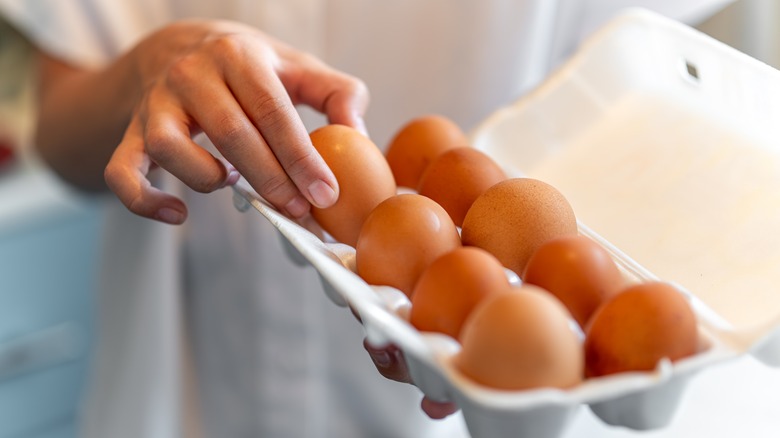
It can be easy to forget when we bought the things that are in our fridge. Eggs are one of those items that I, for one, seemingly purchase and leave in my fridge for however long until I need to use them. Luckily, older egg whites are easier to whip than fresh ones. The reason for this is due to the alkalinity and acidity of the whites. As the eggs get older, the white becomes more alkaline, which in turn causes the proteins, which make up the majority of the egg white, to repel one another, thus making them easier to whip.
If you can't find the "best by" date on the label, you can always put the egg into a tall glass of water to test their age. If the egg will float up to the top of the glass, it is not suitable to use for your meringues, or for any use. You'll want to look for an egg that sits on the bottom of the glass and doesn't rotate; this will show you that it's the ideal age for making meringue.
5. The ambient conditions in your household can make or break your meringues
Bakers spend a lot of time making sure that their ingredients are brought up to temperature, properly measured, and the like. But we don't think a lot about the temperature and the conditions that we're baking in, and how that might impact our recipe. While a rather warm day might not matter for a cake or a batch of cookies, meringues are far more finicky.
The worst weather for making meringues is when it's rainy or humid outside. While it might seem that baking is one of the things you want to do on these kinds of days, meringues would not share the same sentiment. The egg whites are made of mostly proteins and water; it's the protein that denatures as the eggs are whipped. The whipping helps separate the protein from the water, but on days where the ambient conditions are moist and humid, you'll find that your egg whites come out much chewier and wet. Unless you like meringue cookies that taste more like stale marshmallows, you're better off saving your meringue recipe for a cool, dry day.
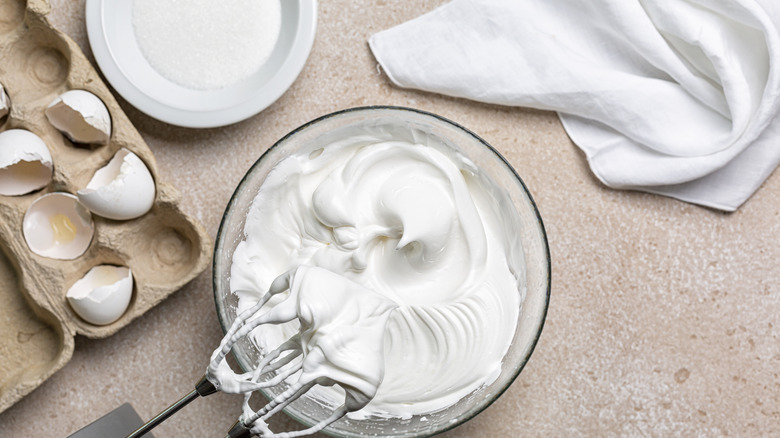
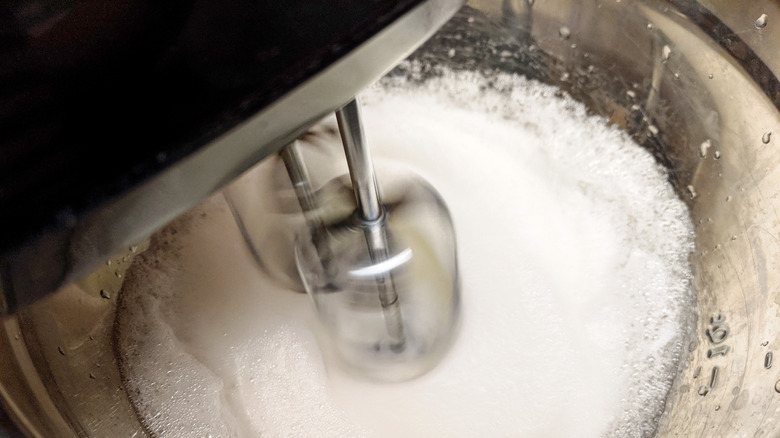
6. Know the difference between the peak stages before whipping your whites

You'll often see two phrases used in meringue recipes: "soft peak" and "stiff peak." The former refers to meringues that have been loosely whipped so that there are some light, soft waves — but not enough to hold any structure. You'll start to see these soft peaks form about a minute or so into whipping. While this might suffice for egg whites that you're adding to a soufflé or a sponge cake, they are not ideal for meringues. In order to get the meringue texture that you crave, you need to keep at it and get your meringues to the stiff peak stage. This is the point where you can flip your beater or whisk attachment over and your meringues will look just like the Dairy Queen curl.
Underwhipping, or only getting your meringues to the soft peak stage, is one of the biggest mistakes that you can make with your meringue recipe. So, you'll want to do the flip test or look for a glossy appearance on the outside of your peaks, to know that it's time to shut off the beater.
7. Resist the temptation to overbeat your egg whites
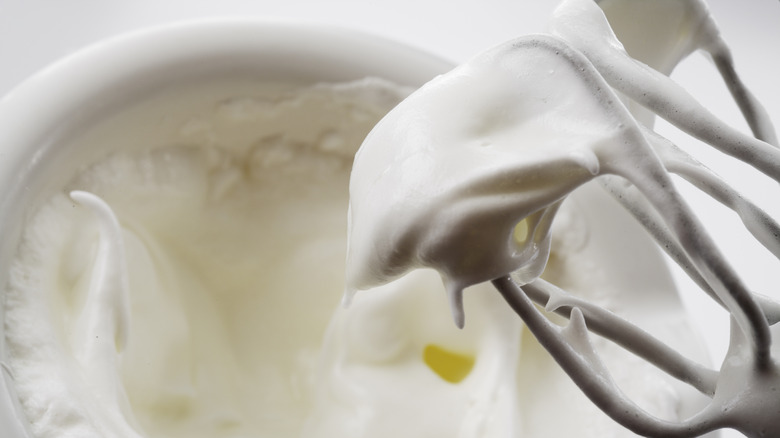
Meringues are like the quintessential Goldilocks food. You can't underwhip them, or else you'll end up with a loose texture that doesn't hold its shape. But if you beat your egg whites past the point of no return, you'll also be in for some trouble. When you start to notice that clumps are forming and your egg whites start to take on the consistency of a thick buttercream frosting, you'll know that you've reached the point of no return ... but not totally. Luckily, there is a simple trick for fixing overbeaten egg whites — and no, it's not turning back the clock.
You'll just want to incrementally add in another egg white and give it a mix. Some acidic additives, like cream of tartar and lemon juice, can help reduce the risk of overwhipping too, but the easiest and least time-consuming strategy is to prevent the overbeating from happening in the first place. Once your stiff peaks have started to form, shut your mixer off.
8. Incrementally add your sugar
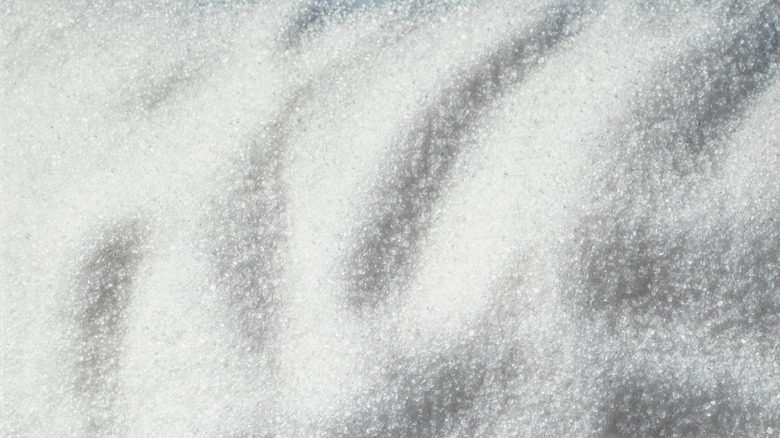
If there was a step in a recipe that was purposefully skipped over most, it would be anything with the phrase "incrementally." Incrementally add flour? Incrementally add powdered sugar? If you pour these two into a cake batter all at once, you may have a plume of white coating every surface in your kitchen. Even if adding your sugar all at once to your meringue doesn't have the same visual effect as these other ingredients, it can still alter the texture and consistency of it.
You want to give the sugar an opportunity to mix into the egg whites. Adding the sugar all at once might seem like it simplifies things, when in reality, it just makes things far more gritty and will increase the amount of time that it takes the sugar to dissolve. Moreover, it could even cause you to overwhip the whites. Instead, you'll want to add the sugar to the egg whites incrementally after they have started to foam and turn yellow. You can add a teaspoon at a time, sure, but this will take hours. Instead, stick to adding a third of your sugar at a time to give the egg whites enough time to incorporate. By the time your whites have reached the soft peak stage, your sugar bowl should be empty.
9. Don't skip the cream of tartar
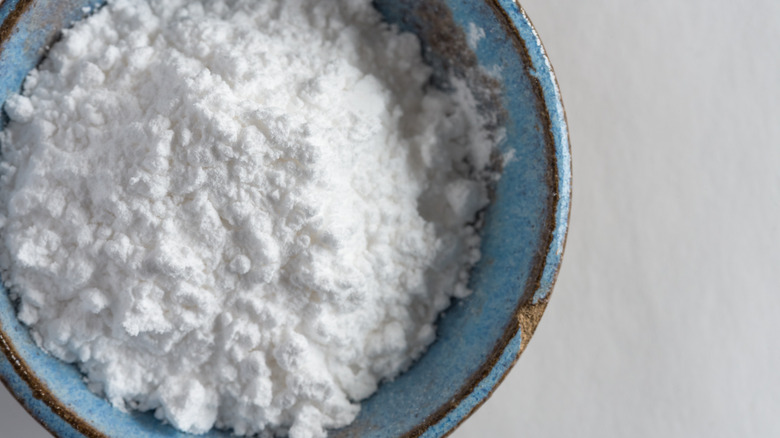
Cream of tartar is a lifesaver in the kitchen. For one, if I forget to grab a can of baking powder from the store, I can always make a DIY baking powder with the ingredient and a little baking soda. But there's so much that this handy powder can do than just making up for missed items on the grocery list or creating the most flavorful snickerdoodles you've ever tasted — it's also the secret to sturdy meringues.
The reason why you should add a little bit of this powder to your meringue recipe is simple. The beating process denatures the proteins in the egg whites and pushes air into them, which helps them get extra fluffy and soft. While this process is important to the fundamental structure of the meringue, it also means that you are opening up the potential for your meringues to collapse. When you add a pinch of cream of tartar, though, you'll find that your meringues come out fluffy, yet still sturdy.
However, you need to be careful with how much of this powerful powder you're adding to your recipe. It's quite acidic, so it can give your meringues a metallic flavor if you add a touch too much of it. If you have reservations about buying a whole jar of cream of tartar for just this one single use, fear not; you can always substitute it for some lemon juice or white vinegar.
10. Make sure to dry your meringues before removing them from the oven

It would be very easy to think that all of your hard work is complete the second that your meringues enter the oven. However, this could not be any less true, as drying is the critical stage that you'll need to undergo for perfect meringue cookies and pavlovas.
Cakes and cookies bake, well, like cakes and cookies. But since meringues are essentially just egg whites and sugar, they don't really bake; you'll just need to evaporate the moisture from the mixture so that it hardens. This will give you a perfectly crispy and crackly outside and soft inside. You'll notice that your meringue recipe will tell you to bake it for what seems like a very, very long time for two ingredients; some recipes will require the meringues to dry low and slow for upwards of two hours.
Once your timer rings, resist the urge to rip open your oven and pull out your tray of meringues. You'll instead need to leave the meringues in the oven for at least the same length of time that they were baking, perhaps even more, so that they can effectively finish drying. If you expose the egg whites to a rapid temperature change by opening your oven, you'll risk unsightly cracks. Propping the door slightly will give your meringues an opportunity to cool without exposing them to this temperature drop.
11. Once you get comfortable, experiment with different flavors and add-ins
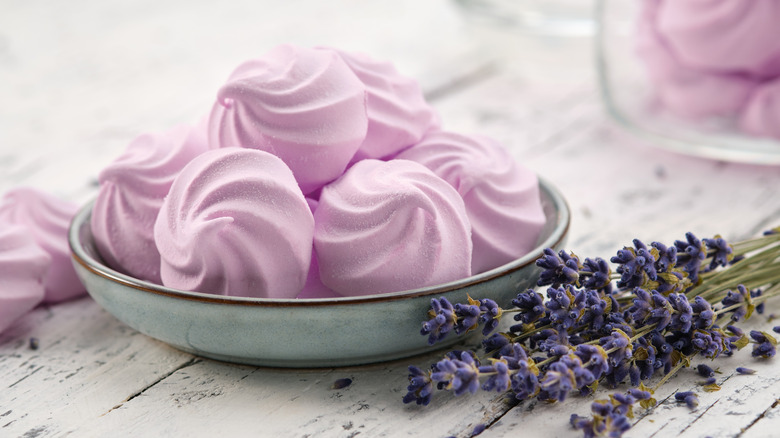
Once you've mastered the basic meringue, you can start playing around with different flavors and extracts to give your cookies, pavlovas, and more a distinct flavor. If you're adding these meringues to your holiday table, consider adding in a couple drops of peppermint oil. Or, if you like tropical and citrusy flavors, try a dash of orange or lemon oil.
You can also add flavor to your meringues by adding in a swirl of jam. Once you've piped your meringues onto the tray, you can add a couple of teaspoons of your favorite jam, jelly, or preserve and swirl it in with the backside of a spoon or an offset spatula. Then, continue baking your recipe as directed. Blackberry jam would be a very sophisticated addition to your meringues, while strawberry rhubarb jam could encapsulate a beautiful contrast of sweet and tart atop a mound of marshmallow-y goodness.