12 Easy Mistakes To Avoid With Your Dehydrator
A dehydrator is one kitchen appliance that you may think about like a bread maker or an ice cream machine; it's fun to play around with, but it's not something that you could see using on an everyday basis. But, a dehydrator is actually a great appliance to have on hand when you need it. Not only are you saving up some oven space by using it instead, but you can also basically leave the dehydrator alone to work its magic and come back to perfectly flavorful jerky, dried fruit, and more.
If you consider yourself a food preservation novice and are looking to expand into dehydrating your own foods, then this is your sign to keep reading. We consulted two experts, JD Alewine, a recipe developer from Them Bites, and Olivia Roszkowski, chef-instructor of plant-based culinary arts at the Institute of Culinary Education, to find out some of the biggest mistakes that people make with their food dehydrator and how to prevent and remedy them.
Not choosing the right dehydrator for your needs
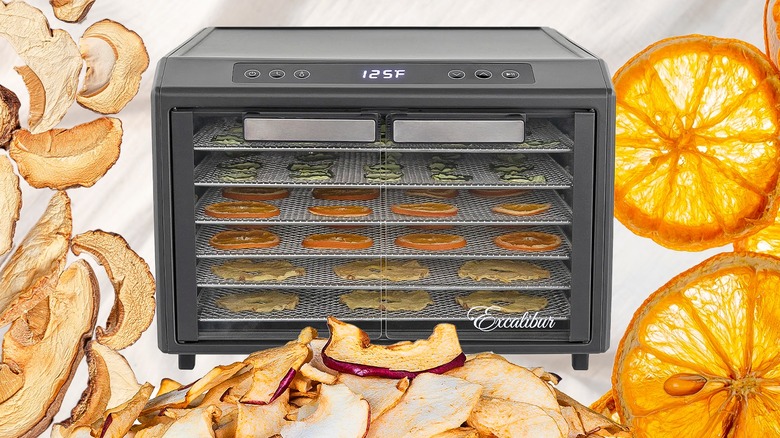
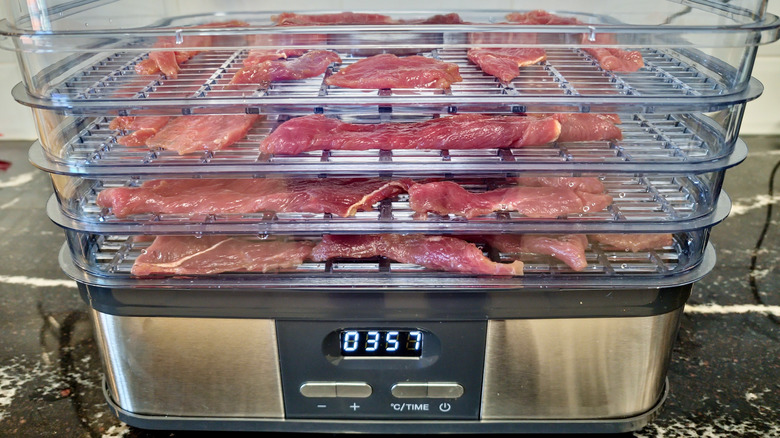
Like other kitchen appliances, food dehydrators come in all shapes and sizes, with different technology, buttons, and functionalities that are designed to fit every level of cook. In general, there are two types of dehydrators on the market: vertical and horizontal. Vertical machines have a fan positioned at the top or bottom of the unit that will blow air onto the food. The shape of these dehydrators makes them easy to move around and store, and they tend to run slightly cheaper than the horizontal models. which will blow air from the back of the unit. The horizontal typically look a little more refined because they're made with stainless steel, rather than plastic, and open from the front. Plus, they have more options for controlling the temperature inside of your machine.
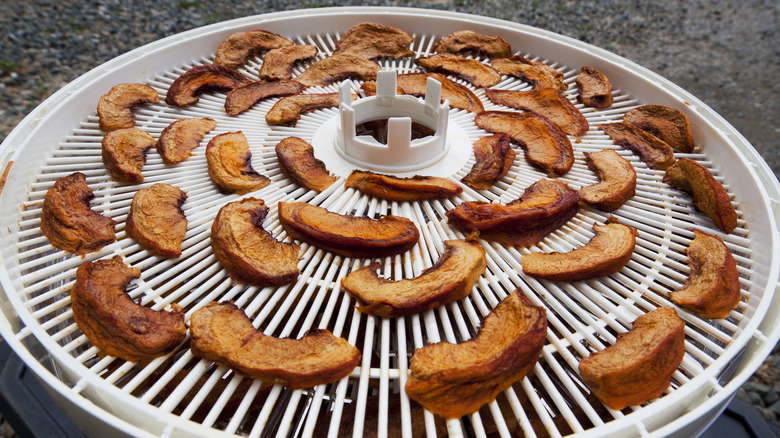
Besides price and storage, you may also want to consider the size of the food that you're dehydrating when selecting a machine. For example, circular, vertical dehydrators have a pole in the middle — which isn't conducive to cooking large pieces of food. Olivia Roszkowski, chef-instructor of plant-based culinary arts at the Institute of Culinary Education, recommends using a large machine with no pole and extra shelves. "You are more likely to end up with a more uniform product because of the added airflow resulting from not overcrowding your food items," she says.
Slicing your food too thick
Once you've gotten your dehydrator set up and out of the box, it's time to start preparing the food that you're planning on drying in it. It's important to note here that the dehydrator is designed to dry thin foods by blowing hot air over them. If you're working with a food that's cut too thick, your dehydrator won't effectively reach and dry the center of it. Not only does this pose a food safety risk, as the inside of your foods will still be raw, but it's also not conducive to reaching the proper texture.
Olivia Roszkowski shares that there's an important balance that needs to be achieved when slicing foods that you're planning to dehydrate. She recommends cutting items between ¼ and ¾-inch thick. She also notes that watery items, like watermelon, should not be sliced too thin because they won't dry correctly. A mandoline is a great tool to have when you need to slice your food uniformly and will make this process much easier.
Using the wrong temperature for the food you're dehydrating
Perhaps one of the biggest mistakes that people make when it comes to dehydrating food is not selecting the proper temperature on their appliance. For example, JD Alewine from Them Bites shares that jerky needs to be dehydrated at 160 degrees Fahrenheit, while fruits can stand to dehydrate between 125 and 135 degrees Fahrenheit.
Besides food safety, Olivia Roszkowski shares that it's important to consider the effect that your temperature will have on the color and consistency of your food. "The lower temperature range will work in your favor to preserve color, vibrancy, and enzymes in the food, whereas a higher temperature will reduce the dehydration time and is more likely to prevent any bacterial growth in the process," she says.
Roszkowski suggests that for some foods, you can hit the upper end of the temperature threshold (185 degrees Fahrenheit) for the first hour before turning the temperature down because "... the internal temperature will not rise to 185 degrees Fahrenheit during that first hour, but much more moisture will be wicked away from the food during that phase under higher heat." When in doubt, consult your recipe for the exact cooking time and temp you need to reach.
Forgetting a pre-treatment
You may have to use a pre-treatment for the foods that you're dehydrating, but it's largely dependent on what you're making. This extra step can help preserve the color of your fruits and vegetables, and, in some cases, extend the storage life.
If you want to prevent your fruits from browning, for example, you may want to treat them with ascorbic acid or soak them in citrus juice (which is high in vitamin C). Raw vegetables may need to be blanched so that they can retain their color. Blanching can also be a useful process for hard, crunchy vegetables like potatoes, carrots, beets, and turnips. If you're wondering if you'll need to put your food of choice through a pre-treatment, it's best to start with a tried-and-tested recipe that will make a note of any additional preparation that is needed.
Not checking the texture of your food before you remove it from the machine
Although using a food dehydrator is a relatively hands-off process, it's not entirely hands-off. You also have to keep a watchful eye on the consistency of your food to ensure you're not making it too dry. Olivia Roszkowski says that most of the dehydration process will occur in the first four to six hours. But after that, you'll need to test the food to determine if it's ready to remove from the machine or not.
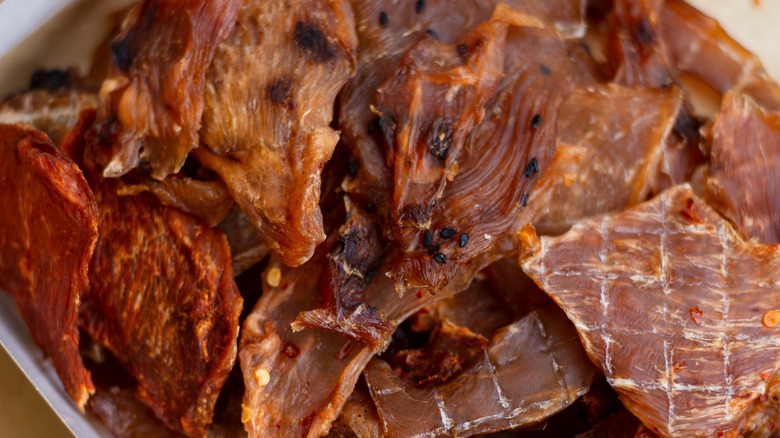
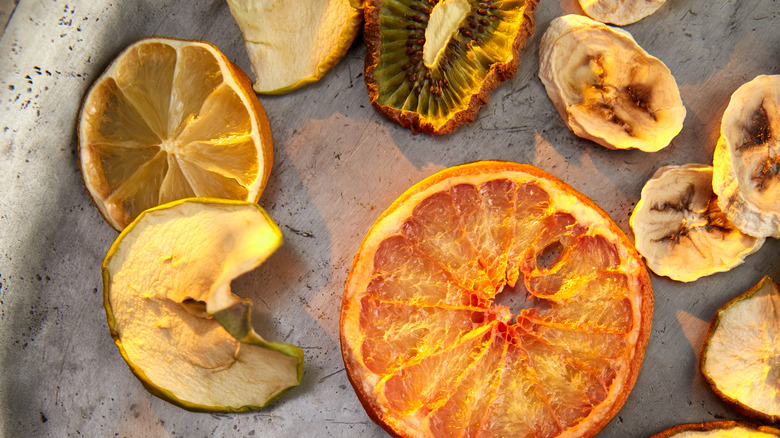
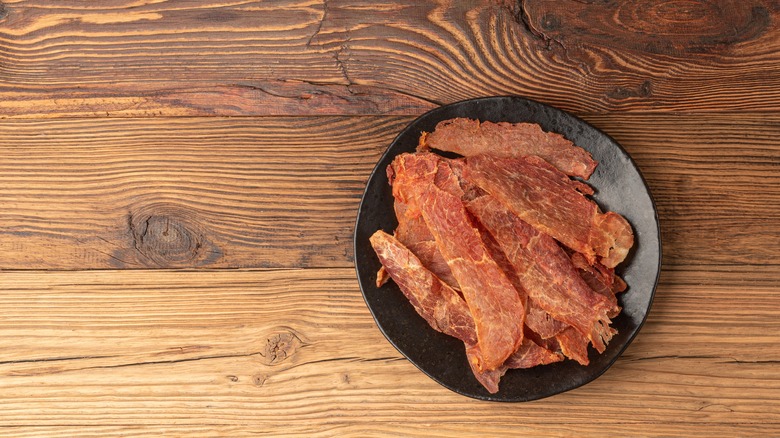
Moreover, you'll have to know what you're looking for when it comes to consistency to decide if your food is done or not. "For jerky, you're aiming for a bendable but firm texture, not something that crumbles," says JD Alewine. He also recommends looking for some pliability in fruits; over-dried fruit will crack and crumble.
Roszkowski shares that seasonings and ambient conditions may also influence how done your food appears. "Certain sweeteners such as maple syrup will get crispier in the dehydrator, whereas sweeteners such as honey and date syrup just become more viscous," she says. Meanwhile, she notes that humid environments will also make food appear bendy, since the food will absorb that ambient moisture.
Attempting to dehydrate a whole meal
Dehydrating food is a great way to make lightweight camping meals for all your outdoor adventures. But you'll need to think twice about how you prepare those meals, because chances are that each component will require a different amount of time in the dehydrator.
You'll need to take a look at all the components of your meal to decide how long they each will need to dehydrate and how their steps for rehydration may differ. For one, lean meats, like beef and poultry, need to be cooked to 165 degrees Fahrenheit (to kill off any lingering pathogens) before they can be dried at 145 degrees Fahrenheit. Beans and lentils, by comparison, only need to be dehydrated at 125 degrees Fahrenheit. If you rehydrate your beans too long, you'll risk drying them out too much. Moreover, any high-fat or oily items, like dressings or cheese, should not be dehydrated, as their makeup is not conducive to the process.
Overcrowding your food
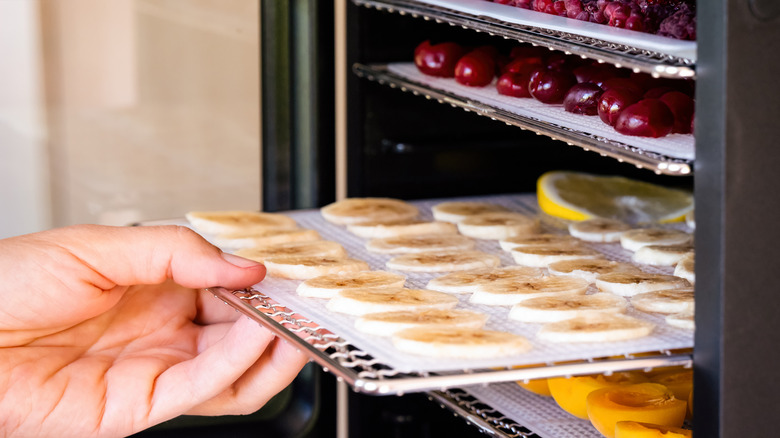
Say it with us: single layer. Dehydrators work by moving around hot air across the items on the tray. If your food items are overcrowded and touching one another, you're limiting the amount of air flow that can reach each item. Not only does this mean that parts of you food will be dry while others will be squishy, but it could also prevent food-borne pathogens from being killed off. Olivia Roszkowski shares this is especially important for items that you don't plan to eat immediately, as the residual moisture can "lead to spoilage and pathogenic-causing bacterial growth."
The best tip for this is to always make sure that you're arranging your items in a single layer and also evenly-spacing each piece. This will keep the airflow consistent and ensure each food item dries at the same rate. You can always buy a dehydrator with more trays, if you find that you're making far too many batches of dehydrated food.
Trying a food that's not easy (or safe) to dehydrate
There are some foods that are more conducive to making in the dehydrator, and there are also foods that you're better off not letting touch your machine. Olivia Roszkowski recommends avoiding any food that has a high fat content or ones that have been coated in a marinade. She explains that this is because the extra fat will leave a greasy residue, as it does not dehydrate, and it may also lead to it becoming rancid faster. Other foods that cannot be dehydrated safely include avocados, butter, cheese, milk, and eggs.
Naturally, if you can't use a marinade to add flavor to food pre-dehydrator, many folks will turn to dried seasonings instead. But Roszkowski encourages that folks express caution when it comes to this, too. "The end product has a much smaller surface area and will be highly concentrated in flavor," she says. "If you are not sure, err on the side of caution and sprinkle with extra dry seasoning once the process is complete."
Improperly cleaning your dehydrator before the next batch
While it's important to regularly keep all of our kitchen appliances clean and in good working order, it's especially important for when you're working with an appliance like a dehydrator. Olivia Roszkowski notes that cleaning your dehydrator is important because it doesn't reach the same high temperatures that can kill off bacteria, like an oven, air fryer, or microwave would.
She recommends washing down shelves after each use and removing any lingering food crumbs — and JD Alewine agrees. "A lot of folks forget that jerky and fruit can leave behind tiny particles that build up over time, affecting airflow and even the taste of your next batch," he says.
But, you shouldn't just focus on the inside. "In general, treat your dehydrator as any other electrical appliance, wiping down the outside regularly and remembering to never submerge it under water," Roszkowski says.
Roszkowski also recommends purchasing non-stick, silicone mats for your dehydrator (just make sure it fits your model). Not only does this create a smooth surface to dehydrate your food, but it can also make the cleanup process easier. "These are also easy to clean and eliminate the need to scrub any sticky particles that can get lodged on dehydrator grates and screens," she says.
Forgetting to condition your food before storing it
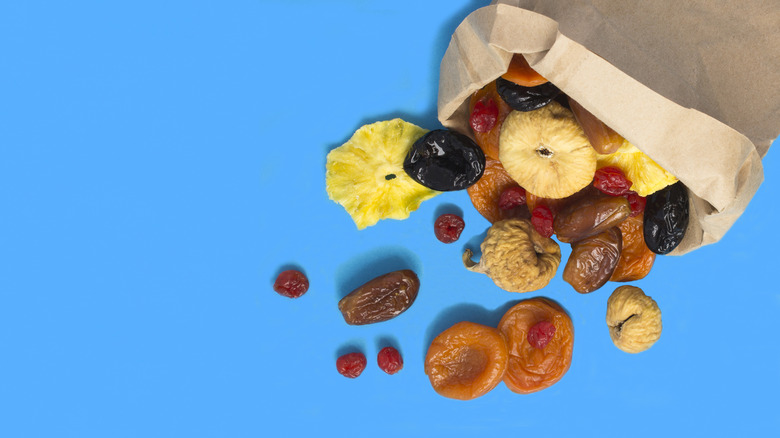
The food has left the dehydrator — we repeat, the food has left the dehydrator. But, that might not be the end of your work, as some foods need to be conditioned before they can be stored away for later snacking. In short, the conditioning process is designed to account for any uneven drying, which may have been the result of poor placement or overlap in your dehydrator. Conditioning is especially important for fruits, which can mold if there is any lingering moisture.
Once your food has fully cooled and left the dehydrator, then you can proceed with conditioning it. Place the fruit in an airtight plastic bag or jar and leave it out on the counter for a week. Regularly shake the bag to move the pieces around. If you notice any moisture collecting on the inside of the container or the fruit itself, then you'll need to put it back in the dehydrator so that moisture can be removed. And if it's moldy? Well, then just throw it out and start the process over again.
Using the incorrect storage technique for your dried foods
Dehydrating? Check. Conditioning? Check. Now, it's time to toss your dehydrated food in the back of your pantry, only to remember about it two years later when you find it on a spur-of-the-moment cleaning spree ... right?
Wrong. Although dehydrated food is, for the most part, preserved, there are some steps that you will need to undergo to ensure that it stays fresh and safe to eat. Olivia Roszkowski recommends storing food with a desiccant packet in an airtight container. The best place to store dehydrated food is, like other food products, in a cool, dark spot. Light and oxygen can cause your food to spoil faster and should thus be avoided at all costs.
If you go to test your food and it still appears moist on the inside, you can always store it in the fridge for three to five days, per Roszkowski's suggestion. Or, try conditioning it again to remove that residual moisture.
Incorrectly rehydrating your dried foods
Some foods are meant to be eaten in their dry state, like beef jerky or banana chips, but others are meant to be rehydrated back to their moist, soft state. The steps to do so will, of course, vary based on the type of food that you're making — so you'll have to do your research to avoid improperly rehydrating it. Generally speaking, though, all you need to do is add water to your food and watch the magic happen.
One of the easiest ways to rehydrate food on the go, which is super easy and ideal to implement if you're out camping, is to store and seal your food in mylar bags. As long as you find ones that are rated to suit boiling hot water (212 degrees Fahrenheit), you can pour a little bit of hot water into the food and eat it straight from the bag. This will give you more control over how much water you're adding to the bag, and you can make single-serve packs for all of your cooking needs. Plus, less dishes is something that we can all get behind.
