10 Artist-Approved Spooky Decorations For Your Next Fall Cake

There are some major shifts that happen during the fall months. It's not the pumpkin spice lattes being added to the menu in lieu of summery lemonades, kids going back to school, or the temperatures starting to drop, either. Rather, you'll notice a major seasonal shift in the selection at your local bakery, too. The summery lemon cakes fade into memory as the fall cupcakes, cookies, and cakes take the shelves in mass. If you're hosting a fall, or more specifically, a Halloween gathering, you may be really tempted to pick up a pack of those ho-hum, orange-frosted cupcakes and be well on your way. But you are more than capable of making Halloween decorations for your cakes (and really, all desserts) in your home kitchen — with a little help from the professionals, of course.
We sat down with Nikk Alcaraz, content creator and artist behind Practical Peculiarities and author of "Peculiar Baking: A Practical Guide to Strange Confections," to get some tips on how to create positively ghoulish cake decorations. While many of these tips are geared towards cakes and cupcakes, you can apply them to a range of other spooky desserts that are bound to impress every Halloween lover.
1. Use edible paint to paint eyes onto your cake
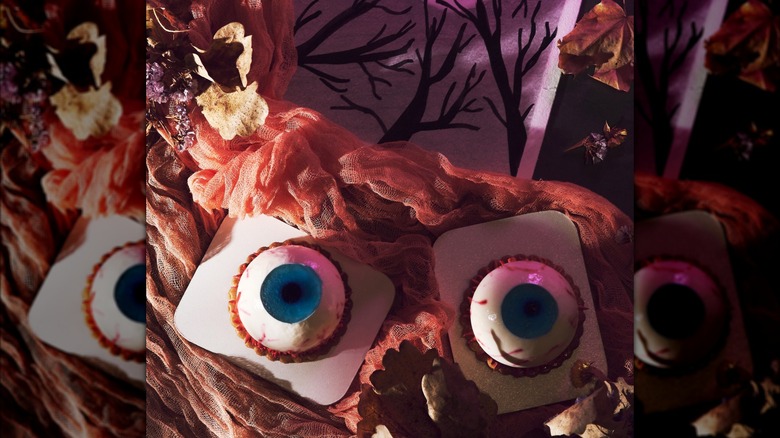
There's nothing that says "show-stopper" like a creepy eye staring back at you. Luckily, artist and author Nikk Alcaraz is a pro at crafting whimsical and edible eyes that are as beautiful as they are odd. His secret? Edible paint.
Alcarez makes his edible paints with two primary ingredients: gel food dye and extract. He often uses lemon extract or straight alcohol for this paint, but these can always be substituted for another alcohol-based extract, like vanilla or almond, too. From there, he applies the paint layer-by-layer on the canvas — whether it's one made of chocolate, frosting, or something else — using a fine painter's brush. For an extra pop effect, Alcaraz uses chocolate to pipe the iris and the cornea. He notes that the chocolate will dry a little faster than the alcohol-based extracts, and it will still give you just as creepy of a design.
2. Swap modeling chocolate for fondant for your decorations
A big part of decorating any cake, spooky or not, is selecting the right ingredients for your recipe. Nikk Alcaraz explains that he skips the fondant for all of his cake decorations and opts for modeling chocolate instead. Besides not being the easiest of materials to work with, fondant also has a consistency that isn't favored by many eaters. But modeling chocolate? That's where all the magic is.
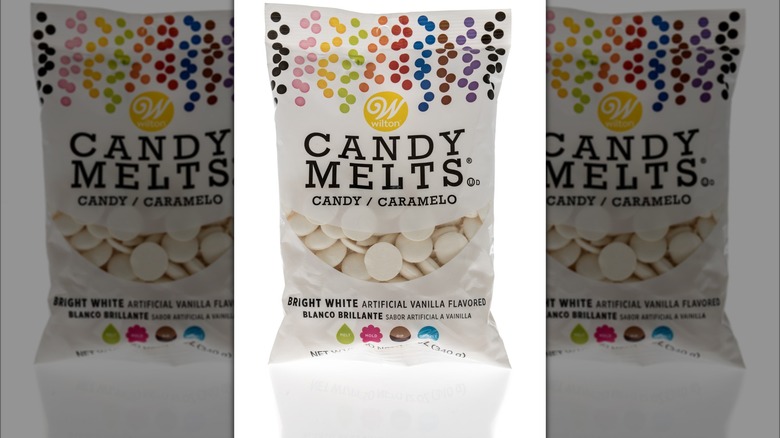
Alcaraz makes his own modeling chocolate by combining candy melts and cornstarch. Candy melts, like these options from baking company Wilton, come in a variety of colors, which means it's easy to find a shade that works for you and whatever you're making. Alcaraz mentions that modeling chocolate, which is essentially an artificial chocolate, should be kept indoors, rather than outside, to reduce the risk of it melting. "I would put it in the fridge first and then bring it out whenever you're ready," he says.
3. Create fake blood with piping gel
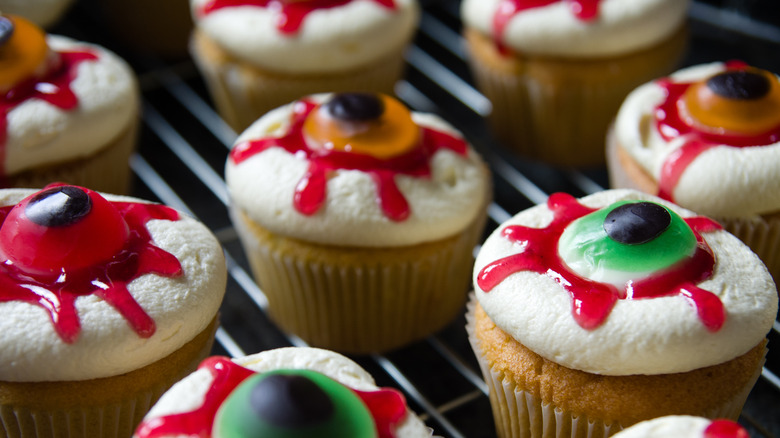
"Spooky" can be synonymous with "gory" depending, of course, on the type of Halloween cake you're looking to make. For many folks crafting cakes of horror and fright, fake edible blood is a must-have product. Besides looking like the real thing, edible blood can add a pop of color to your cake.
Nikk Alcaraz reaches for clear piping gel when it's time to whip up a batch of edible blood. This ingredient is known to add luster to decorations and frosting, but it just as easily can give your blood that oozy texture that makes it look hyper-realistic. From there, Alcaraz mixes the piping gel with cornstarch to thicken it, as needed, and will also add food coloring to it to give it that unmistakable bloody shade. Alcaraz uses burgundy-colored dye for the blood, but he will also add a hint of green dye to the recipe to help balance out the colors and prevent it from getting too dark. He also shares that you can repurpose your leftover piping gel to add color and shine to the eyes of the cake, as well.
4. Pour chocolate into plastic molds for an easy cake decoration
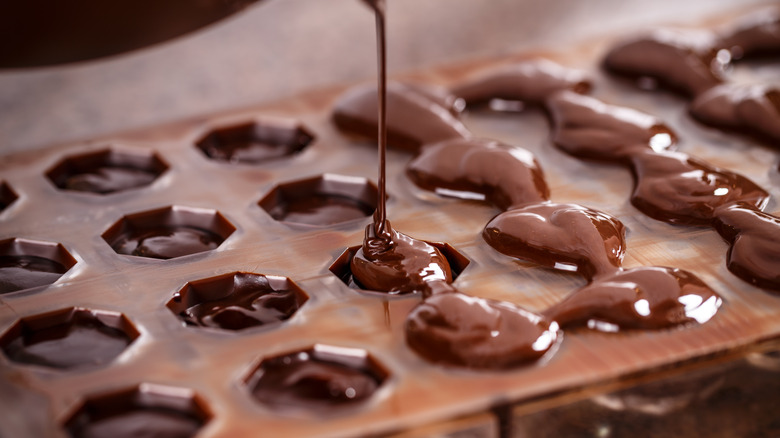
If you're someone who enjoys making Halloween-themed desserts, you'd be best off investing in a tray of chocolate and candy molds to create easy designs and edible accents. Nikk Alcaraz recommends avoiding the silicone-based molds, as the molten chocolate or candy melts tend to stick to the material and are difficult to remove. While you can add a dusting of cornstarch to the inside of the molds to prevent this from happening, Alcaraz notes that you'll in turn risk the chocolate looking dusty. Instead, he suggests grabbing some plastic molds. When you're ready to make the candy, simply pour the molten candy melts or chocolate into the molds and pop them in your freezer for about five minutes.
There are a ton of different options for Halloween-themed molds, and the best part about them is that they're so easy to use. Grab this pumpkin chocolate mold from Grandmama's Goodies and use orange candy melts for an autumnal cake. Or, use the company's rat-shaped mold to create a creepy 3-D decoration for your recipe.
5. Use almonds to create lifelike teeth
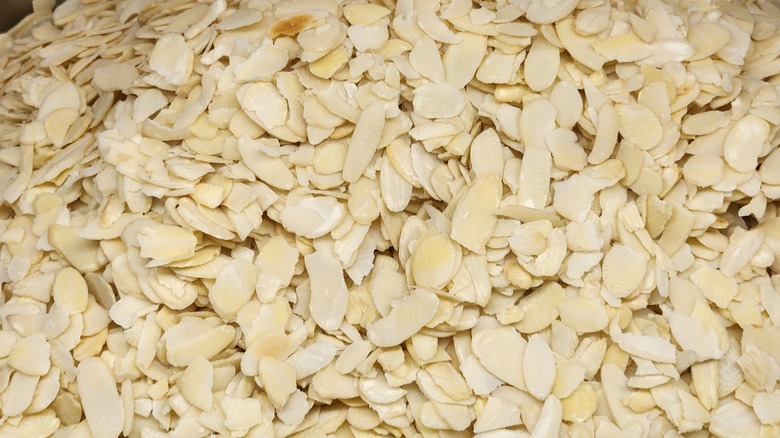
If you have guts and gore on your Halloween cake, you might want to consider investing in some teeth, as well. Instead of going through the painstaking process of piping small, triangle-shaped chocolate pieces and letting them cool before you stick them into your cake, consider opting for almonds instead. Nikk Alcaraz shares that these nuts have the perfect shape for a tooth. Plus, if you leave them natural, without adding any chocolate coating or dye, they kind of have a tooth-like color, too.
You'll want to use slivered almonds for your cake rather than just opting for the whole ones (you can grab a one-pound resealable bag from Nut Cravings for less than $15). Alcaraz also says that you can slice your almonds with a sharp kitchen knife to give it those jagged edges or add some depth to your cake. Once you've piped the mouth on your cake, you can just poke the almonds into the side so that they stick and stay in place.
6. Repurpose leftover straws for gummy worms
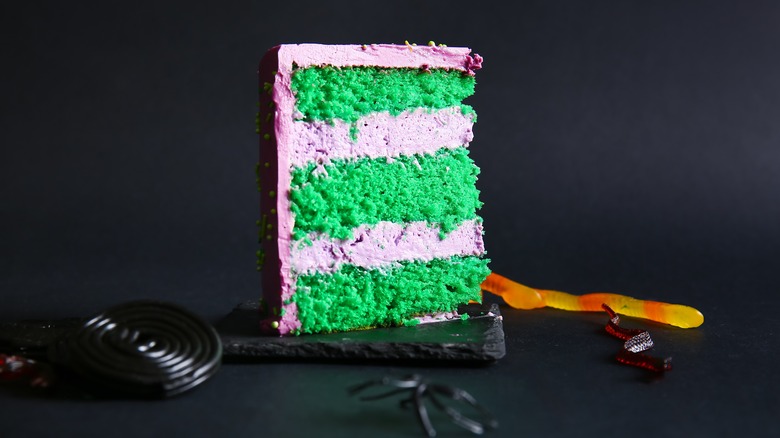
We've all enjoyed our fair share of dirt pudding over the years. But this classic dessert gets an upgrade when you swap out those sickeningly sweet gummy worms for homemade ones instead. And Nikk Alcaraz has a simple kitchen hack that will give you the most unique cake topping ever.
It involves all those disposable plastic straws you probably have laying around in your junk drawers. This tip, which Alcaraz shared on his Instagram, shows how to add food coloring to a glass of gelatin to get the worm-like color. Then, he pours the mixture into a glass filled with plastic straws. He explains in his interview with us that it's important that all of the straws are touching and tightly packed into the jar. This will prevent the gelatin from flooding into the glass, rather than staying and setting in the straws. When it's time to extract the gelatin, you can carefully push each of the worms out. Alcaraz uses this recipe for a spin on a dirt parfait, but you can use it for graveyard cakes, too.
7. A comb is the secret to lifelike grubs and other critters

Worms aren't the only creepy crawly critter that deserves your attention. Nikk Alcaraz has also shared one of his best tips for making lifelike grubs with us. And it might use a bit of an odd tool, and one that you would have never thought would be valuable in the kitchen: a simple hair comb.
Alcaraz explains how you can start this hack with a little bit of modeling chocolate. Once you rub it in between your fingers, you will end up with a log-like shape. From there, you can run the chocolate down the comb to create lifelike lines on your chocolate that really make it look like a grub. Alcaraz shares that these grubs are one of his favorite decorations to elevate store-bought cake. "I like to stick a hole in the cake ... and then put a little bit of the blood piping gel and then the maggot, because it looks like it's kind of coming out of the cake," he says. You could also attach the edible maggots to fingers and edible body parts, if you're after a particularly gory cake. Gruesome and tasty — just how we like it.
8. Thicken up royal icing to pipe spider webs
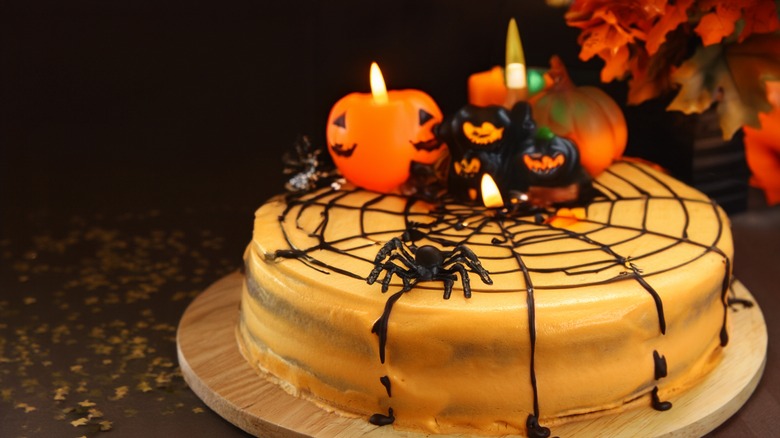
Okay, maybe you're not after something particularly scary in your cake. If guts, gore, and glory aren't what you're after, you could always transform a regular store-bought cake into something spookier by piping spider webs onto it. But in order to get the webs to perfectly drop on the cake, you'll need to make the perfect icing and use the correct piping tip.
Nikk Alcaraz always opts for royal icing for this design. Royal icing is relatively simple to make at home; it's typically made with confectioner's sugar, water, and meringue powder (for added stability and shine), though Alcarez makes his with lemon juice, milk, and powdered sugar. Regardless, you'll need to thicken up the royal icing for your webs so that it pipes easier and has a 3-D consistency once it hits the cake. From there, he uses a No. 2 piping tip to gently and intricately pipe the frosting. While this idea may be simple, it's an easy way to give your cake a spooky and decorative edge.
9. Make phyllo dough brooms for a witchy theme

The best decorations are the ones that are edible. And Nikk Alcaraz shared one of the most creative hacks for a tasty and bewitching decoration that we've ever seen with his Instagram followers. In the video, Alcaraz starts with chopped phyllo dough (otherwise known as kataifi) and a pretzel rod. He bundles the dough at the bottom of the rod, leaving some of it exposed, before using a couple extra pieces to affix it to the rod. Then, to give the dessert flavor, he brushes the entire thing with a sweet, cinnamon and sugar mixture. After they're baked, these cinnamon sugar witch brooms can be added on top of the cake or stuck on the side as a decoration.
Alcaraz has shared some of his tips for perfecting this recipe with us. He says that since phyllo dough dries out very quickly, it would be best to cover it with a damp towel to preserve that moisture. Brushing the stick immediately after it's shaped with butter will also help preserve that moisture and keep your brooms flying on Halloween night and beyond.
10. Utilize a buttercream transfer sheet to easily move decorations to your cake
When asked about an extra tip for decorating and churning out beautiful Halloween-inspired cakes, Nikk Alcaraz immediately suggests buttercream transfer sheets. And we can't blame him, because these sheets are quite handy — especially if you consider yourself someone who is a little artistically challenged. Alcaraz explains that you'll need to start by selecting an image and then putting a sheet of parchment paper over it (so that you can still see the image underneath). From there, you can use a strong icing (Alcaraz suggests an Italian meringue buttercream) and pipe it onto the parchment paper. Start by outlining the outside of your design, then work inwards.
Once your design is to your liking, transfer it into the freezer to allow it to harden. Then, when you're ready to decorate, flip the decoration onto the cake and smooth it out as needed. How easy is that? "You don't have to have any crazy artistic skill," Alcaraz says. "You just, you know, follow the lines."