The Biggest Mistakes Everyone Makes With Pumpkin Pie
We may receive a commission on purchases made from links.
Thanksgiving is a meal of staples. You have your staple protein (the turkey), staple sides (mashed potatoes, cranberry sauce, gravy — you know, the works), and your staple dessert: the notorious pumpkin pie. While I won't deny that pumpkin pie is a pleasure to eat, with its sweet, squashy pumpkin filling, crisp crust, and, of course, the dollop of whipped cream on top, I will note that this is one of the more difficult pies to try and make at home.
There are so many mistakes that people can make with pumpkin pie that cause it to split, come out underbaked, or accompany a soggy crust. While all of these scenarios have happened a time or two to me, with practice and a solid recipe, I've been able to overcome these challenges and bake some pretty stellar pumpkin pie (if I do say so myself). Here are some of the biggest mistakes that folks make with this iconic Thanksgiving dessert and how to make sure that they don't happen to you on turkey day.
Not calibrating your recipe for using homemade versus canned pumpkin puree
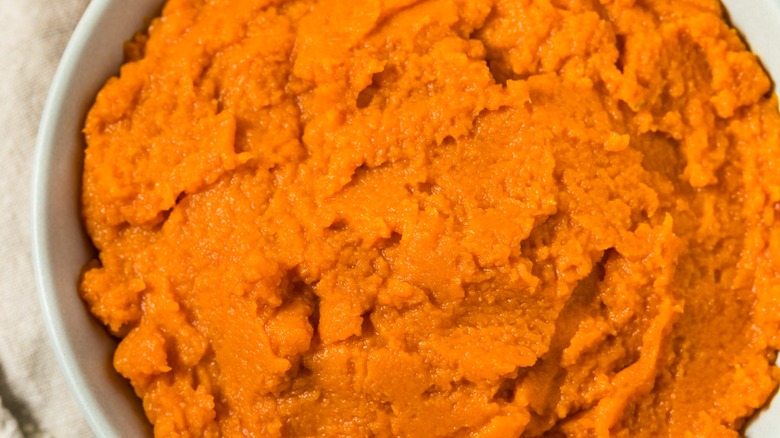
I will start out by saying this: I hate homemade pumpkin puree. This is one of the items that you're always best off buying at the store rather than trying to make yourself. A can of pumpkin puree will only cost you a couple of bucks, and you don't have to go through the arduous process of selecting the right pumpkin, roasting it, removing the skin, pureeing it, straining it, and — you get the picture. You have to do all that work, and you haven't even made the pie yet!
Plus, most pumpkin pie recipes are calibrated to utilize the stuff in the can rather than homemade pumpkin puree, which may run slightly wetter. If you swap one for the other, you may run into issues with the texture of your filling and, as a result, the texture of the entire dessert. If you're dead set on using homemade puree, you're best off selecting a recipe that is intended to be made with homemade pumpkin puree rather than one that calls for canned pumpkin. Moreover, don't make the mistake of swapping pumpkin pie filling for regular pumpkin puree, as the former is already sweetened and spiced.
Using the incorrect oven temperature
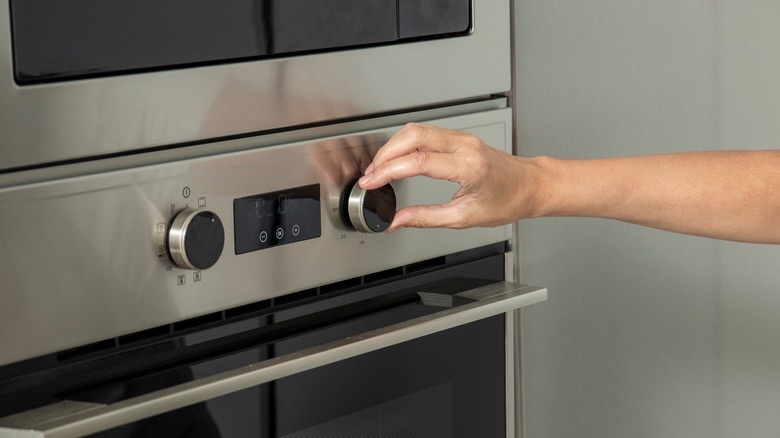
Having the perfectly set oven temperature is important for all baked recipes, including pumpkin pie. Since this pie has a custard base, it's extra sensitive when it comes to temperatures. So as a baker, you have to be doubly sure that the temperature of your oven is perfectly calibrated for your pumpkin pie recipe.
Pumpkin pies are prone to splitting, which is when an unsightly crack forms on the surface of the pie because the oven temperature is too hot. The more that the eggs in the filling tighten and coagulate under the hot temperatures, the more likely your pie is to develop one of these cracks. If you're working with an oven that's too hot, you may be subjecting your pie to unnecessary heat, which can expedite the cracking process.
Although it would seem easy to trust the dial on the outside of your oven, you should always try to check the temperature with an internal oven thermometer as well to ensure that it's perfectly calibrated. The difference between what you think you're baking your pie at, and what you actually are, can vary upwards of 50 degrees Fahrenheit.
Letting the butter in your flaky pie crust get too warm
There are the crust traditionalists, then there are folks who like to go rouge. If you fall into the former class and think that a classic, flaky pie crust is the only way to go for a pumpkin pie, then you've probably made this mistake a time or two. That's because although classic pie crust is made with a few simple ingredients, but there is a lot that can go wrong.
I'm talking about crusts that have had their butter leach out and come out dense and greasy rather than light and slightly puffed. The ingredient that's doing the rising here is the butter — more specifically, the water content in the butter that's been transformed into steam. Exposing your crust to high ambient temperatures or working it too much with your hands will likely melt some (if not all) of the butter in your crust. That means there's less steam available to help the layers rise.
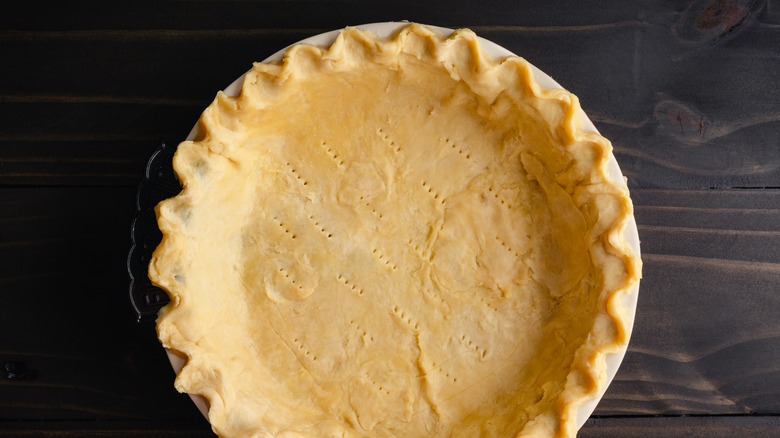
After you bring your crust together gently (gently being the operative word), I would recommend that you chill it before shaping it. This will give your butter a chance to solidify, which increases the chance of a slight puff during the par-bake stage.
Neglecting the par-bake on your crust
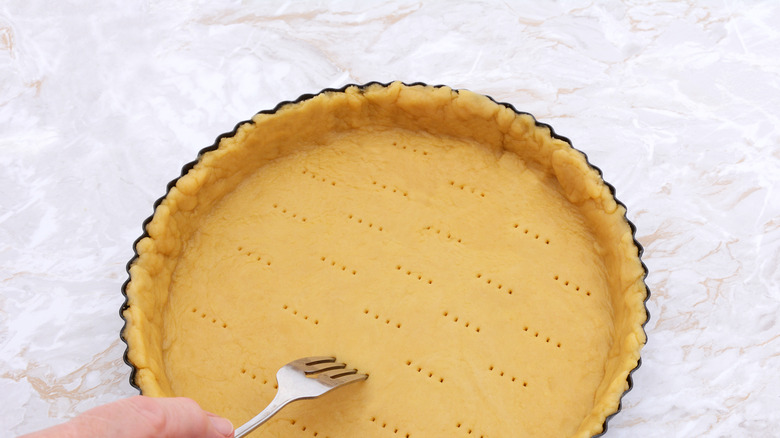
If you consider yourself a pumpkin pie novice (or can remember when you were), you probably remember when you made a recipe for it once, read about "par-baking" or "blind baking" in the steps, nodded, and skipped the step, just to bake the entire thing in the oven without a care in the world. After all, it just takes so much time. But, if you made this fool's error, you likely also saw the detriment that this had on your pie and vowed never to skip ahead again.
Par-baking is the process that allows the crust to partially bake before the filling is added, essentially giving the shell a head start. It's not the same thing as blind baking, which is when a baker will bake the entire crust, all the way through, before adding in a non-bake filling (like you'd see with a no-bake cheesecake or cold peanut butter pie). If you forget to par-bake your crust, the crust will come out significantly underdone, while the filling will be perfectly cooked through. If you want to get your crust more done, you need to keep the pie in longer, which may cause the filling to over-bake and split. Whatever way you slice it, it spells disaster for your recipe. Take the time to do the par-bake according to the recipe directions for a perfect pie — or else.
Not selecting your pie tin with care
Aluminum, enameled, glass, oh my! There are simply so many different types of pie vessels that you could be baking your pumpkin pie in — how ever do you decide on the best one?
The key to selecting a pie tin for your dessert is to factor in how well that material conducts heat. Aluminum pans, while they may be much cheaper than a glass or an enameled pie dish, are much more flimsy. Plus, they get really, really hot, which means that your par-baked crust will bake much faster than if you used a glass or an enameled pan. I would always recommend opting for a lighter-colored aluminum tin, if that's your material of choice, because it doesn't absorb as much heat as a dark-colored pan would. This reduces the risk of your crust getting too brown.
I find that a better option for baking pumpkin pie is a sturdy glass or enameled pan. While it will take much longer to heat up, it retains heat much better than an aluminum pan. Plus, if you're someone who finds themselves second-guessing their bake, a glass pie pan will alleviate at least some of your stress, as you can take a peek underneath to see the color of your crust. Ultimately, you will need to take these factors into account when you select your pie tin, as you may have to alter the time and temperature of your bake to account for your selection. Your recipe is a good reference for both the size and pan material that you need to bake with.
Over-baking your custard
Baking, as a whole, can be a very relaxed, de-stressing experience. Until, of course, you're screaming a series of expletives after you notice that your pumpkin pie has an ugly crack running straight down the center. In that moment, baking becomes the embodiment of stress.
I wish I could tell you a way to fix this split down your pie (besides just covering it with whipped cream or pie-crust decorations, as my mother used to do). But the only way to prevent your pumpkin pie from cracking is to prevent it from getting to that point in the first place. The crack occurs when the eggs in the custard tighten; it's often the result of over-baking. You can also tell a pumpkin pie is overcooked when the edges start to pull away from the crust or small bubbles form near the rim. To prevent the pie from reaching the point of no return, you'll need to keep a keen eye on it as it bakes.
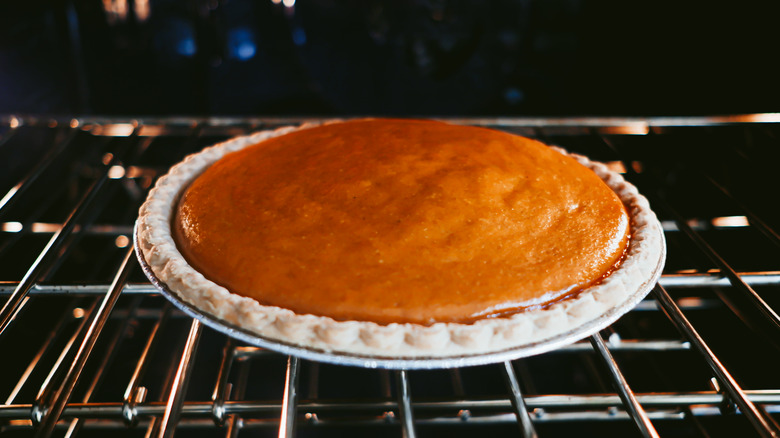
You can look for visual cues that your pumpkin pie is done baking to decide when to pull it. A properly baked pie should be set around the edges and still jiggle in the center, like a bowl of Jell-O. Don't worry; the rest of it will finish setting once the pie cools down. You can also ensure a flawless pumpkin pie by taking a temperature reading of it. Ideally, you're looking for a reading of around 175 to 180 degrees Fahrenheit. However, shoving a thermometer into your filling will yield a massive hole, which is why I would recommend using the jiggle test instead.
Sticking with the classic spice blend
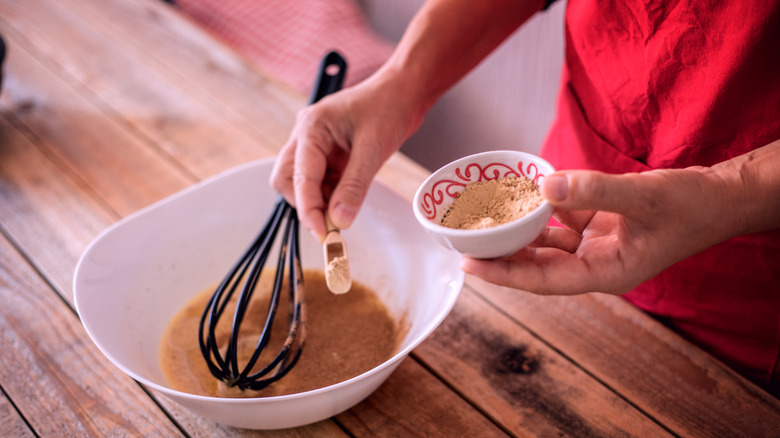
Cinnamon, cloves, ginger — boo, boring. While I will admit that I like using pumpkin pie spice for a whole host of recipes, including pumpkin pie, I've found that these spices are far from the only ones that are deserving of a spot in your recipe.
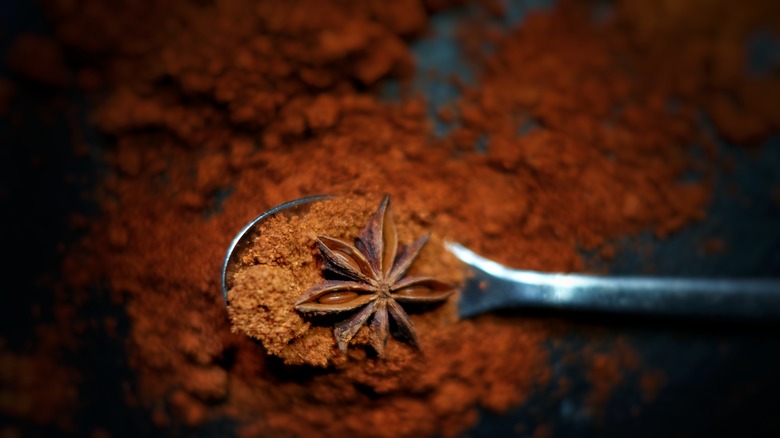
You can easily add more pizzazz to your pie by raiding your spice cabinet. One of my favorite spices to add to pie crust, for example, is black pepper. Freshly-cracked black peppercorns have a unique, snappy flavor to them that can't be replicated by many other spices. Black pepper will add sharpness to your crust, as well as act as a delectable contrast between the warming spices in the pie filling. You could also play with five-spice powder, which has anise and peppercorn notes in it, in addition to the standard pumpkin pie spices.
It's totally understandable if savory-leaning spices like five-spice powder and peppercorn are out of your wheelhouse. If you want something in the warming family, try a little bit of cardamom. It's decadent when paired with a citrus-infused whipped cream and will play well with the status quo pumpkin pie spices, like cinnamon and cloves.
Not giving the filling enough time to ripen
When you're baking a pie crust, you need to ensure that every component of your pie is flavorful — from the filling to the crust. As far as the fillings go, one trick that you can employ is to place it in the fridge before you scoop it into your par-baked pie crust. Refrigerating the filling will cause it to become more flavorful as the moisture evaporates, which will create a richer and more pumpkin-y tasting filling. It will also allow the spices to bloom and become more flavorful. It's a win-win-win — you just have to have the patience to chill the filling overnight.
Another way to add more flavor to your filling is to cook it down on a stovetop. This method will give you a more flavorful pumpkin pie because the sugar you add to it will caramelize, thus bringing out more toffee and brown-sugar like flavors. You don't have to cook your filling for long either; three to five minutes on the stovetop will suffice. Both of these methods will sharpen the flavors of your pie and make it all the more satisfying.
Sticking with a basic pie crust
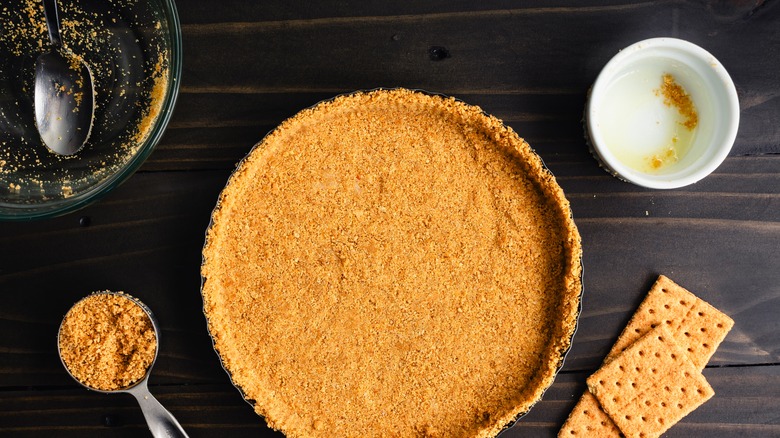
I consider myself to be a pie non-traditionalist. So, while the flaky pie crust is the indisputable top dog of the pumpkin pie world, it's far from the only crust that you can use for your pie. If you like a little less flake and want to introduce more unique flavors, a better option would be to use a graham cracker crust instead.
The beauty of a graham cracker pie crust is that you can buy one at the grocery store or try your hand at making it yourself. If you take the latter route, you also have the opportunity to customize your recipe with delicious flavors, spices, or different cookies. Add a little bit of cinnamon and nutmeg to emulate the same warming spices found in your pie filling. Or, swap out the classic graham cracker squares with crushed gingersnap cookies. So long as your cookies are crunchy (rather than soft) and you par-bake your filling, you'll get a perfectly tasty and crunchy crumb crust — all without the hassle of bringing together a pie dough.
Not investing in a pie shield
Using protection is important — especially when it comes to pie crusts. One of the things that bakers may notice when they're baking their pumpkin pies is that they may have left the crust par-bake too long. When you're waiting for the filling to set, you're precipitously watching your crust and the edges of your pie get darker and darker and darker — until they become blackened and charred right before your eyes. Unfortunately, this perfectly avoidable mistake may send you rushing to the grocery store at the eleventh hour to find a pumpkin pie to serve for Thanksgiving. It's not ideal in the slightest.
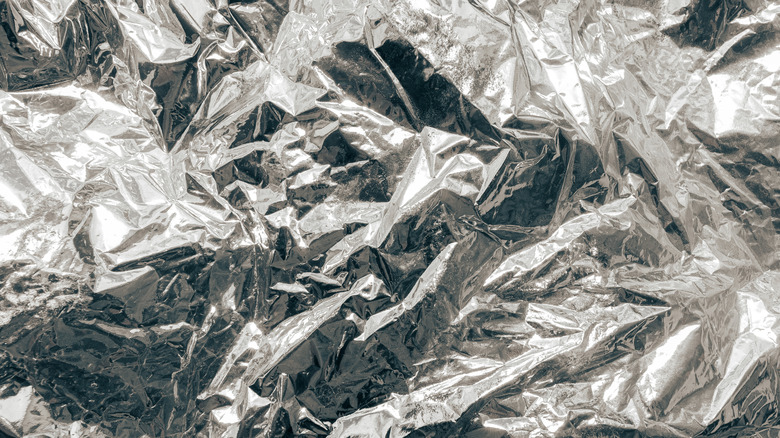
To avoid the stress and the headache of overly browned edges, consider investing in a pie shield. Products like these adjustable silicone pie crust shields can prevent your pie from burning up, while still giving the center of your pie time to finish cooking. You can also make a pie shield to prevent burnt crust by tucking a piece of aluminum foil around the edges.
Cutting into your pie right after it's finished baking
Wait, wait, wait — put the knife down! Seriously, it's far too early to cut into your homemade pumpkin pie. Yes, I know you spent all this time trying to get it perfectly baked, but you have to wait for a little bit of time for the center of the pie to set before you can slice it. Pumpkin pies cook via carry-over cooking, so this rest time is vital to ensure that the center of the custard pie firms up just enough to slice into without turning into autumnal-spiced goop on your plate.
You might instinctually pull your pie from the oven, pop it on a cooling rack, and walk away. But, the best way to prevent cracking is to let the heat gradually cool in the oven, rather than on the countertop — like what you would do for a cheesecake. Once you're satisfied with your bake, pry the oven open slightly and allow your pie to cool overnight in the appliance's residual heat.
Skipping a chocolate layer
Pumpkin pie is probably not something that you associate with the decadent taste of chocolate. But, it sure could be!
A chocolate layer would give your pie an added level of sweetness. Not to mention, chocolate goes well with spices that are already in your pie filling, like cinnamon and cloves. For one, you can add cocoa powder to some (or all, depending on how adventurous and willing to stray from tradition you are) of the pie filling. The cocoa is dry, so it will absorb some of the moisture in your filling.
Alternatively, you can add a sprinkle of cocoa powder to the pie crust to infuse it with chocolatey flavor. This will complement the spices and classic pumpkin flavor of the dessert without overpowering it too much. Or, try to infuse cocoa flavor into your whipped cream and douse your pie with a sprinkle of chocolate shavings on top. In short, chocolate will give your pie a more decadent mouthfeel, with very little work involved on your end.
Not serving your pie creatively
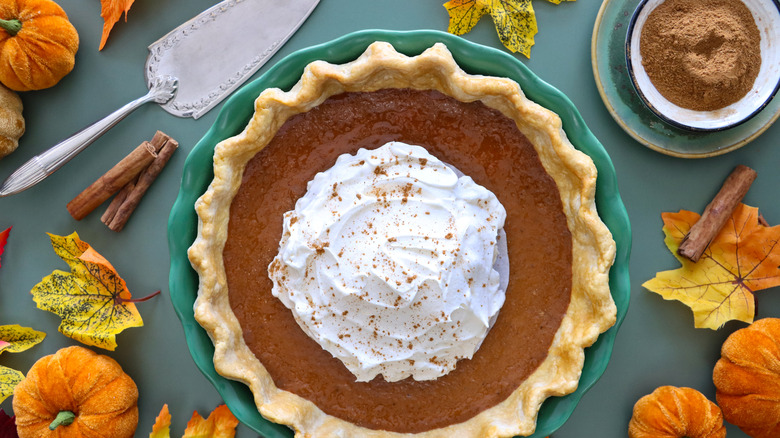
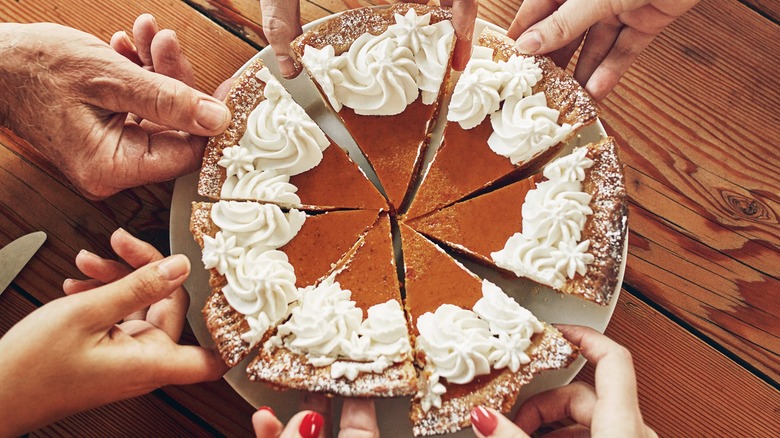
You've gotten your pie to the last stage: decorating. The standard toppings for pumpkin pie include your basic Cool Whip or whipped cream, but that's not to say that you can't find other ways to garnish your pie. Ideally, you don't want to select a topping that will distract from the pie. Rather, you'll want to complement its flavorful filling and crisp crust.
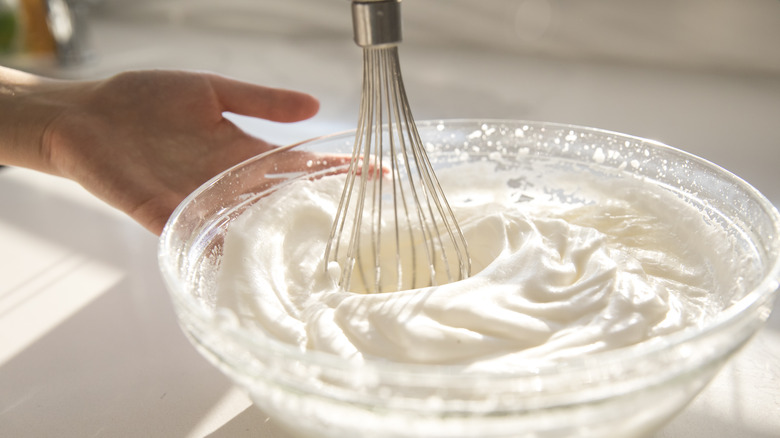
Start by sprucing up a homemade whipped cream. If you like a whipped topping with a little more sweetness, consider adding honey to it. The floral flavor of this addition will round out the unctuous mouthfeel of the fatty cream and help take your dessert to a new level. Or, you could try adding a little bit of fresh grated ginger to your whipped cream. I love ginger because it's really sharp and bright, and it will really give a remarkable flavor to your pie that can't be replicated by many other ingredients.
The other option is to venture from the traditional light toppings and try something slightly heavier: ice cream. The best ice cream pairing for pumpkin pie is undoubtedly classic vanilla. It won't distract from the filling but will add a creamy mouthfeel to complement and carry the pumpkin puree's flavor.
