16 Tips For Baking The Absolute Best Bundt Cake
We may receive a commission on purchases made from links.
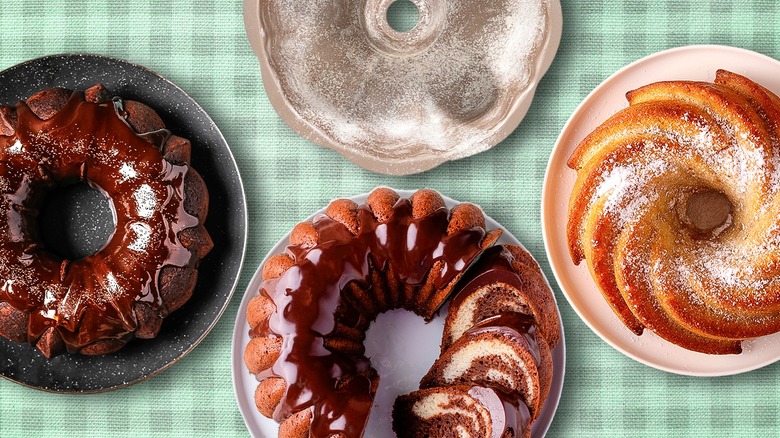
Why would anyone bake a plain cake when there's Bundt cake out there? Certainly, you can bake a cake that's round or one that's square — but where's the fun in that? With just a Bundt tin, you have the opportunity to make a fun-shaped cake that's perfect for adorning your holiday, breakfast, or dessert table.
Bundt tins have a circular shape with a hole in the middle. While the design of the actual tin may differ, all Bundts have a hole in the center, which allows the cake to cook from the inside out. In comparison, conventional cake pans bake from the outside in. As you can imagine, the unique shape of these tins makes making a cake in them slightly more difficult. As an experienced home baker, I've worked with these tins frequently. I've also had countless cakes come out half-stuck to the tin, raw, and unfit for serving to anyone.
I've cultivated some of my best tips for making stunning, tasty, and towering Bundt cakes. While using this tin is certainly a learning curve, they're not as intimidating as they look. Once you master the nuances of properly greasing the pan, removing it from the sponge, and decorating, you'll be well on your way to a stunning Bundt for every occasion.
Select the right type of cake for your pan
You might have heard about the importance of selecting the right pan for your cake. But, when it comes to Bundts, it's more a matter of selecting the right cake for your pan.
There are some cakes that fare better in a Bundt tin than others. You can't use just any type of batter for this cake because fragile ones, like angel food cake or a fluffy vanilla sponge, won't hold up to the bake well. The light, bouncy texture of the batter will make it more prone to ripping and breaking. Plus, these light cakes tend to go drier faster and may come out deflated.
A heavy cake will hold up better to the weight of your decorations and will maintain its shape while it's in the oven, thus making it a much better fit for your Bundt. Think devil's food, red velvet, or carrot cake. Though, you could also add a unique spin to your coffee cake by baking it in a Bundt rather than a classic pan, too.
Follow your recipe to a T
Isn't following a recipe just a common sense thing when you're baking anything? Yes, following a recipe is important, regardless of what you're making. But, when it comes to making a Bundt cake, making sure that you're following all of the steps and using precise measurements is all the more important. If your cake comes out too wet, dry, or dense, it may not bake properly. Moreover, making these simple mistakes will set you up for potential run-ins with a poorly-risen cake or one that comes out stuck to the tin.
There are several things that you can do to make sure that your cake recipe comes out exactly as you intended. The first is to weigh everything on a scale, rather than trusting a measuring cup, spoon, or a glass. You should also follow instructions about temperature very literally. That means taking your eggs out so they can warm up to room temperature ahead of time, using soft or melted butter (depending on what the recipe calls for), and preheating and calibrating your oven so it reaches the proper temperature before you slide your cake in.
Don't be afraid to play with bold flavors
From the outside, the Bundt cake is really rustic. But, there are tons of opportunities to experiment with bold flavor combinations and make this cake taste as good as it looks.
If you love the fall flavors of a crisp, apple cider donut, you can try a Bundt rendition of it. This cake has the slight acidic twist from cider, along with a generous cinnamon and sugar coating that adds that satisfying bit of crunch to it. And if you're a fan of British desserts, you may try whipping up a sticky toffee pudding Bundt cake, flavored with sweetened mashed dates and coated in a rum-infused sticky caramel topping.
As long as you have a solid base recipe, you should consider experimenting with different spices and extracts to amp up your cake's flavor. Since this is a Bundt, the base of the cake really needs to be the pinnacle of flavor — not the icing or garnish. Be bold, but within reason.
Choose a quality Bundt pan
You have to have the right tools to bake the right cake. In this case, you'll want to select the perfect, sturdy pan to bake your dessert in.
The best Bundt tins are heavy-duty enough to maintain their unique shape over years of washing and use, but are not too heavy that moving them around and manipulating them in the oven is difficult. I, for one, use a Nordic Ware Bundt pan and absolutely love it. It's made of cast aluminum, so it heats up relatively quickly and is light in my hands. The surface is also non-stick (though, you should always grease this type of pan before using it). You can also pick up Nordic Ware's Heritage collection Bundt, which has a slightly more intricate shape. Regardless of what you choose from Nordic Ware, you know you're getting a quality pan that's built to last (seriously, my Bundt was a hand-me-down from my mom's kitchen).
Other folks will purchase ceramic or glass Bundt tins, but I find that these are slow to heat and significantly heavier than aluminum. Just be sure that you get a lightly-colored one, as a dark pan traps too much heat and may cause your cake to brown faster.
Grease your Bundt pan before filling it
If you pick up your Bundt pan, you can easily see all of the corners and places where there is potential for your batter to stick. And this doesn't just create more work for you to clean up later; it also may cause your Bundt to stick to the inside of the pan rather than gently sliding out onto your cooling rack.
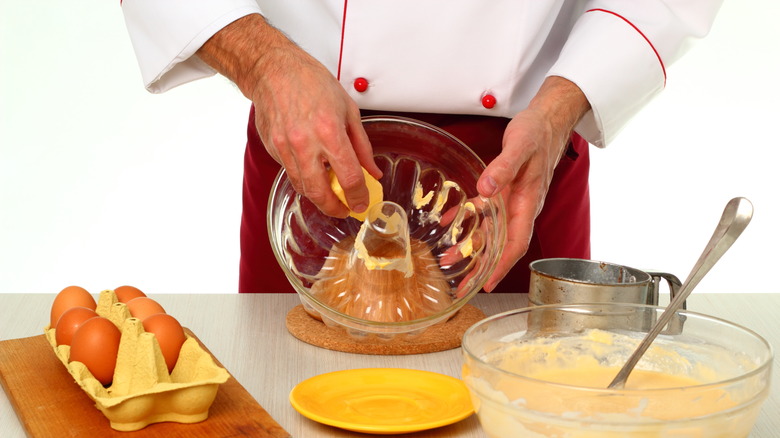
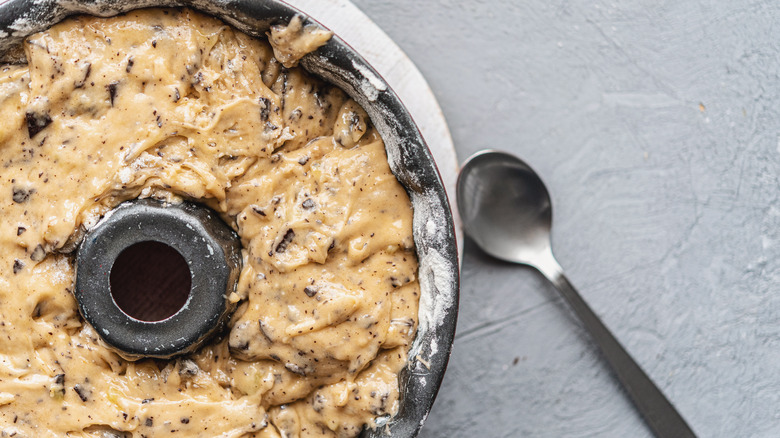
Preventing your Bundt from sticking to the pan starts with greasing. Besides the edges of the pan, you'll also need to properly grease your Bundt pan's center piece, too. Most people will reach for butter to prepare their pan, but a better alternative is vegetable shortening. You can melt down a little bit of Crisco and use a pastry brush to spread it into all of the nooks and crannies on your pan. Milk solids in butter tend to burn and darken more readily at lower temperatures than the all-fat vegetable shortening, so using this alternative for your cakes will reduce excess browning. Plus, it's a dairy-free alternative that will allow you to make vegan Bundt cakes.
Use a coarse coating to prevent cake from sticking to your pan
Shortening has been melted, the pan has been coated, it's time to pour the batter into the pan, right? Wrong. You'll need to add an extra coating to ensure that your Bundt cakes don't stick to the pan. While plain white flour will prevent your cake from sticking to the walls and sides of the cake, there are far more flavorful options out there that you can try. Plus, does anyone like to eat clumps of flour stuck to the outside of their elaborately-decorated cake?
The exact coarse coating you'll want to add to your cake will depend on what you're baking. You can add unseasoned breadcrumbs to the pan and give them a shake; this slightly-savory addition will add a delectable crunch to the outside of your dessert. But if you want to go with something more in the dessert-adjacent family, you may want to turn to almond flour. Its nutty flavor and coarse texture will prevent your cake from sticking to the sides and will also impart a subtle, yet decadent flavor to your Bundt.
Grab a roll of plastic wrap to make coating your pans easier
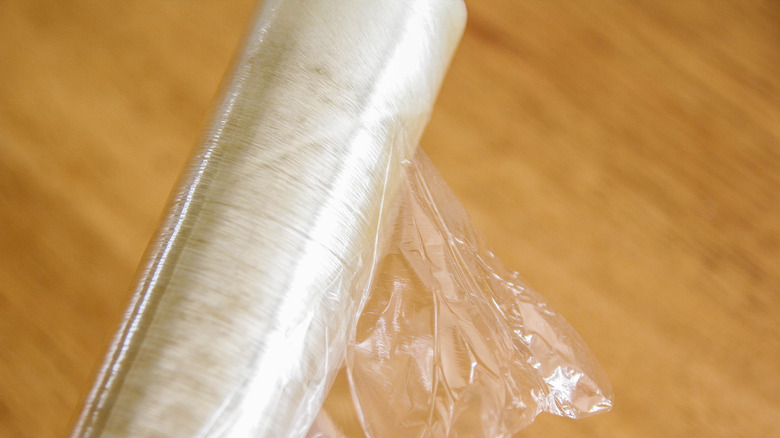
Once you get your shortening and your crumb coating into the pan, you may be wondering how exactly to distribute it on all of the sides without painting every wall of your kitchen with a crumb coating. Alton Brown's trick makes coating your pan easy. The food media personality recommends grabbing a roll of plastic wrap and sprinkling a couple of tablespoons of sugar or flour into it. Then, he covers the bottom with the cling film and gives the entire thing a good shake. This allows the sugar to easily distribute into all parts of the pan. And, if there's any left over, you can always pull off the film and gently tap out the remainder into the trash can.
If you don't have any plastic wrap in your kitchen, you may consider using a rimmed baking sheet instead. That way, you can easily flip and rotate the pan to coat all of the edges with the sugary mixture. However, I find this tool to be a bit more difficult to maneuver than a couple of sheets of disposable plastic wrap.
Use a spoon to prevent the mixture from doming
The unique shape of your Bundt pan means that you have to prepare it for baking a little differently than a traditional pan. Bundt pans have a tendency to produce cakes that are domed on the bottom. This is due to some air bubbles remaining in the tin as the cake bakes. While a domed cake will still taste just as good as an undomed one, the puffy edges make decorating and serving this cake a pain in the neck.
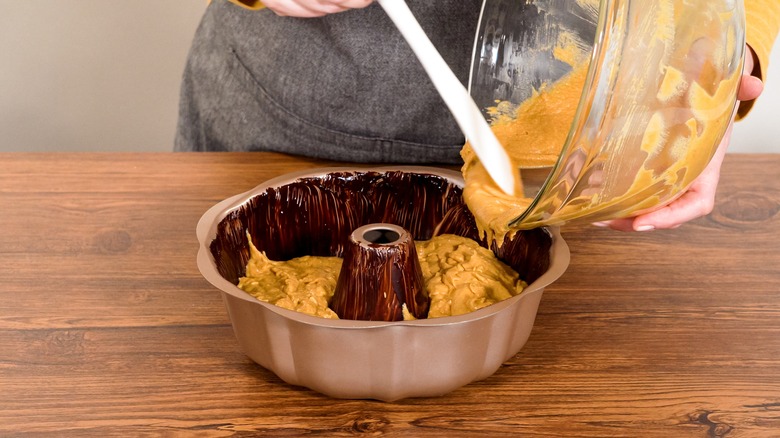
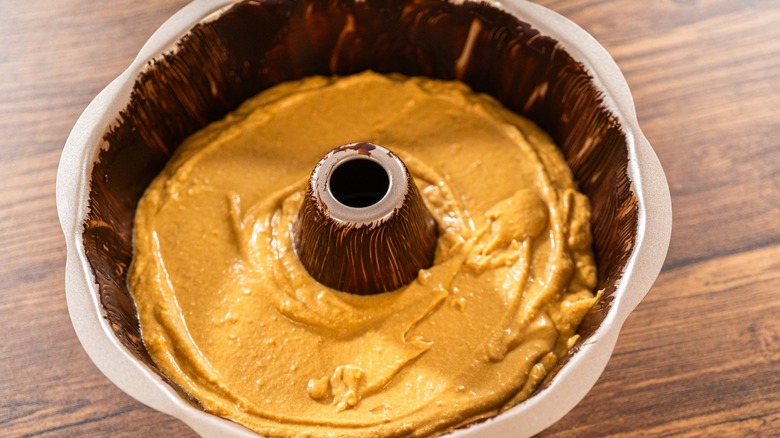
To prevent the dreaded dome, you'll want to pour the batter into the cake tin as usual, making sure that the cake is completely and entirely level. Then, you can grab a spoon (or an offset spatula) and push it along the center ring of the cake to create a trench-like shape. Stick to a small spoon or spatula, since making this indentation too large may cause other structural issues with your cake.
Don't overfill your Bundt
We've all been guilty of adding just a little bit too much batter to the muffin or cupcake tin. While this mistake may amount to an impressive muffin top worthy of a bakery case, the results are not as favorable when you make the same mistake with a Bundt tin.
If you overfill your Bundt tin, you will set yourself up for several problems down the road. The first, of course, is that your cake will crest the sides of your pan and fall into your oven. No one wants to clean up burnt-on cake from an oven rack. Moreover, your cake needs room to expand as it bakes. Shoving all the batter into a tin will reduce the amount of space that it has to grow and fluff up, which will lead to a dense and stodgy sponge.
When baking a Bundt, only fill it up between two-thirds and three-quarters of the way to the rim. That will give your batter enough room to puff up and will save you the headache of a very messy cleanup.
Remove the air bubbles before sliding your cake into the oven
Once your Bundt is filled and you're ready to bake, there is one last step that you will need to complete. Giving your Bundt a light tap on the countertop before you slide it into the oven will remove some of the bubbles in the batter and help to even it out. This step will help ensure that your cake comes out perfectly flat on the bottom and will make it easier to decorate later on.
Another way to ensure that your Bundt cake bakes evenly is to bake it on a flat surface, like a sheet pan, rather than putting it straight on a wire oven rack. A normal cake pan is flat, so you don't have to worry about the sides coming out crooked. But, a Bundt has all of those precious nooks and crannies, so it may not sit completely evenly on your rack.
Resist the urge to crank up the heat
It shouldn't come as a surprise to you that your Bundt cake won't bake at the same rate as your other cakes. Bundts have a high surface area and a hole in the middle, so they bake from the inside out. Other cakes bake from the outside in, which prolongs the time that they need to spend in the oven. However, you also have to consider the density of your cake batter when you're factoring in how long to leave it in the oven. Dense cakes, like pound and zucchini cake, take a lot longer to bake through than a light and fluffy sponge.
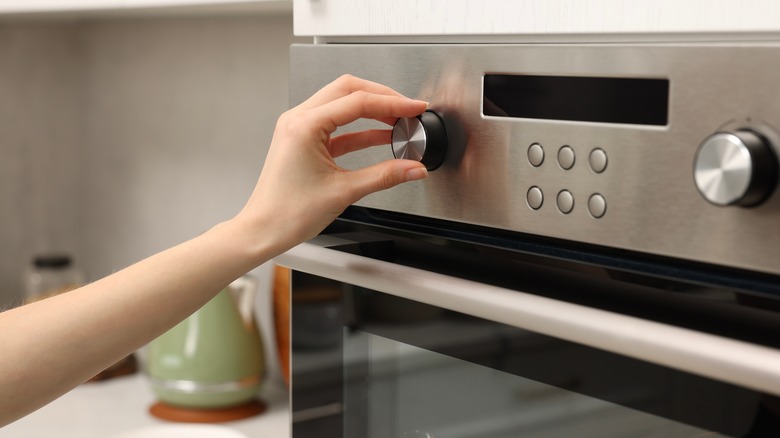
The best piece of advice I have for deciding how long to bake your cake is to read your recipe — and resist the urge to crank up that knob. Baking your cake hotter will not cause it to cook through faster; it will just lead to it darkening on the outside and staying raw in the middle. Be sure to grab a toothpick to test the center of the Bundt before you remove it from the oven.
Give your cake enough time to cool before removing it from the tin
As a baker, carryover cooking is something that is always in the back of my mind. I've left far too many batches of cookies on a hot baking sheet for too long, only to return to ones with dark, burnt bottoms. But, when you're baking a Bundt, carryover cooking can be an asset to you. You'll want to leave your Bundt in the pan for just a little bit of time, rather than removing it immediately.
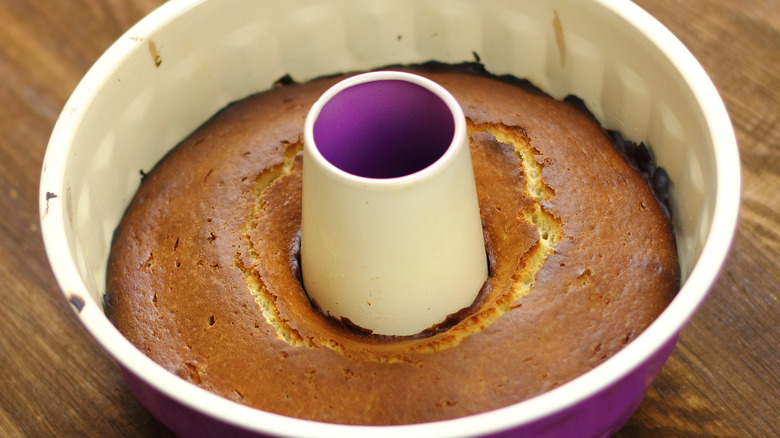
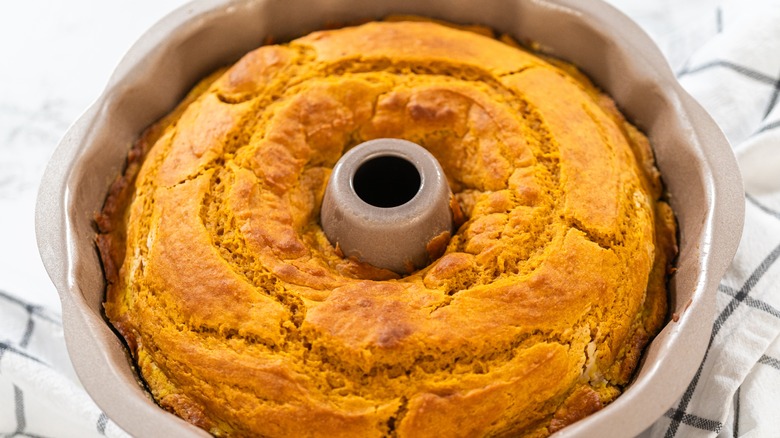
The key is to leave your Bundt in the pan for about 10 minutes before you try to remove it from the tin. This short period will allow the batter to crisp up on the edges and start to pull away, in turn making the process of removing the cake from the pan exponentially easier. However, if you leave your cake in the pan for too long, you may risk it over-browning or sticking. If your pan is no longer warm to the touch, you may have waited too long to remove your cake.
Employ the smacking technique to dislodge your cake
Take a breath — the time has come to remove your Bundt cake from the tin. This is obviously the most nerve-wracking part of the entire process — and it will tell you if you truly did grease your pan enough. Once your pan has had an opportunity to cool, it's time to invert your cake onto a cooling rack.
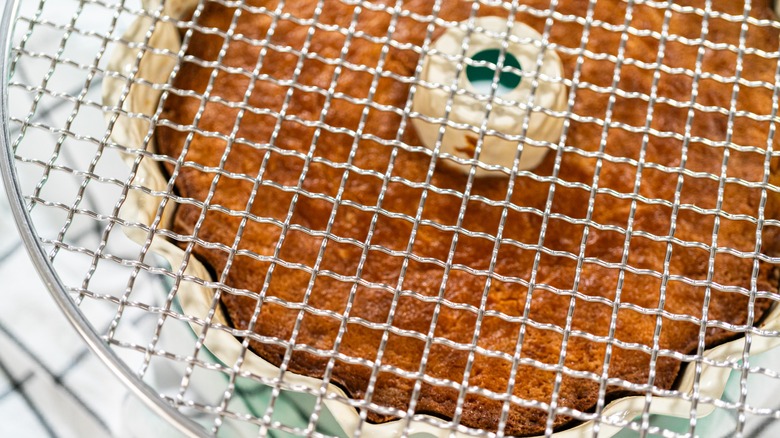
Whenever I make a Bundt, I let gravity do most of the work. I'll put a cooling rack on the bottom, invert the tin, and walk away. In about 10 minutes, the cake should gently and successfully drop onto the rack without much intervention on my part.
However, if your cake is being stubborn and won't come out of the pan, you can give it a gentle tap with your palm so that it will drop out. Regardless, you should avoid sticking a knife into the pan to try to pry the cake off; this will likely only lead to a broken sponge.
Stick to simple decorations
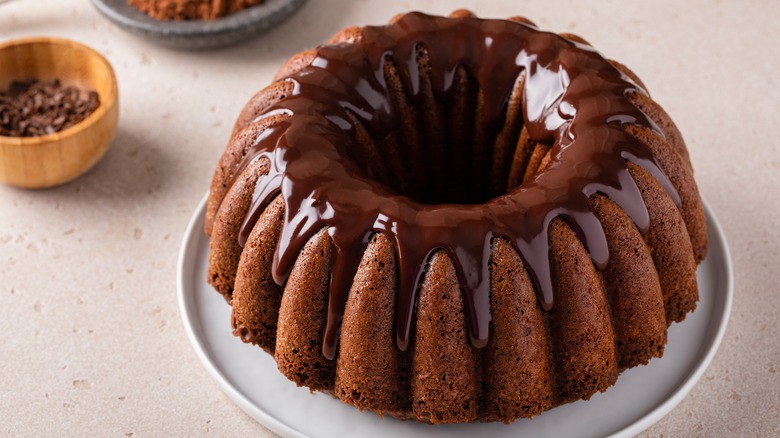
Bundts are the cakes that I recommend for bakers who are patient or hate decorating (or both). While it might take a lot of work to get your cake to the decorating step, the process is seamless and easy. Layer cakes and showy sponges tend to have ostentatious piping or buttercream work, but your Bundt cake needs something more simplistic. You don't have to think too far outside of the box to whip up a tasty and effective garnish.
For one, you may just want to add a sprinkle of powdered sugar to the ring; this would be excellent for a coffee cake Bundt or a simple carrot cake. Or, you can consider whipping up a flavored sugar syrup to soak your Bundt with. Soaking a fruit cake with brandy or rum could highlight it well.
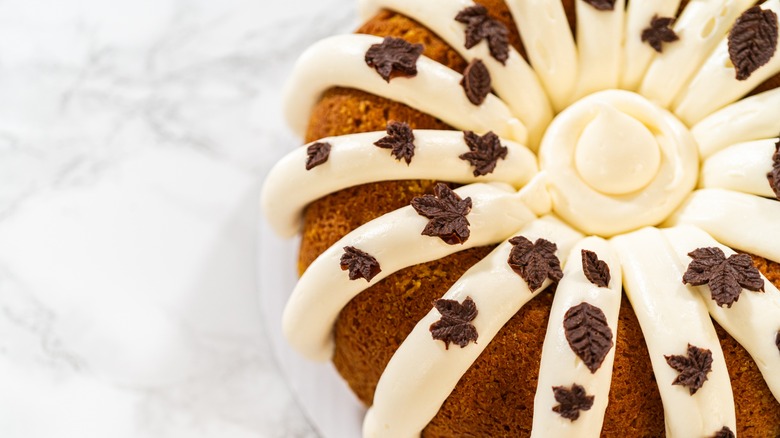
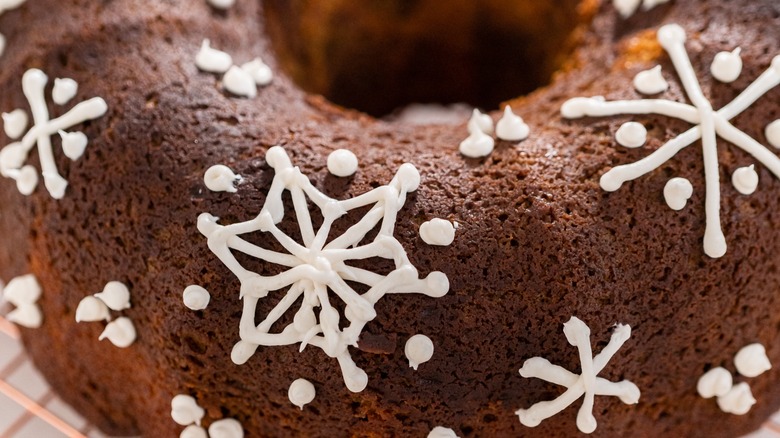
That's not to say you can't try your hand at piping work. But, leave the extravagant decorations for the other cakes and stick to something simple, like some royal icing accents or little dollops of whipped cream.
Soak your Bundt pan to remove stuck-on cake
Cleaning is, by far, the worst part of making a Bundt cake. But, having a pan with stuck-on cake is kind of gross — and you'll need to address it before you whip up your next cake to ensure that you don't taint its flavor.
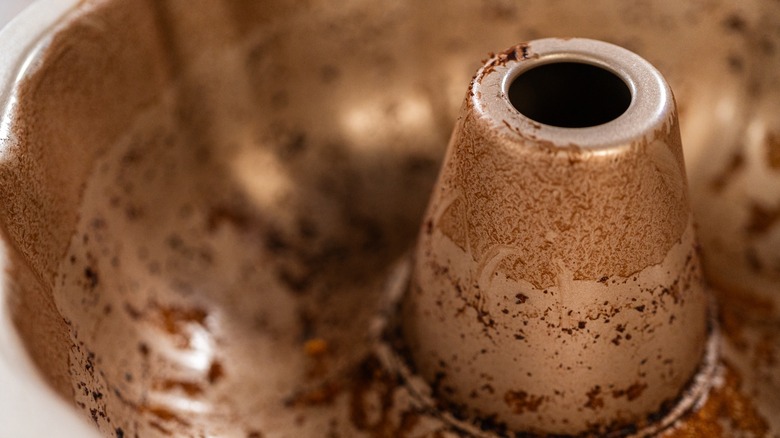
The best method for cleaning a Bundt pan is to let the pan soak with steamy water and dish soap. Avoid using any metal scrubbers to remove the stuck-on cake, as this can make it less non-stick and cause issues with sticking in the future. Then, gently scrub off the residue with a sponge or a Bundt pan brush until it's spotless.
Store your cake in the fridge or the freezer
You may not be able to eat an entire Bundt cake on the same day you bake it. Cakes are best enjoyed at room temperature, but if you're using perishable ingredients, you'll need to put it in the fridge after a few hours. If you make Bundts enough, you may want to invest in a shaped Bundt keeper to ensure that your cake stays fresh and that all of your refrigerator odors won't impact its flavor.
Bundt cakes, especially those without decorations, also freeze well. If you know you're going to want to enjoy a single slice or two, try cutting up your Bundt ahead of time and wrapping the individual servings in plastic wrap.
