12 Techniques That Make Frosting Cupcakes A Breeze
We may receive a commission on purchases made from links.
Cupcakes are an easy-to-make, pint-sized version of the your favorite type of cake. They're far easier to distribute to a crowd than a big, layered monstrosity, and they're easy to eat while you're milling about at a special celebration, too. While the process of baking and making cupcakes is quite fun and enjoyable for many, it's the frosting and piping step that makes people ask themselves why they didn't just pick up a 12-pack from their grocery store's bakery.
The process of properly frosting cupcakes (or any baked good, for that matter), isn't something that I would say is "hard" — it just requires some finessing and a strong attention to detail. As an avid home baker, I've made my fair share of cupcakes over the years and have, slowly but surely, mastered the craft of getting the perfect frosting job. Here are some of my tips for making sure that you have a bakery-worthy batch of cupcakes that look just as good as they taste.
If you're using canned frosting, whip it first
There are two potential pathways that you can take when it comes to making cupcakes. The first is the "easy way out," which involves using canned frosting and focusing the bulk of your efforts on the actual decorating part of the process. Or, you can spend time making the perfect frosting recipe, only to risk having the butter split, the sugar to be ever so slightly gritty, and the consistency to be gloopy. When you think about it like that, canned frosting seems like a safer bet. Realistically, canned frosting isn't that all bad in terms of taste, either. It's decadently sweet and somewhat plasticky, but once you get a bite of it with a decent cupcake, you won't notice it all too much.
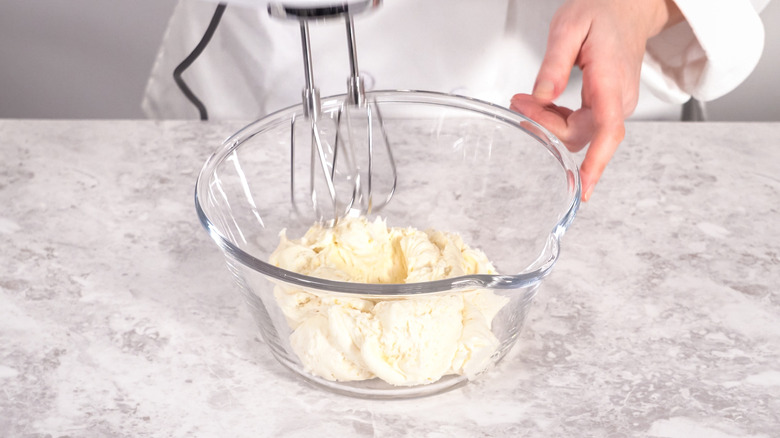
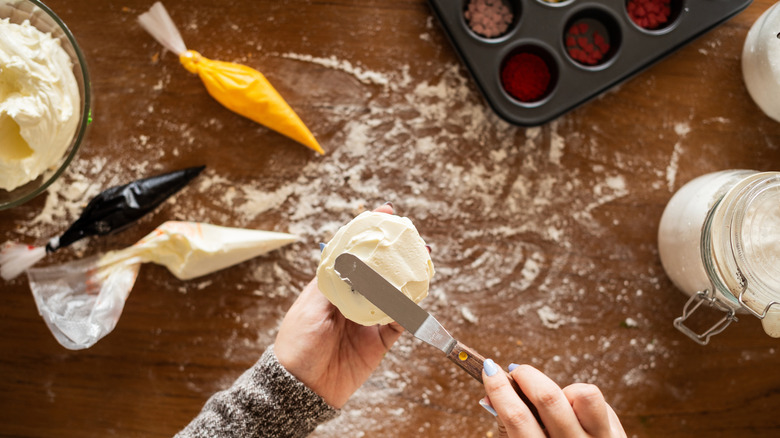
One of the biggest mistakes that I see folks making with canned icing is just schmearing it on, straight from the can. To transform your store-bought icing, you're going to want to first whip it in a stand mixer or using an electric beater. This process will introduce air into the frosting, which in turn makes it easier to pipe, spread, and overall work with. It's one step that I would unequivocally recommend if you opt to use canned frosting to decorate your cupcakes with.
Swirl on the frosting with the back of a spoon or using an offset spatula
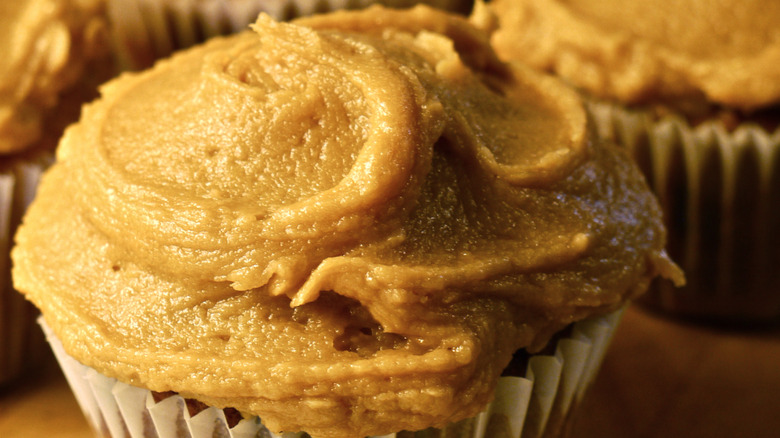
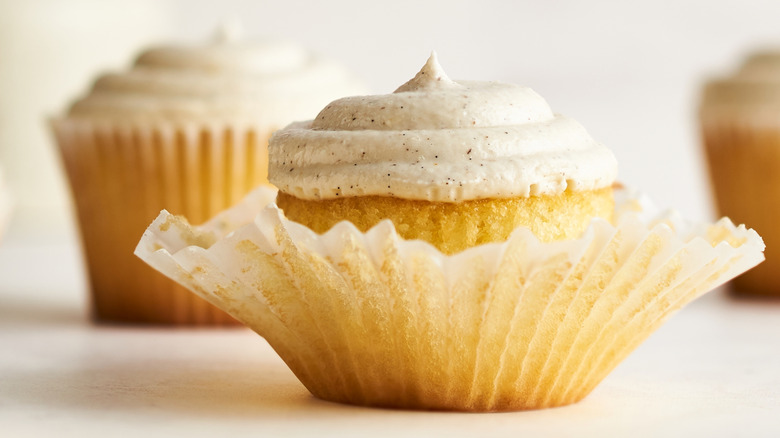
If even the thought of using a piping bag incites anxiety, you may want to consider opting for the easiest possible way to decorate your cupcakes: with an offset spatula or using the back of a spoon. Once you pile the icing on to the cupcake, you can easily use the back of the spoon to make it easy to spread across the surface of the cupcake. The key in doing so is not to press so much on the icing that it splatters out to the sides. You just want to swirl the frosting enough so that it's aesthetically pleasing. Moreover, to make un-peeling the wrapper easy, try to avoid swirling out all the way to the edge of the cupcake. The buffer here doesn't have to be large, you just don't want the icing to touch the paper.
I have distinct memories of making buttercream, putting it on a cupcake, and watching it harden so much that it was unwilling to spread. Now that I think about it, the likely culprit here was an icing that was not properly whipped and did not have enough volume to spread easily. You shouldn't be afraid to whip your frosting well with your stand mixer — just be careful not to whip it so much that it turns into butter. You should also sift your powdered sugar before adding it into the frosting to ensure that it doesn't clump together. It's easier to correct the frosting while it's still in the mixing bowl than when it's on your cupcake.
Play with different star tips to get your desired swirl
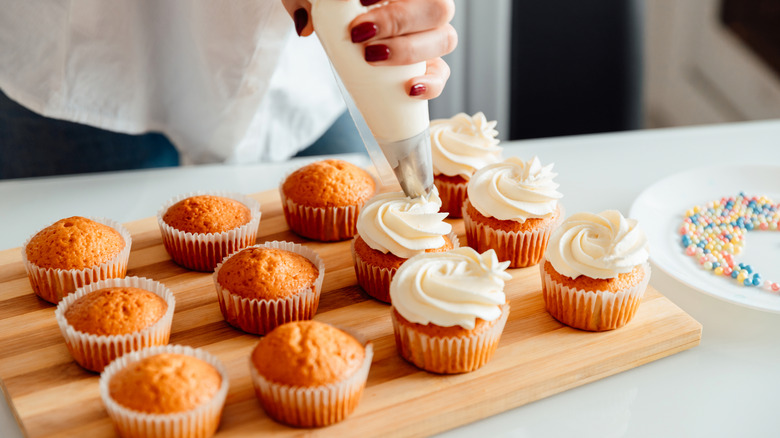
If you're after a delicate rosette shape on the tops of your cupcakes, your best bet is going to be to use an open or closed star tip. A closed star tip will give you a little bit more of a tight rosette pattern, while the open tip will give you a more floaty, petal-shaped effect. There is mixed guidance out there on if you should start your swirl from the inside, or work your way from the outside in. If you're just getting the knack of piping, I would recommend that you try from the inside out, as it makes it easier to adjust to the pressure of the piping bag when you're ready to move to the next cupcake. Apply even pressure to your piping bag as you pipe an individual star in the center. Then, swirl outwards, applying consistent pressure to those concentric rings. Once you reach the outside, diminish the amount of pressure you're applying to the bag and pull it away to taper the edge.
I find that the two hardest things for bakers to master about this technique is to make sure that you're applying consistent pressure on the bag and keeping your rings tight, as this will prevent any bare spots from forming on the top of your cupcake. Once you master this technique, you can start layering on the rosettes, starting with one color for the bottom rosette, than switching to a separate bag and color for the one on top of it. This will give your frosting some height and a cool stacked effect.
You can also use a star tip to make individual stars on the top of your cupcakes. This is a great option to go for if you don't trust yourself to keep enough pressure on the bag as you're piping. Simply hold the bag vertically over where you plan to pipe. Then, give the bag a gentle squeeze to plop out the flower. Release the pressure as you pull your hand upwards and away from the cupcake. The longer you hold the pressure, the taller the center of the star will be.
Move the piping bag horizontally rather than in circles
Rosettes will take awhile to master, I won't lie to you about that. If you want to make technical-looking cupcakes, but want to make things a little easier on yourself, may want to consider using a little bit different of an approach: to pipe from the sides rather than directly from the top. This frosting technique will give you a squiggle effect that almost resembles the endoplasmic reticulum you learned about in middle school science class (now there's idea for a tasty science project).
You'll want to start with a petal tip, but you could theoretically use any type of tip that you have in your arsenal (though, the lines may be trickier to make out if you're using something other than a skinny petal tip). Hold the cupcake in one hand and the piping bag in the other. The petal tip should be rectangular, so the short end is facing up towards you. Then, starting at the edge of the cupcake, use even pressure to pipe down the cupcake, zig-zagging down until you reach the other end. While you can certainly try moving the cupcake instead of your hand, I find that this doesn't always create the most reliable lines, as you have to have really great depth perception to guide the cupcake where it's supposed to go. These ribbon candy-esque frosted cupcakes are super elegant and give off the impression that you worked very, very hard to do the piping — although I find the process to be simpler than making rosettes.
Use the dab and scrape method
Besides just using an offset spatula to swirl designs with your cupcake frosting, you could also utilize a different method to ensure that your frosting is well-piped across your entire cupcake's surface. Start by adding a spoonful of frosting to the center of your cupcake. Or, for an even more mess-free approach, consider grabbing an ice cream or cookie scoop; the 2 tablespoon one should give you just enough icing to cover a standard-sized cupcake. Then, use the offset spatula to evenly drag the frosting down to coat to the edge of the foil.
This dab and scrape method is ideal for novice bakers, or those folks who find it easier to move the cupcake while they're frosting it. Plus, the only real drawback is that you have to be sure you're not pulling too much of that frosting down one side of the cupcake, as you want to ensure every bite has an even amount of frosting.
Piping with a round tip is simple and can give you some height on your frosting
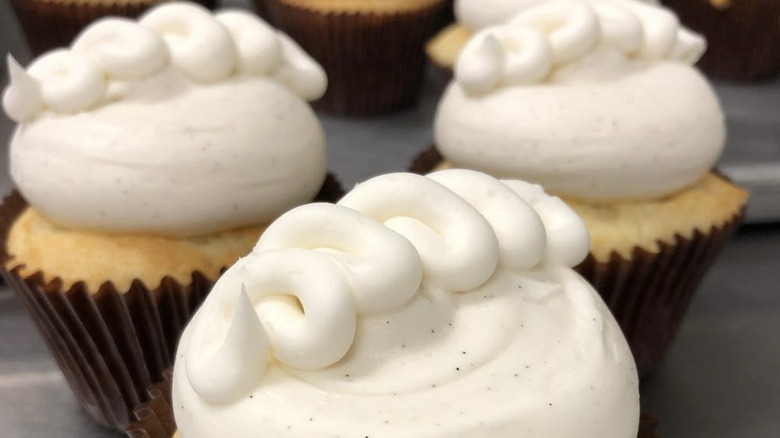
If you don't want to worry about tight rosettes or scraping to the edge, try affixing a round tip to your piping bag. There's a reason why round tips are one of the most versatile type of piping tips out there, and it's because you can truly use them for everything. For one, you can use them to pipe stacked layers on your cupcakes. This piping shape is really sophisticated, and you only need to place the tip in the center of the cupcake, pipe with steady pressure, and then release when you're finished with that layer. Then, you can pipe smaller rounds on top, almost like you're making a snowman. As long as you're making sure that your grip is steady and that you're tapering off the pressure as you finish that layer, you're golden.
If you get a large enough tip, you may only need to do one layer of frosting to cover the entirety of your cupcake — no swirls required. Though, a circle tip can also allow you to pipe concentric rings, just as you would with a rosette tip.
Flat top your cupcakes to make adding decals easy
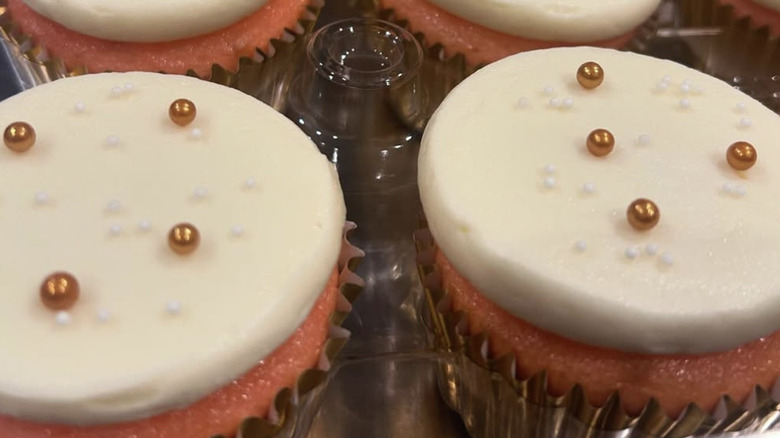
The one trend that I've seen coming up more and more when it comes to cupcake decorating are flat-topped cupcakes. There are several benefits to this design, especially if you're looking to stencil on something or want to add a fondant decoration on top of your dessert. You also open up a ton of opportunity for play, as you can roll the sides of the frosting in sprinkles or sugar to get a sophisticated, yet simple aesthetic going.
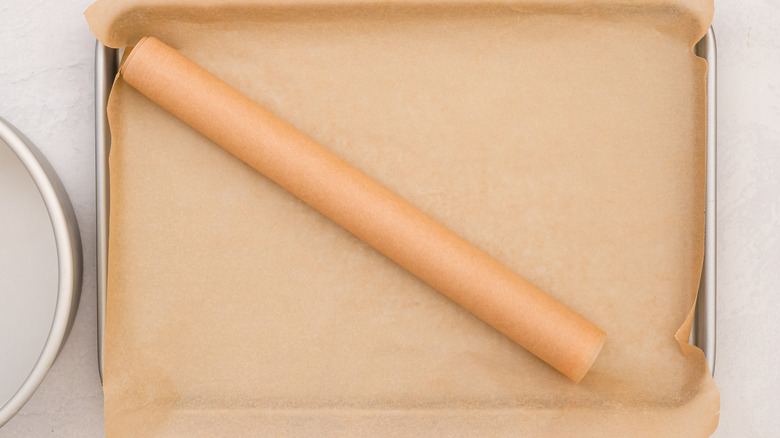
The first thing you're going to need to do to make your flat-topped cupcakes is a round piping tip. Squeeze the icing onto the center of your cupcake to create a single, simple layer. Unlike other designs, it's really important to leave at least a ½ inch space around the outside of the frosting. That way, when you squish the icing down, you won't have to worry about it falling off the cupcake. Then, when you're ready to set the frosting on your cupcakes, turn the cupcake face down on a sheet of parchment paper and press down until the frosting reaches the cupcake wrapper. After a short trip in your freezer for about 10 minutes, your cupcakes will be ready to be turned right-side-up again. Since the cupcakes are chilled, you should be able to peel back the parchment and decorate as you'd like.
Use a grass or open star tip to pipe hair-like frosting on a cake
Are you decorating for a more fun occasion, rather than a sophisticated one? If so, you're going to want to turn to a specialty piping tip to add some dimension to your cupcakes. Grass tips, for example, allow for a bit more flexibility in terms of design. I would recommend that a first-time piping bag novice work with one of these specialty tips over a round, petal, or a star tip because it's less apparent if you apply an uneven pressure with it. It's also really easy to feel and understand the important of starting out with even pressure, then tapering off once you finish the pipe.
Grass tips will give you a fun, spiky design perfect for an outdoorsy themed cupcake or one that's made to look like an animal. You can also use a different multi-opening tip to create a noodle-like design with your frosting. While these designs may not be appropriate for an adults-only birthday party, they will allow you to experiment with different textures and tips to find one that feels right to you.
Basketweave tips are an underrated way to add dimension to your cupcakes
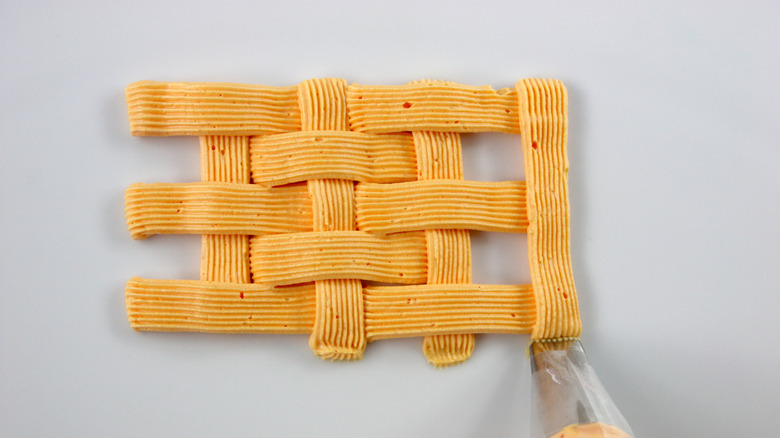
Another tip that should be on your radar is the basketweave tip. This tip is a bit unusual and may seem to lack utility when it comes to cake and cupcake decorating overall. The top of the tip is serrated while the bottom is flat, so it will give you an aptly-named basketweave pattern on your cupcake's surface.
This design is quite neat to look at, though it will require some attention to detail to master. Since you're working on a cupcake, rather than a cake, you'll want to use a small tip size. Once your icing is locked and loaded, then start to pipe vertically from one edge of the cupcake to the other. For a standard size cupcake, you may be able to get two vertical lines in total, so be careful with how you space your first one. Then, you can pipe the horizontal lines, skipping one line each time. After you pipe your second vertical, then you can pipe horizontal lines in the rows you skipped the previous go-round. It might seem a tad tedious, but this is a really thoughtful design that will really pop on a cupcake tray.
Stack different colored icing in your bag for an ombre effect
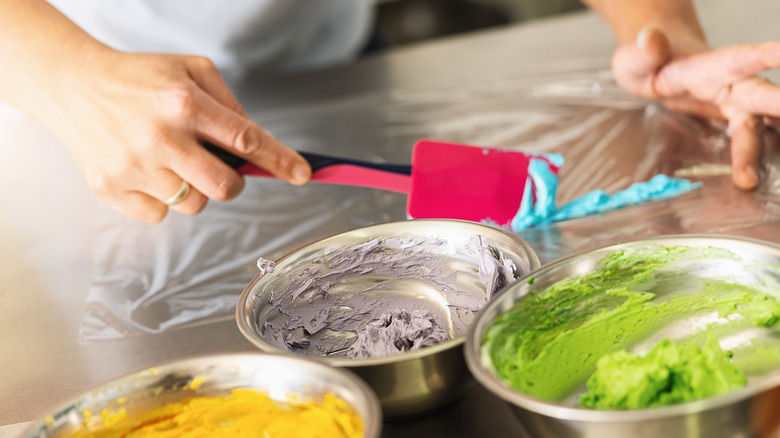
Have you ever stopped at a bakery and noticed an array of cupcakes with different-colored frosting in the bakery case? Don't worry because if you want to try this fun frosting technique at home, you won't have to suit up with several different piping bags. Instead, you'll just need to fill the sides of a piping bag with different colors of icing. Then, when you go to pipe, you can see how all of the different colors become effortlessly intertwined with one another.
You can also give an ombre effect to a single color of icing, too. Add a few dribbles of food dye to different sides of a piping bag and then layer in your plain white buttercream frosting. As your frosting streams out of the bag, it will have varying degrees of color. This will allow you to create easy and fun tie-dye cupcakes.
Use a stencil to make frosting some designs easier
Once you graduate Piping 101, you can start playing with more difficult stencil designs on your cupcakes. Luckily, you won't be left totally alone when you start trying to pipe more intricate designs on your cake. One suggestion is to try a stencil. As expected, stencils work best on flat-topped cupcakes because they won't move around as much.
You can easily DIY a stencil with a piece of parchment paper. Cut out a design, then place it on top of your cupcake. Grab an offset spatula with a little bit of icing and schmear it on top of the stencil. That way, when you pull off the paper, you'll be left with a super cute design that would otherwise have been super difficult to pipe out by hand.
Parchment paper is generally pretty durable, but it is a little flimsy. If you want something to last batch after batch, you may want to invest in a pack of plastic stencils, instead. And you can save them to use on your lattes, too.
When all else fails, heat up your frosting and dip the cupcakes in
Some folks don't have the time and the patience to make batch after batch of frosting, and that's totally okay. If you want a far simpler way to frost your cupcakes, you may want to instead try this simple way to decorate your cupcakes.
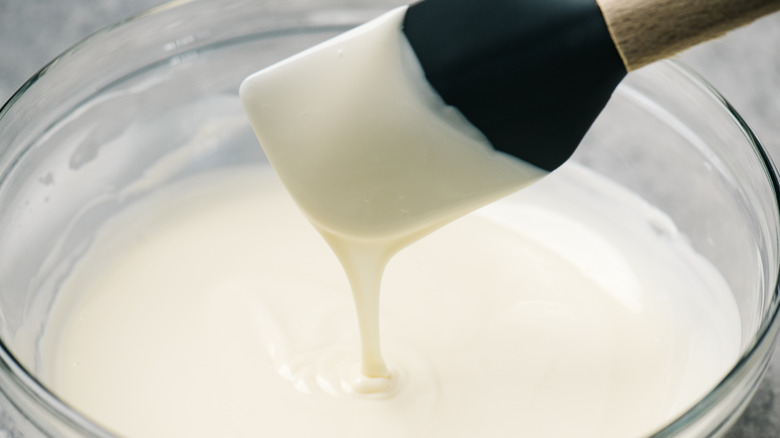
It all starts with a vat of the dreaded canned icing. You can turn it into an easy, pourable frosting for your cupcakes by taking it out of its container and into a microwave safe bowl. After it's been nuked for about 30 seconds or so, it should be loose enough for you to dip your cupcakes in. It's also important to allow your cupcakes to cool for a little bit after they've been dipped to allow the frosting to re-harden and stabilize. It also won't be as creamy and thick as if you piped it onto the cupcakes directly, but it will surely be as sweet as all get-out.
It's important to note that this hack does not work for normal buttercream — just for the stuff in the can. Canned frosting doesn't contain actual butter, so it won't melt out the same way as "authentic" buttercream.
