16 Helpful Tips For Baking With Fresh Apples
We may receive a commission on purchases made from links.
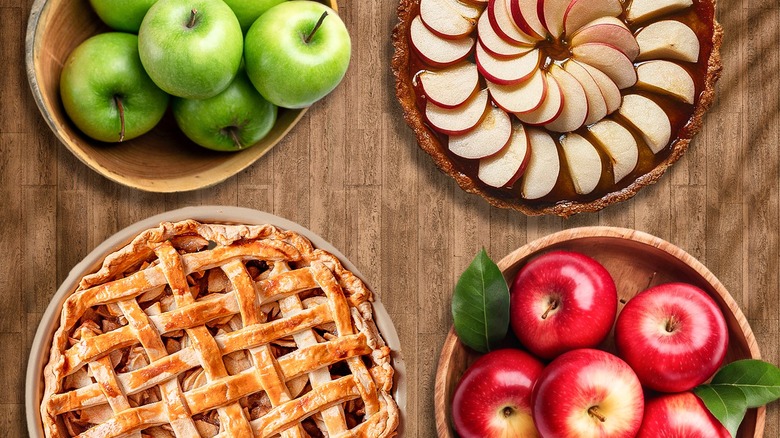
Experimenting and baking with fresh fruit is one of my favorite things to do as a home baker. In the summer I love a good peach cobbler, adorned with almost a 50/50 ratio of fruit to crumb topping, or a batch of blueberry muffins. But during the fall months, my kitchen is overrun by everything apple — from tarts and galettes to muffins, scones, and of course, apple pie.
There are tons of ways to use leftover apples, but there are also some "rules" you need to know before you go hog wild with a bag of Honeycrisps and a dream. The fruit is very wet and has a complex, yet nuanced flavor, which is why you have to take a refined approach to preparing your apple bakes. Here are some of my top tips for working and baking with fresh apples.
Select a compatible apple for your recipe
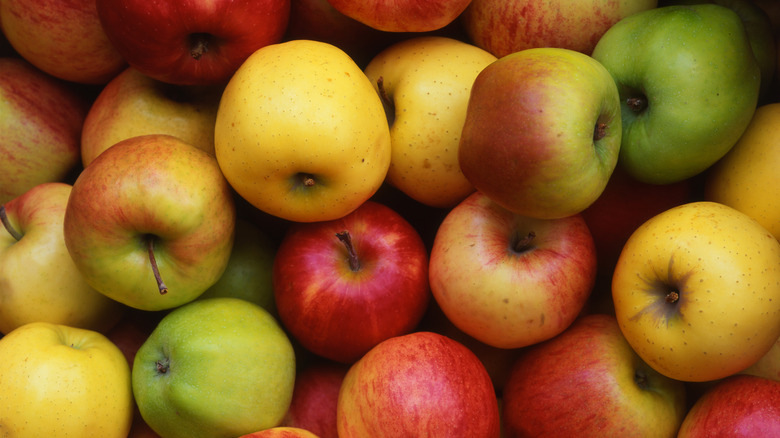
If you've visited a supermarket recently, or even had the pleasure of picking apples at a local orchard during the autumn months, you've likely realized how many different types of apples there are out there. From classic Granny Smiths to Fujis, Honeycrisps, and Jonagolds, there's no shortage of different varieties to choose from. But, some apples are better for baking than others.
The key to selecting a solid baking apple is to only go for ones that are sturdy and hard — and those that don't get mushy when they're cooked. As a result, Red Delicious and McIntosh apples are totally out of the question. Instead, you'll want to select from the Cortlands, Winesaps, Braeburns, Honeycrisps, and the like. Even sour apples, like the Granny Smith, can be used to balance flavors in your pies, tarts, and more. Typically, orchards will have information about the apples so that you can decide which variety will be best for your recipe.
Don't be afraid to use different apple varieties in your recipe
When you read a recipe that calls for fresh apples, chances are that you'll see it call for something vague like "six medium-sized baking apples." Some recipes will give you suggestions on what kinds of apples to use, but for the most part, you're left up to your own devices to decide which type of apple to add to your bake. I recommend that you use this opportunity to experiment with different apple varieties to find a blend that works for you and your recipe.
One common misconception about using fresh apples in baking is that they always have to be sweet. But, there are tons of baking apples out there that have various flavor notes besides sweet — like honey, wine, and caramel. Using a mixture of apples will allow the flavor nuances to shine and will ensure that your recipe has a balanced bite. When I'm baking a pie, for example, I tend to use a 50/50 balance of sweet and sour-leaning apples. Honeycrisps are a go-to, though they tend to lean sweet and firm. As a result, I found that they are excellent paired with the tart flavor and mealy consistency of a Cortland.
Skip the paring knife and use a vegetable peeler instead
I couldn't skip over the most arduous task of baking with fresh apples: the peeling. It's one step that I usually delegate to other people in my house (after all, if you're going to be eating the bake, you have to contribute somehow).
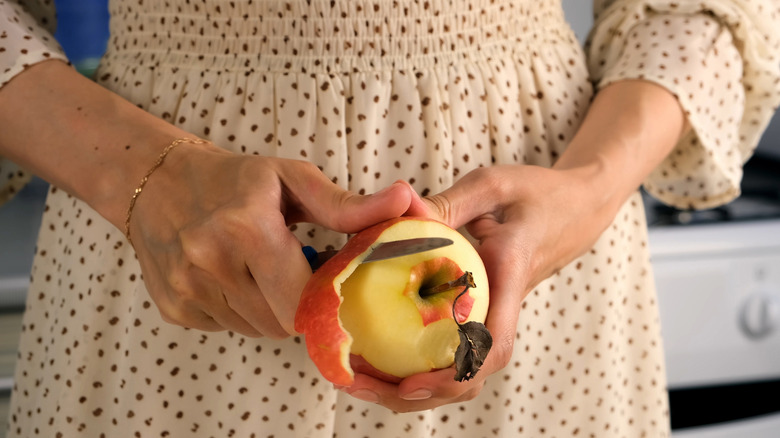
Everyone has their own method to peeling apples. Dominque Ansel, for example, uses a drill to rotate the apple on one of those old-fashioned countertop peelers. Rest assured, you won't need to pick up any power tools to effectively peel your fruit. Instead, I would recommend using a vegetable peeler over a paring knife to remove the skin from your fruit — for several reasons. I find it to be safer, since you don't have to be worried about nicking your fingers on the knife as you peel. After trial and error, I've found that the best way to peel apples is to first peel around the top and the bottom (aka the trickiest part), then work your way up in long strokes. As long as your apple is dried before you cut it, you should have no issues removing the peel using this technique.
Consider leaving the skin on
The world would be a much happier place if you didn't have to peel the apples every time you had a craving for an apple pie, tart, or turnover. While you can leave the skin on for some of these recipes, I don't think that it's always the smartest idea.
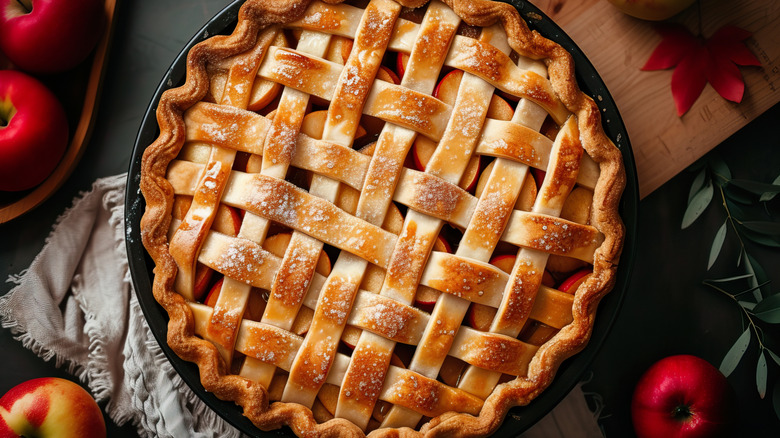
For instance, I don't think leaving the skins on your apples will make for a better apple pie. While some people will say that the peel adds flavors and some nutritional value to the dessert (lest you forget that you're eating an apple pie), I personally think that it makes the pie mealy. If you leave the peels on, the bite will be rough and tough. Similarly, you want to have a contrast between soft apples and a tart shell, or a flaky puff pastry and the apple filling in a turnover. Those apple peels just get in the way of this textural contrast.
So, are there any desserts where you can get away with the peels? If anything, you might want to try this for an apple crisp. There is already a layer of crumbliness on top, so you won't be able to pick up on the apple peels all that much.
Use an apple corer to remove the seeds easily
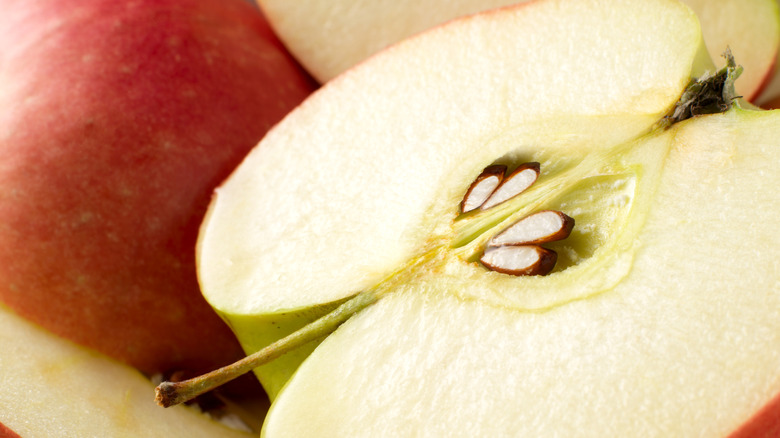
There are three things that you never want to find in a dessert made with fresh apples: a hair (obviously), apple seeds, and that dastardly, plastic-like pith. The latter two will ruin your bite and make you feel bad about your knife skills. Properly coring your fresh apples will prevent any of the seeds or pith from getting into your dessert.
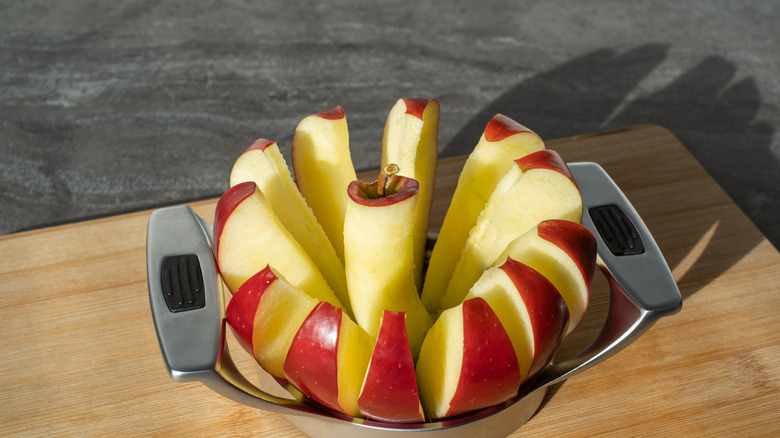
Just like with peeling fresh apples, there are tons of approaches you can take to coring your fruit. I have undergone the arduous process of coring apples one too many times, and I can honestly say that my go-to method is to use a special apple corer. Besides removing the core of your fruit with flawless precision, this tool also allows you to cut all of your slices exactly the same size. Just press it down on the top of the apple and you'll have even slices within seconds.
You could also use a melon baller to scoop out the core. Though, this doesn't remove the stem or the bottom of the apple.
Aim for even slices
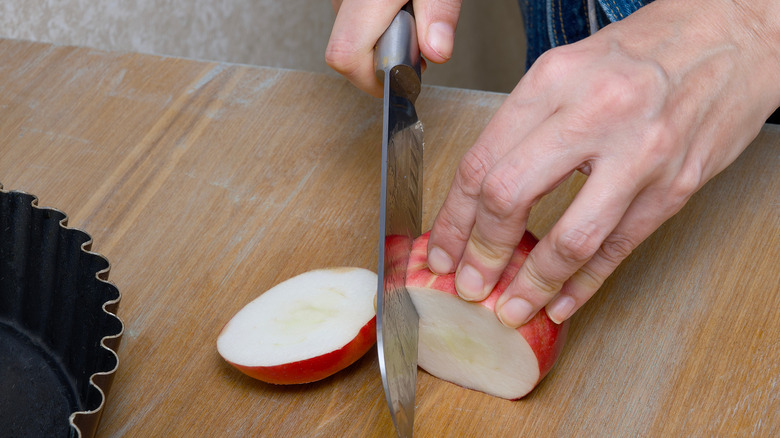
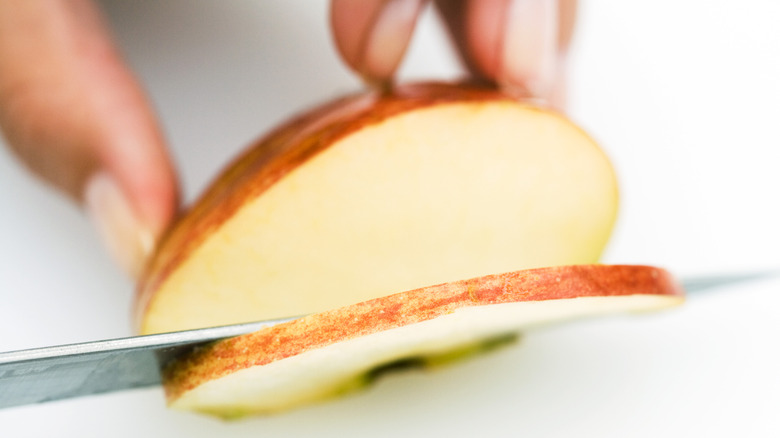
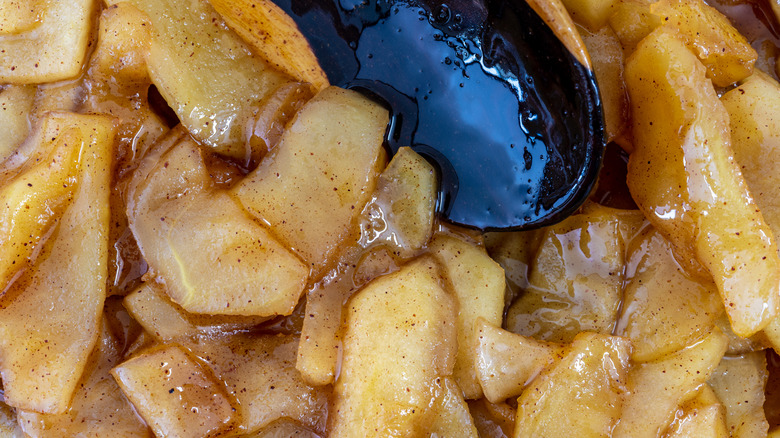
Slicing your apple pieces evenly is the key to getting the perfect texture in your bake. While it might seem trivial to pay close attention to the thickness of each slice, using the proper slicing technique will prevent issues later down the line in the baking process. For one, if your apples are all different sizes, they will not cook evenly. So, when you pull your pie out of the oven, you'll find that there are large pieces of crunchy apple surrounded by complete mush. This is also the case for fried apples, tarts, and more.
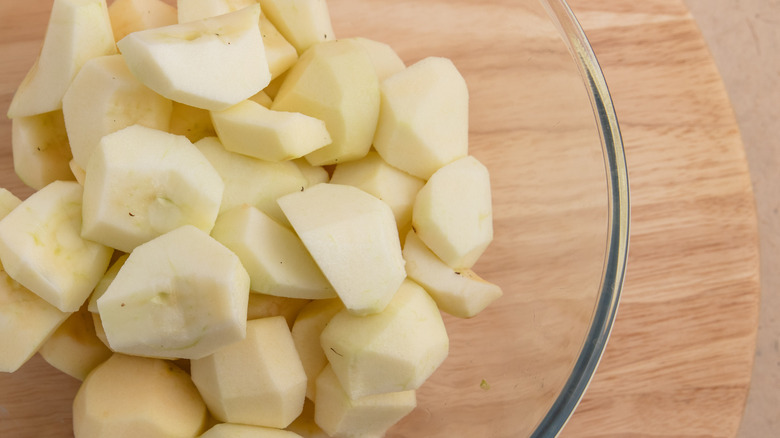
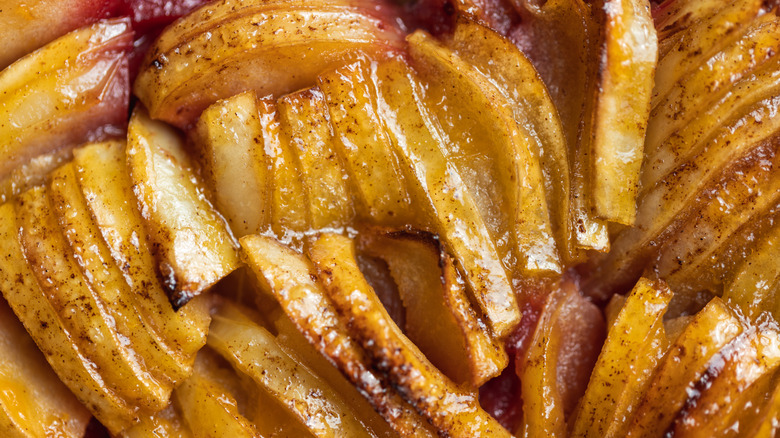
The exact thickness that you should cut your apples really depends on what you're making. For apple pie, I tend to slice my apples about ¼ to ½ inch thick (though, I'm not standing over the slices with a measuring tool). Apple tarts, which do not have a top crust, will require slices that are closer to ¼ inch. For recipes where you're looking to make an apple filling, like a strudel, be sure to read closely to see if the recipe calls for "diced" or "minced" apples — and chop them accordingly. If you leave them too thick, your dessert will come out mealy. But if it's too thin, the apple filling tends to take on the texture of applesauce.
Prevent browning with an acid
I have distinct memories of making apple pie as a kid with my mom. As soon as she had apples sliced and in the bowl, she would always cover them with orange juice to ensure that they didn't brown. I've done the same for all of my pies since.
While the color of the apples is not always important when they're being shoved into pastry, browning also alters the texture and flavor of the fruit — which is the more pertinent concern. Browning occurs as the fruit oxidizes — which occurs when the enzymes in the fruit interact with the oxygen in the air. This can set in within about five minutes of cutting though the fruit's natural protective shield (the skin), so you'll want to act quickly to prevent (or slow) your fruit from turning brown. I find that tossing the fruit with a little bit of lemon or orange juice works fine (and it balances out the natural sweetness of the fruit). Moreover, you can also try coating the fruit in soda (like Sprite), since it will deliver the acidity and sugar needed to prevent the fruit from turning brown.
Follow the recipe when selecting a thickener
Anyone who has watched "The Great British Baking Show" knows that a soggy bottom can put you at risk of elimination. While the stakes are a little lower when you're baking an apple treat for family and friends, it can still be discouraging to see that your pie, tart, or the like has gone wholly limp.
One cause of a soggy bottom is a filling that is too liquidy. This is all too common with apples, which contain around 86% water. As they bake (or cook), the juice is released into the pastry and wham — soggy bottom. A thickener would prevent this from occurring.
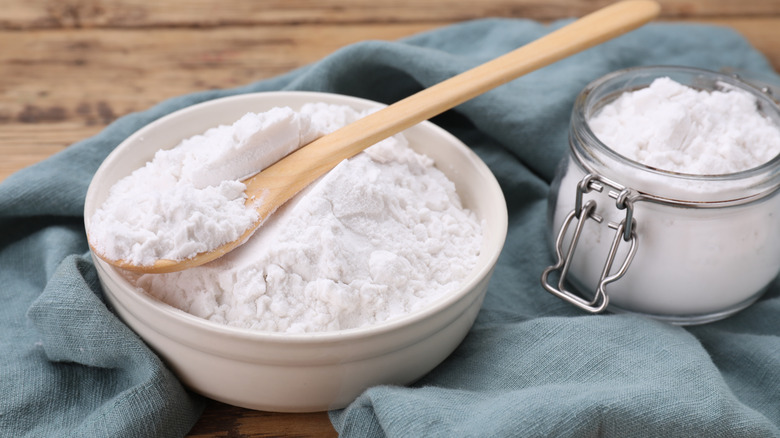
There are more thickeners out there than you may think, including everything from cornstarch and wheat flour to tapioca starch and Instant ClearJel. For the best results, I highly recommend using the same thickener that the recipe recommends — for several reasons. The first is that the amount of thickener you need is dependent on its type. Cornstarch, for example, has a higher jelling power than flour because it has more starch — so you'll need to use less of it. Different thickeners also need different times to sit and rest post-bake. Using the thickeners interchangeably can result in an unset or poorly-textured bake.
Pre-cooking your pie filling isn't necessary, but it might be worth trying
I have met people who swear by cooking their apples before they bake with them. And then I know people who turn their cheek to the practice. I'm a person who's somewhere in the middle. I think it's helpful — just not always necessary.
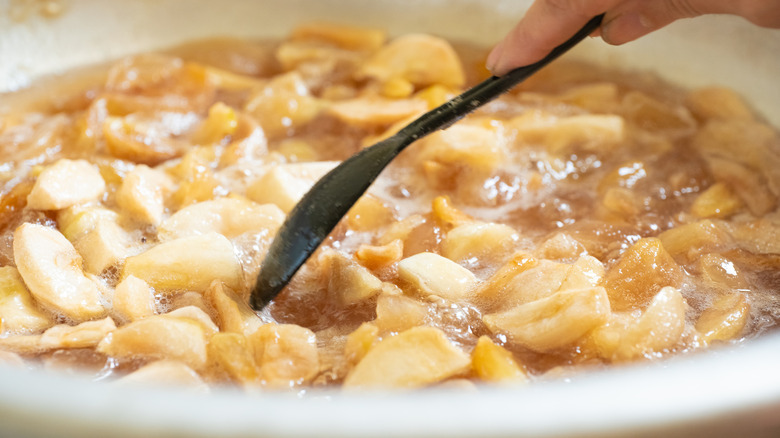
The case for pre-cooking your apple pie filling is that is will help loosen up the fruit and ensures that everything is cooked through ahead of time. If you happen to slice your fruit a little bit bigger than you should, for example, you may want to cook the filling down to help the pieces cook through. Pre-cooking can also reduce the dome effect of your pie, which occurs when the fruit cooks down and shrinks, thus leaving a gap between the filling and the top crust. Lastly, you may not need to cook the whole pie as long because the apples are already soft, which can prevent your crust from getting a little too dark. That being said, be sure to read your recipe, as if it does not call for pre-cooking and you do it anyway, you could be leaving your pie in the oven for too long.
If your fruit is sliced thin, like for a tart or galette, you don't have to pre-cook your apples. But, for apple turnovers you're going to want to cook your apples ahead of time, since they will not cook at the same rate as the thin shell around them.
Macerate your apples for a little bit to help soften them
Another trick to stopping the dreaded browning is to toss your freshly-sliced apples with some sugar. The sugar coating will help to slow oxidation (since you're creating a protective barrier on the outside of the cut fruit).
However, this step could also replace the process of cooking your apples — specifically for a pie. Combine the sliced fruit with all of your pie ingredients, including the sugar, and let it sit in an airtight container or plastic bag for a few hours. The sugar will help tenderize the apples, while they will be able to marinate in the juices — thus amplifying the flavor. Then, when you're ready to bake, add in the thickener and pour it into your crust. However, I wouldn't recommend trying this hack for turnovers or strudel, though, because the apples need to be completely cooked and softened.
Be heavy-handed with your spices
Apples and spice and everything nice — right? There are so many spices that go well with apples, and I can bet that you probably know some of them already. These fruits work well with anything autumnal — think cinnamon, cloves, and nutmeg. Though, you could also try some more unique spices for your fruit, too.
Ginger, for example, is one warming spice that can draw some attention to the sweet profile of the fruit. You can also venture into more savory seasonings, like rosemary, thyme, and tarragon, to mesh with the apple's honey and floral notes. If experimenting with savory complements is tough to wrap your mind around, fear not. Instead of adding the spices directly to the fruit, consider adding them to your pie crust or pastry or even steeping them into a sauce, like caramel or a crème anglaise, to serve with your dessert.
Amplify the apple flavor with other apple-based ingredients
Although we often think of apples as being one of the most easily recognizable fruits in terms of flavor, the fruit itself isn't always apple-forward. While the apple flavor comes through enough if you're using it a plain apple tarte tatin, the second you start introducing more ingredients and flavors, the more that apple essence gets muddled and falls to the back burner.
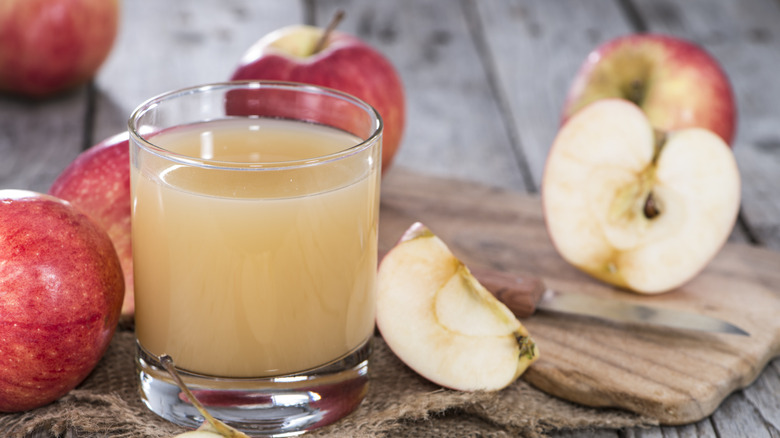
I recommend supplementing your fresh apples with some sort of other apple flavor to really drive it home. Apple cider is a great place to start. Its flavor is more concentrated than apple juice, which essentially gives you more bang for your buck when you go to use it. If you're using fresh apple in a fritter, for example, you may want to add in some extra apple cider to cut the richness of the frying oil and make the apple more pertinent. You can also add it to apple cake to highlight the florality of the fruit.
Apples crave sweetness, so don't be afraid to add it
Apples are a sweet fruit — there's no doubt about it. But, the sweetness gets lost when you're working with buttery pastry, spices, and the like. When you're baking with apples, be sure to add sweeteners liberally. Not only can they help reduce oxidation because they cover the fruit, but they will also complement the spices and pastry well.
White sugar is a great place to start, but it's surely not the only addition you can use. Brown sugar has more moisture and will impart a more molasses-like undertone to the dessert. You can also use complementary liquid sweeteners, like date syrup, maple syrup, and honey, to give your baked goods a sweet edge.
Consider using non-apples to supplement fruity flavors
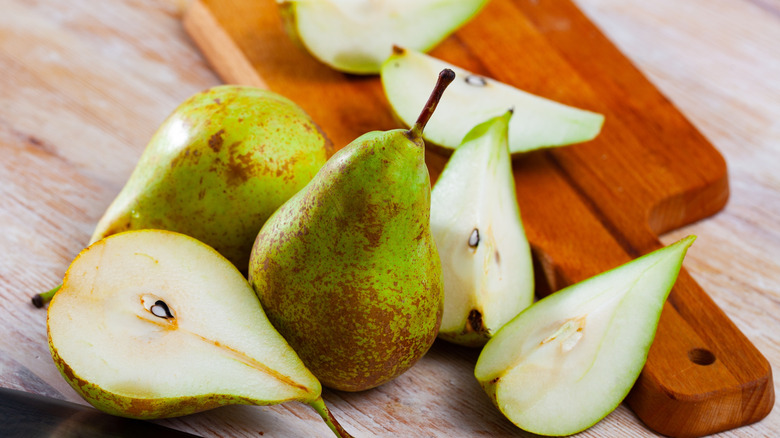
There are some occasions where you really want to bake an apple dessert but don't have enough fruit to make it happen. In that case, you can always reach for another type of fruit entirely. Pears, persimmons, and quinces are all in the same flavor family and can be used to bring new complexities and textures to your dessert.
That being said, you can also add other fruit to your bakes to highlight completely new profiles. For example, try adding a handful of blackberries to your next apple pie; the tartness will balance out the sweetness from the apples beautifully. Or, in the summer, consider adding peaches and apples to your muffins for a juicy and honey-forward bite.
Let your apple bakes set before slicing them
The smell of a freshly baked apple tart or pie is absolutely intoxicating. But you'll need to express some caution over slicing into your pie, especially if thickening agents are involved. If your dish is not yet totally set, meaning that the juices have not had a chance to thicken, it could come out of the tin very runny and wet.
My general approach to resting baked goods is to always err on the side of caution. While a fruit pie won't need nearly the same amount of time to set as a custard pie or a cheesecake, you should still give it an hour or two on the countertop. A good way to tell if your pie is finished setting and fully cooled is to give it a listen. If it's bubbling and looks very wet, then you'll need to hold off slicing it for a bit.
Don't just stick to sweet bakes
When many folks think of "apple bakes," pies, tarts, and turnovers often come to mind. However, there are also some savory bakes that are worth adding apple to.
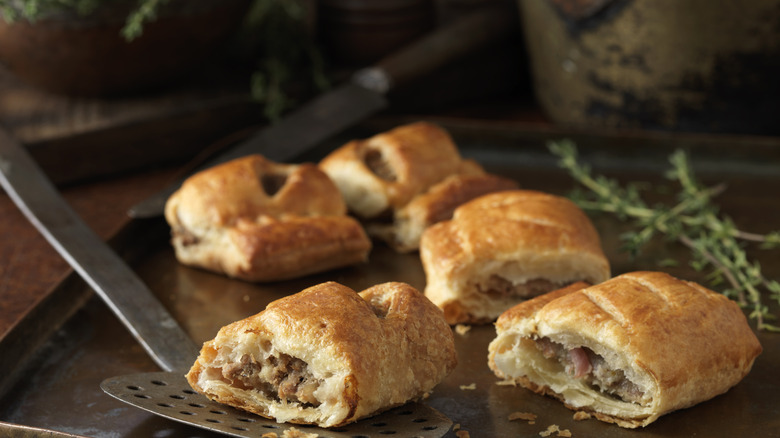
If you fancy a sausage roll, for example, you may want to try adding apple to the filling. It cuts through the richness well and gives this savory pastry a softer bite. You can also add it to a savory sausage stuffing to highlight spices like sage, tarragon, and rosemary.
