12 Easy Confections For Beginner Candy Makers
We may receive a commission on purchases made from links.
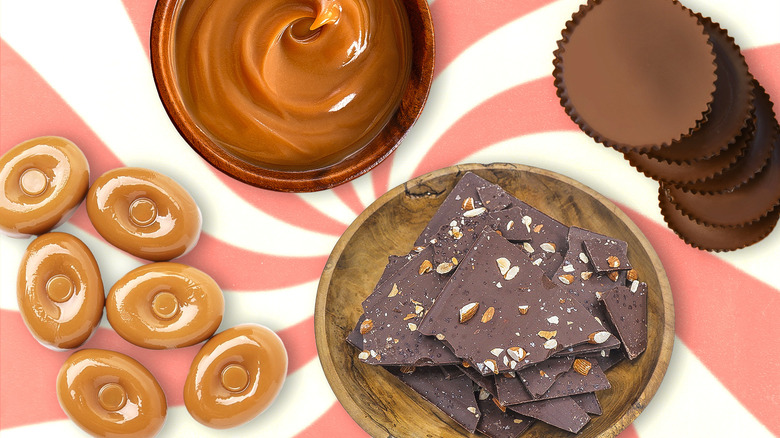
There are seemingly infinite varieties of candy available on store shelves, from chocolates and caramels to colorful gummies. But how many of these treats can you actually make at home? After all, candy-making is often something left up to either machines or professionals. Not only do you have to have a firm understanding of the different stages and techniques of candy making, but you also have to know how to work with the hot ingredients without getting burned in the process.
While there are plenty of candies out there that require a lot of effort and experience to make, there are also some treats that are within the grasp of even the most novice of cooks. We consulted some sugar experts, including Trung Vu, chef-instructor of pastry and baking arts at the Institute of Culinary Education in New York City, recipe developer Maggie Turansky from No Frills Kitchen, and pastry chef Katherine Sprung, to find out which candies are the most beginner-friendly and are worth trying at home. In doing so, we also uncovered some of the most common spots where people get tripped up with these recipes, and learned some tips for how to ensure sweet, sweet success.
Nut brittle
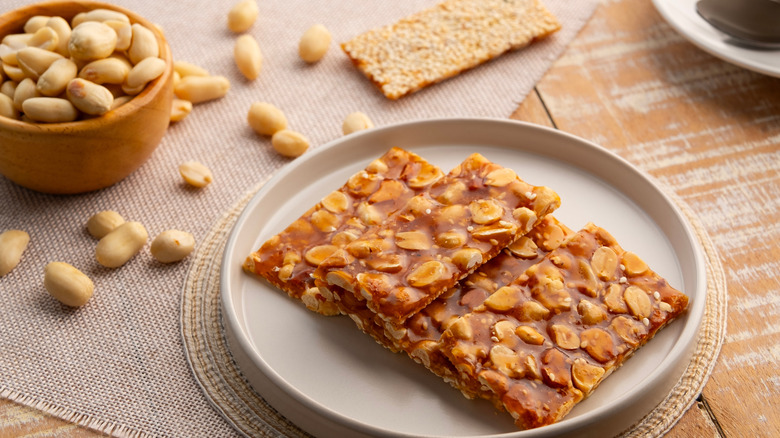
Nut brittle is a food that you may have fond memories of eating at a relative's house as a kid, but it turns out that this treat may be more trendy and easy to make than it lets on. Recipe developer Maggie Turansky recommends turning to nut brittle before you start dipping your toes into more complicated candies.
The ingredient list for something like homemade peanut brittle is surprisingly small; you really only need sugar, corn syrup, nuts, butter, and baking soda to whip up a batch. Plus, while other candies may require a mold, you'll only need a rectangular pan for your peanut brittle, per Turansky. "It sets quickly, so you can enjoy the fruits of your labor not long after finishing the cooking process," she says. Near-instant gratification is something we all can appreciate when it comes to candy-making.
Another benefit of making your own nut brittle is that you can always switch what type of nut that you use. During the fall months, for example, you may want to try making a maple cashew brittle.
Caramel
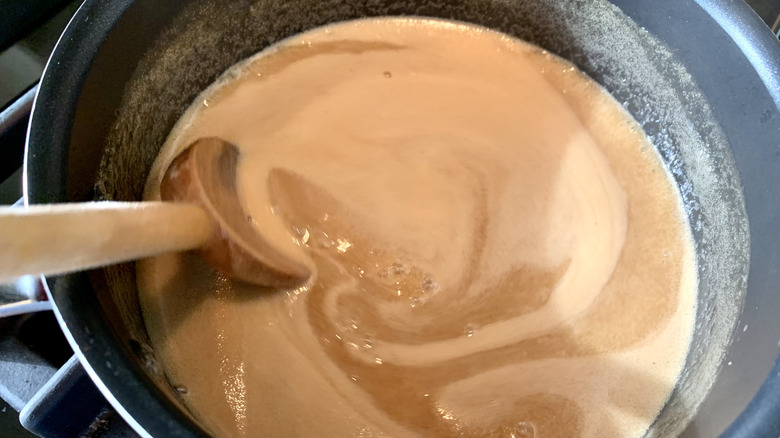
The phrase "making caramel" may send shivers down your spine, especially if you're just getting your start in the world of candy making. Not only is caramel super sticky (meaning it sticks to everything — including your skin, the pot, and the spoon), but it also has a propensity to burn if it's left unattended.
Pastry chef Katherine Sprung shared some of her insights with us about how to perfect caramel. She recommends adding a little bit of corn syrup to the sugar before you start. Even a tablespoon of the sticky syrup, she claims, will help reduce the risk of crystallization. "Once your sugar crystallizes, it's done, which can definitely get frustrating," Sprung says.
One of the most important tools that a candy maker, novice or professional, can have when they're working with caramels is a candy thermometer. Trung Vu, chef-instructor of pastry and baking arts, shares that a few degrees can alter the texture and composition of the caramel entirely, so having a calibrated and accurate tool on hand will ensure the proper cook. "Infrared thermometers cost a little bit more, but they are especially easy to use for beginners and a lot less messy, as [you don't have to probe] the thermometer into sticky, hot sugar syrup," Vu says. Something like this MESTEK Infrared Thermometer Gun can help you keep your kitchen clean.
Fudge
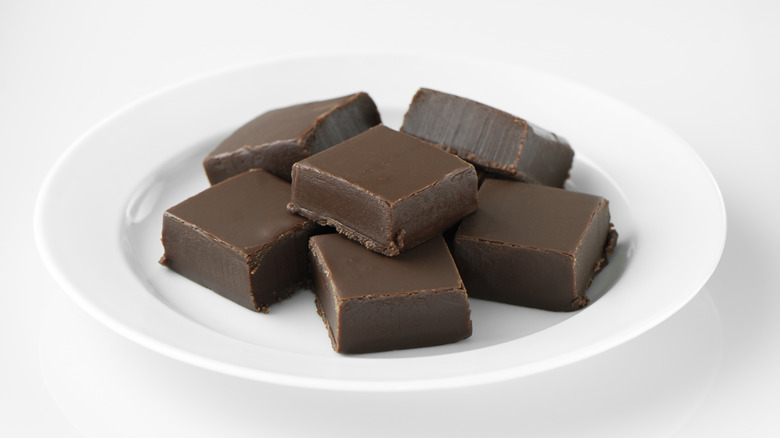
Fudge is a delectable sweet to eat, and it turns out that it's easier to whip up at home than you may think. Beginners may want to get their hands on this three-ingredient dairy-free fudge recipe, which is made with chocolate chunks, sweetened condensed coconut milk (though you can use regular sweetened condensed milk), and a little vanilla extract. Once ingredients are melded together on the stovetop, they can be transferred to a container to let the fudge set. Seriously, it's that easy.
Once you graduate from fudge kindergarten, then you can start exploring more complex recipes. A classic fudge recipe can also be made with marshmallow creme and butter (which kind of gives it the consistency of a chocolatey marshmallow), though it involves more cooking than the former three-ingredient variation. Fudge is kind of like a choose-your-own-adventure recipe in that you can make it as simple or as complex as you want. Plus, you can stud your candy with a medley of candies, nuts, or flavorings. Regardless of what approach you take, be sure to read up on some of our top tips for making fudge before you pull your pan out.
Gummies
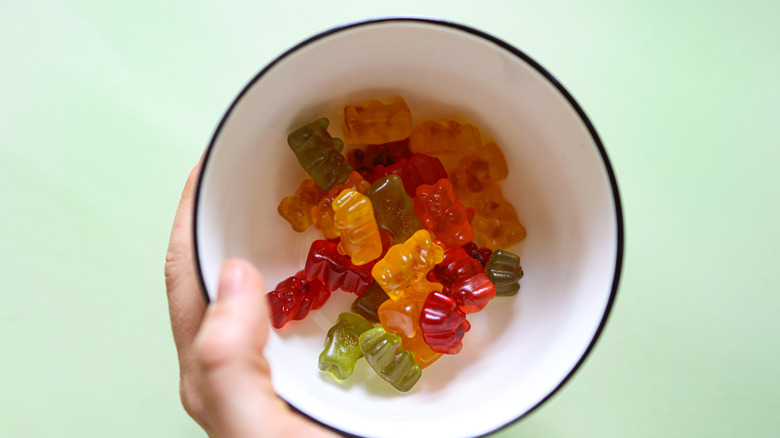
If you've ever gotten a bag of chewy gummy bears or gummy worms, you may be inspired to make your own at home. And, it's one candy that's indeed possible to tackle as a novice candy maker. Trung Vu notes that the process of making pectin-based candy involves cooking the sugary mixture to a certain temperature before depositing it into molds. He notes that speed is of the essence here, as the gummy mixture has a propensity to set quickly.
Another area where a lot of beginner candy makers mess up is in pouring the sugar mixture. "Most novices will try to pour this mixture directly from the saucepan it was cooked in into many tiny individual gummy bear molds, which will lead to a lot of spillage, [thus] decreasing yield, and [it] can be dangerous as well," he says. He suggests that novices use something like a stainless steel sauce gun to deposit the mixture into the molds safely and effectively.
Like many of the other confections on this list, there are ways to make shortcuts with this recipe. For example, if the thought of boiling sugar and a setting agent together makes you weary, consider trying three-ingredient Jell-O gummy bears instead. You'll get the same soft, chewy candies — just without the boiling sugar.
Chocolate bark
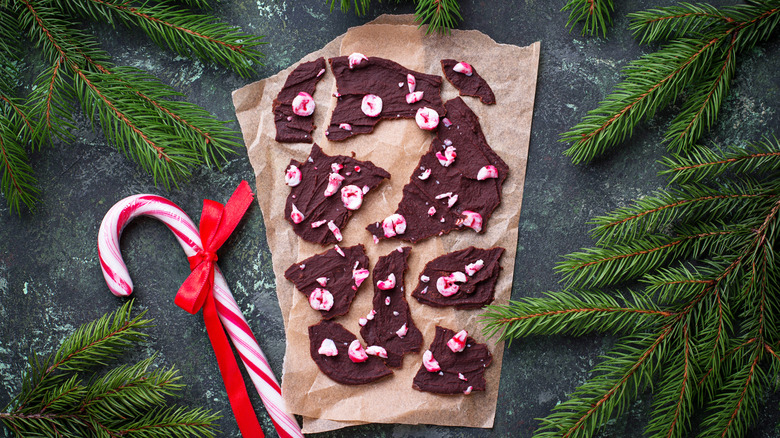
Chocolate bark is the perfect treat for when you're in the candy-making mood but don't want to put in the long hours to make it. In fact, the bulk of the time needed to make chocolate bark occurs during the setting stage.
Chocolate bark is essentially just melted chocolate that's been thinly spread out on a sheet pan and studded with add-ons. A chocolate almond bark is a good place to start, though once you feel comfortable with melting chocolate properly, then you can transition to layered chocolate bark recipes, like this one for banana split bark.
There are some tricky bends with making chocolate bark, but it's not as difficult as other complex candies. The hardest part is melting down the chocolate, but there are some things you can do to make this easier. Chopping down your chocolate of choice, for example, will help it melt down more consistently and prevent it from clumping up in some spots and burning in others. You can also opt for a melting method that feels more comfortable to you, whether that's with a double-boiler or a microwave.
Rock candy
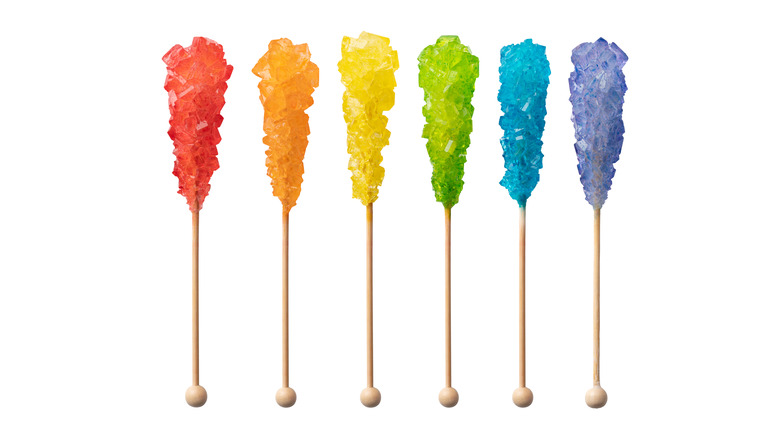
Rock candy is so easy to make, and it's a fun science experiment to try with kids. Essentially, rock candy is just a sugar and water mixture that's been crystallized onto a surface, like a stick or a string. The most arduous part of the rock candy-making process is letting the jars sit so that the candy can solidify.
To start the process, you're going to want to roll your chosen stick or string in a layer of granulated sugar to ensure that the crystals in the hot mixture have something to stick to. Then, heat up the sugar water mixture on the stovetop before adding in your flavoring or coloring agents and letting it cool (only briefly). From there, you can pour the syrup into glass jars and affix your stick or string to something so that they stay put.
The longer that you leave your stick in the jar, the bigger the candy will grow. However, considering how difficult it is to remove a massive chunk of candy, it's best to only leave the sticks in the jar for about a day or so. Then, you'll want the rods to dry off for a couple of hours before enjoying them (or swirling them into your cappuccino, which is our preferred way to enjoy them).
Peanut butter cups
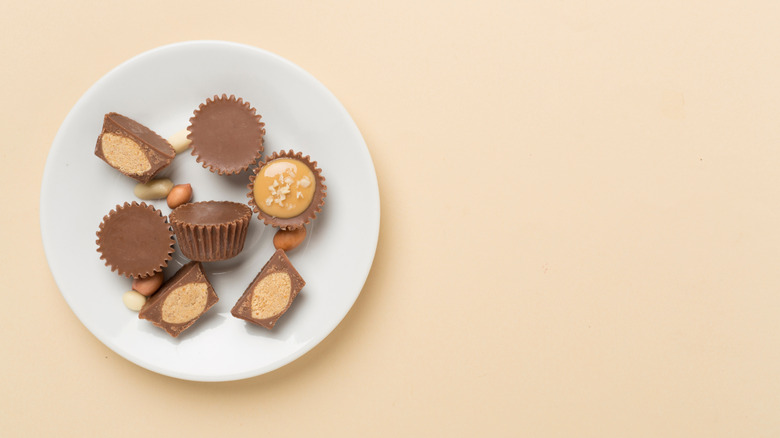
Generally speaking, candy making is quite easy when it involves just melting and shaping other types of pre-made sweets. For instance, you can make a batch of peanut butter cups by first melting milk chocolate in one bowl and mixing your favorite peanut butter with a little bit of confectioner's sugar in another. Then, pour a mini lined muffin tin (or silicone peanut butter cup molds) about half-full with the melted chocolate mixture. For defined layers in your peanut butter cup, we recommend freezing small pucks of the peanut butter ahead of time. That way, you can drop the frozen pucks into the center of your melted chocolate mixture without having to scrape peanut butter off your fingers (it's a hard job, but somebody has to do it).
Once you've topped your peanut butter candies off with chocolate, you can let them sit in the freezer until they're firm and can be easily extracted from the molds. If you go the muffin tin route, it's best to line your pan before you add the chocolate mixture; that way, when you go to remove the candy, you can just pop them out of the liners and into your mouth.
Toffee
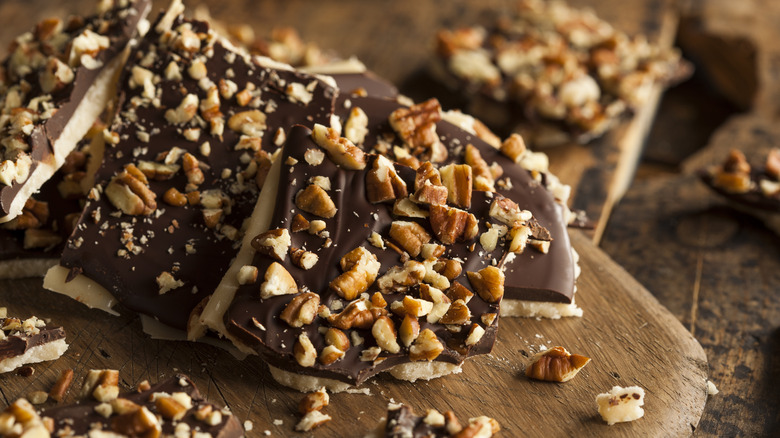
Toffee is kind of like the caramel version of chocolate bark. While it isn't as easy to make as just melting the chocolate, slathering it on a sheet pan, and studding it with flavorful additions, it requires considerably less work than more intensive caramel creations. Master the art of getting your caramel temperature right, and an old-fashioned toffee recipe will be within your reach.
The most challenging part of making toffee is making sure that the temperature reaches the right point. Your butter and sugar mixture needs to be heated to the soft crack stage before you pour it onto your sheet pan. Many folks will make their toffee with nuts, chocolate, and salt, though you can switch up the recipe to find flavors and ingredients that work for you. You can also try the British variation of this candy, called English toffee, by cooking the candy slightly longer until it reaches 300 degrees Fahrenheit.
Marshmallows
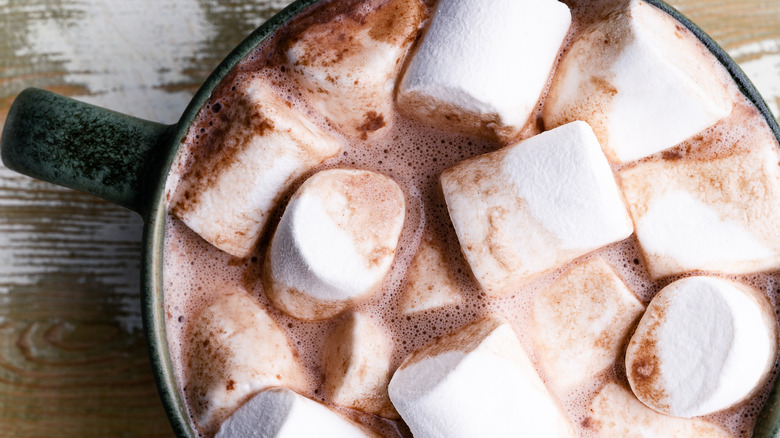
Marshmallows are a treat that everyone loves, and with some practice, you can make them in your own home kitchen. "These light and delicate confections achieve their airy texture by having literal air whipped into a heated mixture of sugar, flavoring, and gelatin," Trung Vu says. The gelatin is a key component of homemade marshmallows, as it gives them their pillowy consistency. You'll want to make sure to bloom the gelatin — meaning, have it sit and soak in cold water — before you make your mallows. Once your gelatin is ready to go, you can combine your hot sugar mixture with the gelatin.
Vu shares that there's one critical tool that all marshmallow makers need to employ at this step in the process: a stand mixer. "You can let the machine do all the heavy lifting while you're just focused on cooking and monitoring your sugar mixture," he says. After that is completed, you can set the mixture in a baking pan. One novice mistake that a lot of people make with homemade marshmallows at this stage is underestimating their stickiness. Grease your spatula, line your baking pan with powdered sugar, and cover any place where you plan to slice the mixture with even more powdered sugar. This will make cleanup easy and ensure that you get flawless mallows that are perfect for floating in a cozy cup of hot chocolate.
Honeycomb toffee
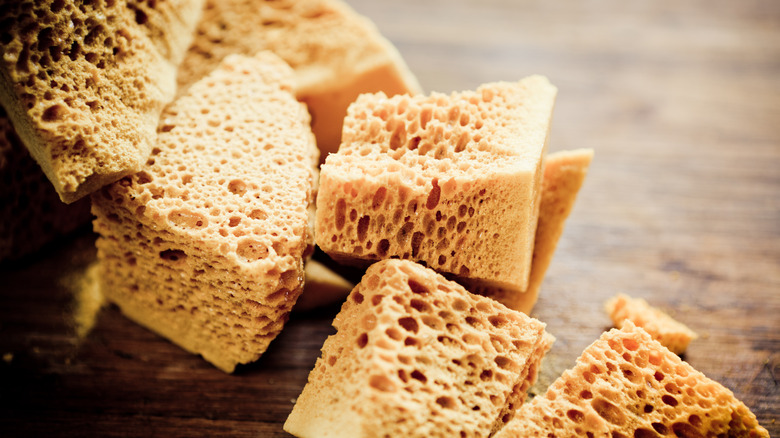
Honeycomb toffee is like regular toffee's cooler cousin. It's tasty, relatively hands-off, and is made with simple ingredients — making it a great fit for any beginner candy maker's portfolio. The spongy appearance of the sugary treat comes from its bubbly mixture — so it doesn't actually contain any honeycomb in it. Though some recipes are made with corn syrup, our recipe for easy honeycomb toffee is made with real honey instead. The sweetener offers a more floral flavor and some acidity, which will act with the baking soda to give the toffee its characteristic bubbly appearance. The honey, sugar, and water mixture needs to be cooked on the stove until it reaches about 300 degrees Fahrenheit. Only then can the baking soda be added.
The key to this recipe is to work quickly. If you stir the toffee too much after you add the baking soda, then the whole thing will deflate, and you won't get those bubbles. After you add the baking soda, immediately transfer it to a lined pan to allow the candy to cool and set. You'll also want to make sure the toffee has enough time to harden before you break it into pieces. This is a simple recipe that you can not only enjoy yourself but also gift to other people during the holidays.
Candied fruit
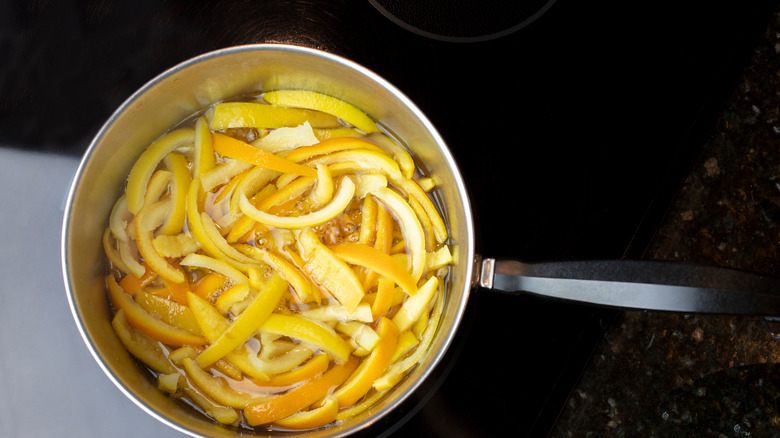
While candied fruit isn't technically a "confection" and isn't enjoyed like a candy bar or a lollipop, it's an easy way for you to dip your toes into the basics of candy making. The exact process will vary based on the fruit you're trying to candy. For example, you can candy orange and lemon peels by boiling the peels (the number of times you need to boil, drain, and repeat will depend on the bitterness of the peel) and then simmering them in a sugar mixture. Once the peels have been dried, then they can be coated in granulated sugar and used as a decorative garnish for cakes or baked treats.
If you love the spiciness of ginger, then you might try your hand at making candied ginger, too. You'll only need to boil the small coin-sized slices of fresh ginger once before draining the water and simmering them in a sugar syrup mixture. The sugar coating will juxtapose the softness of the candied root. You can use these fruits in your baked goods for a gingery bite or eat them straight out of the container.
Lollipops
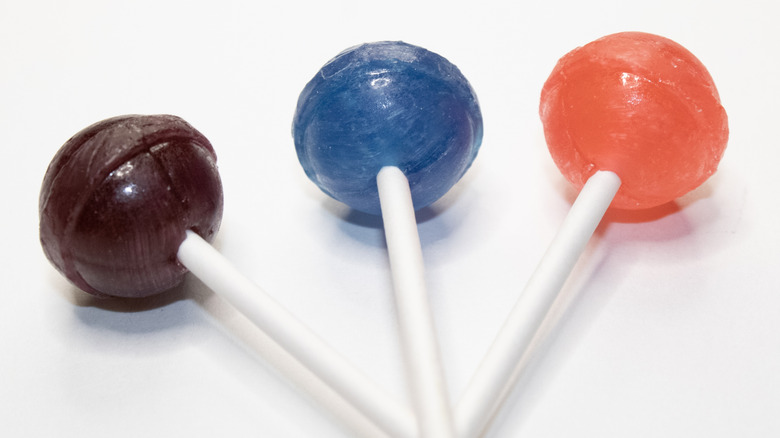
The process for making homemade lollipops is similar to homemade gummy bears, except without the pectin and the gelatin involved. As long as you have a quality silicone lollipop mold, some sticks, and a candy thermometer, then you should be all set to create your own sugary creations. The basic process involves heating the candy base, which is made with sugar, corn syrup, and water, to the hard crack stage. From there, you can add your flavoring and colorings and then pour the mixture carefully into your pre-set molds. Once the lollipops have hardened, you can pull them from the molds and enjoy them — it's that easy.
Lollipops are a great introduction to sugar work because you have to pay attention to the temperature and the crystallization of the mixture, but you don't necessarily have to spin the sugar with your hands or get too close to it. Moreover, since you are working with hot sugar, be sure to wear long sleeves and protective equipment to prevent any burns.
