14 Delicious Tips For Making King Cake For Mardi Gras
Mardi Gras is the season for all things extreme, opulent, and tasty. If you have a chance to visit New Orleans for this iconic holiday, it's something I'd highly recommend. The streets are lined with excitement, there are tons of Mardi Gras beads to be thrown about, and of course, there is the pièce de résistance: king cake.
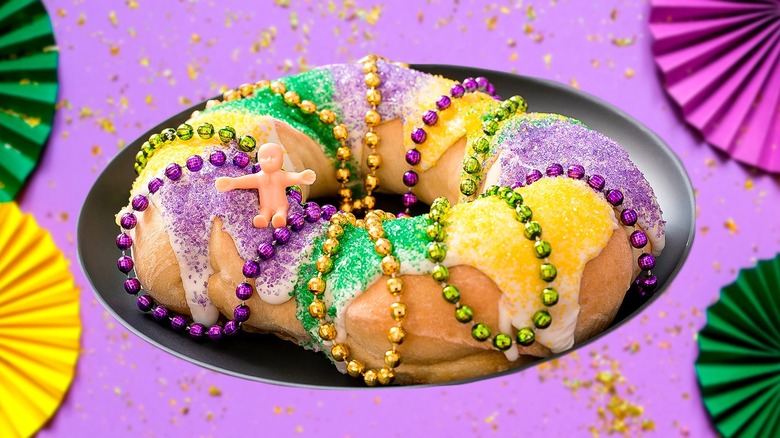
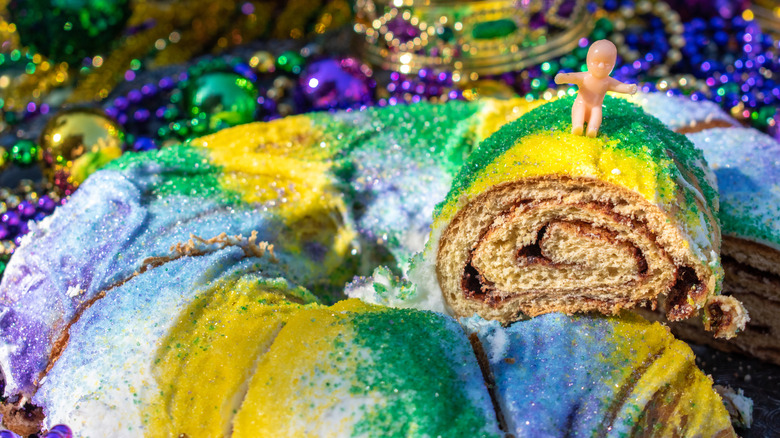
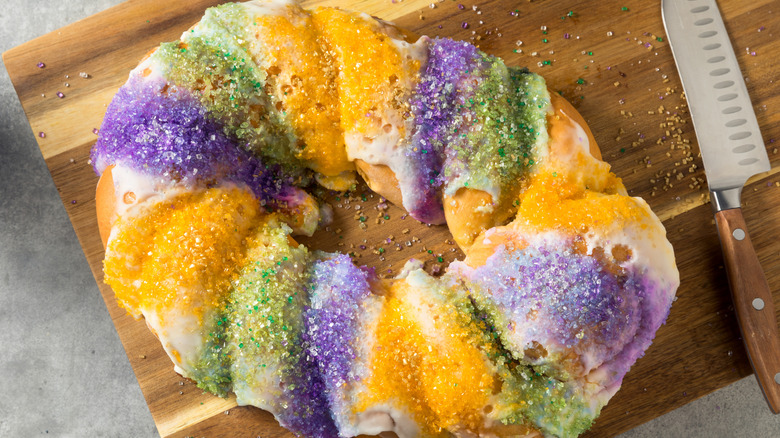
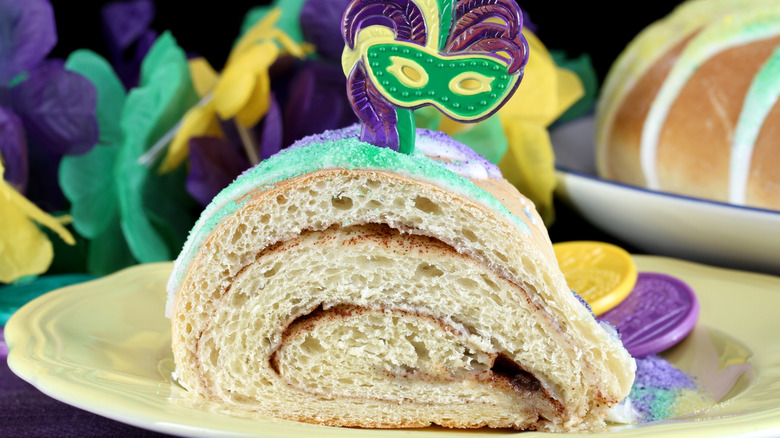
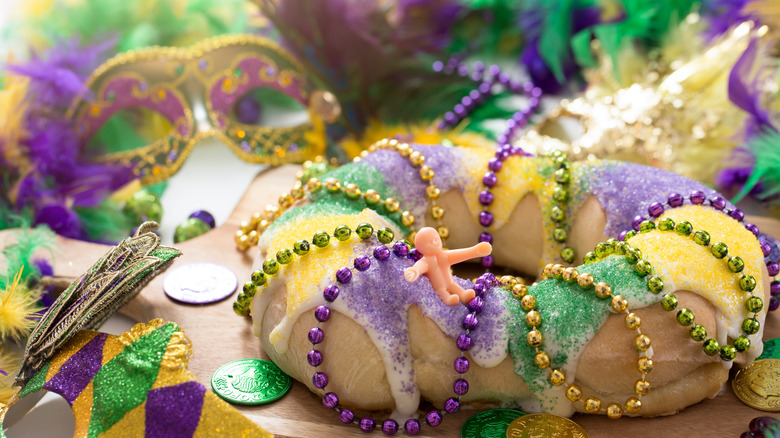
For those unfamiliar, king cake is a must-have treat for Mardi Gras. The dish has Old World origins and was first created to celebrate Epiphany (also known as King's Day). The king cake's precursor is the galette des rois (French king cake) — one of the many interpretations of the dessert from around the world — but most people now associate it with New Orleans' colorful interpretation: a round "cake" covered in frosting and adorned with yellow, green, and purple sprinkles.
Anyone who has ever made king cake knows that this dish is more intricate and tricky to make than meets the eye. If you are looking to try your hand at making this Mardi Gras staple, or are just looking for an opportunity to use up all the butter, sugar, milk, and plastic babies you have lying around, you've come to the right place. As an expert home baker and king cake enthusiast, here are some of my top tips for making a delectably soft, sweet, and properly decorated king cake.
Make sure your yeast is fresh before you bake
I like to use the word "cake" loosely when describing king cake — because it isn't really like any other type of cake you've probably had before. While its name suggests it has a soft, typical sponge, the reality is that king cake is just a very fancy and ornate type of bread. Whereas a cake relies on leavening agents like baking soda and baking powder to get its rise, king cake calls for yeast — and everything that goes along with making a yeasted, enriched dough. So that means roll up your sleeves and get ready to knead!
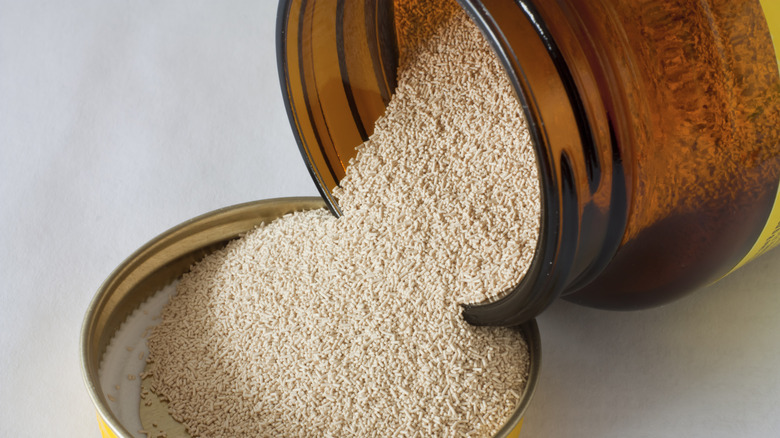
The first step in making a good king cake is to make sure the yeast you're using is up to snuff. If your yeast isn't fresh, your cake won't rise. I would recommend testing your yeast before you add it to the dough. Mix a little bit of the granules with warm water and wait for a frothy foam and a yeasty aroma to emerge. If you see bubbles, you're all set. But if it's flat, throw it out in the trash and pick up some more packets from the grocery store.
Use a stand mixer to bring your dough together
One of the things that sets king cake apart from other varieties of bread is that it's enriched with ingredients like butter, milk, and eggs. This makes king cake more akin to cinnamon rolls or brioche dough than a sourdough loaf or a rustic ciabatta. While these ingredients contribute to a high elasticity, rich flavor, and beautiful yellow color, they also tend to make the dough very sticky and difficult to work with.
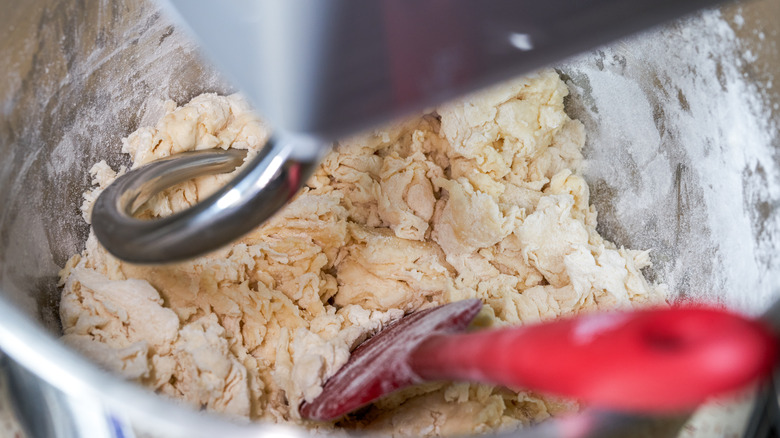
My go-to appliance when making any sort of enriched dough is a stand mixer. The mixer can make quick work of sticky bread dough and allows you to do other things while your dough is kneading. Moreover, the stickiness is contained to the bowl, rather than to your hands and every surface your dough touches.
The exact amount of time you need to knead your dough will depend on your recipe's directions. I tend to go by looks and feel here instead; your dough should be smooth and shiny without any noticeable pockets of flour or under-mixed ingredients.
Don't cut corners with the rising time
Anyone who has watched "The Great British Baking Show" knows that proofing is one of the most essential parts of making bread; a bad proof may be the reason why you're forced to leave the tent. A proper first proof, also called bulk fermentation, will give your dough a light and airy quality and a solid flavor.
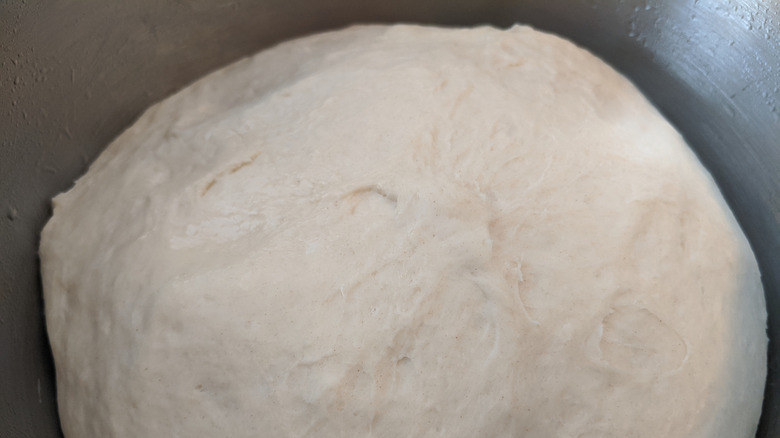
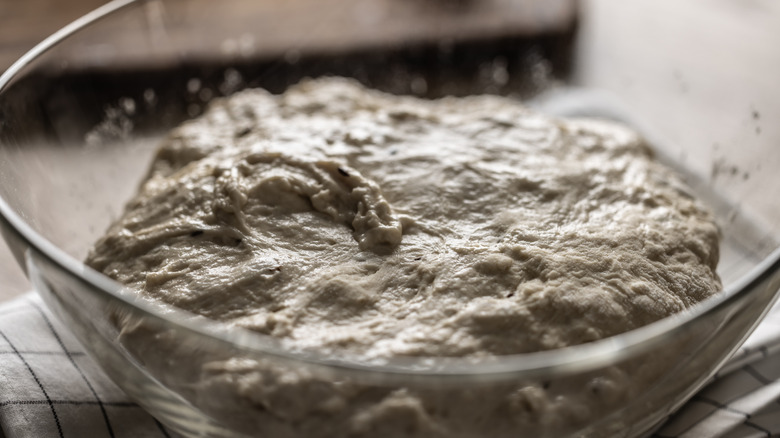
After your king cake has been mixed together, it will need to undergo the bulk fermentation process. If I make king cake or any sort of enriched dough, I usually rest the dough for at least an hour before I start handing it again. While you can usually go by the "double in size" rule when it comes to bread, this is one recipe where that adage may not apply. Enriched dough is heavy and dense, so it rarely tends to rise as well as a standard sandwich loaf or Dutch oven bread.
To ensure a proper rise, I would recommend proofing your dough in a warm spot (like a proofing drawer) for the amount of time listed in the recipe. If the temperature of my house is super cold (as it usually is), I'll run the oven on the lowest setting, then shut it off and shove my bread in there. It's just enough ambient heat to help the bread rise, but not cook it through.
Consider making your dough the night before
Seeing "six hours" listed on a recipe's estimated time can be a bit of a shock. But experienced bread bakers know that the waiting game is just part of the process. Granted, not everyone has the time to stand around waiting for their dough to rise before they shape it, add in their ingredients, and bake it.
If you have the foresight, you may want to try and assemble your king cake dough the night before. That way, when you wake up, all you need to do is pull it out and let it come back to room temperature before you continue with your recipe.
The specific instructions for shaping, and whether you can do a cold ferment, will really depend on the recipe. While some recipes will just say to bring the dough together in a ball and let it sit overnight, others will call for you to make the dough, fold it, rest it, and then fold again repeatedly. However, there is usually some time after the last fold-and-rest cycle when you can do an overnight proof.
Cold fermentation doesn't just make the process less time-consuming on the day of; it also improves the flavor of the dough. The yeast activity is slowed in colder environments, which allows the microorganisms to slowly digest those carbohydrates and release other flavor compounds that alter the taste of the dough.
If your dough is sticky, add extra flour
Unfortunately, you can't do all the shaping and making of your dough inside of a stand mixer. There has to be some point where you take it out and roll it. Once the dough is rolled out, you can add in your fillings and shape it into its signature circle.
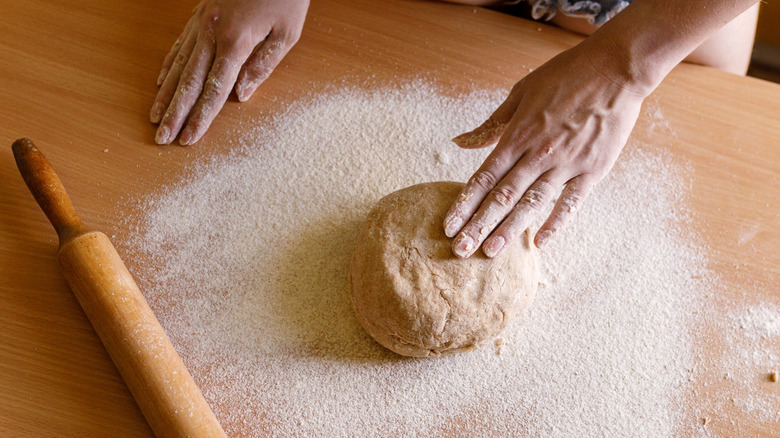
One issue that you may encounter with your dough is that it sticks to everything. In order to make your dough a little bit easier to roll out, I would recommend placing it on a well-floured surface and coating your rolling pin in a layer of flour as well. Like all doughs, you'll want to avoid handling this one more than you have to. Enriched dough should be soft and supple, and messing with it may compromise its structure and ability to hold the fillings in.
When it comes to flavor extracts, less is more
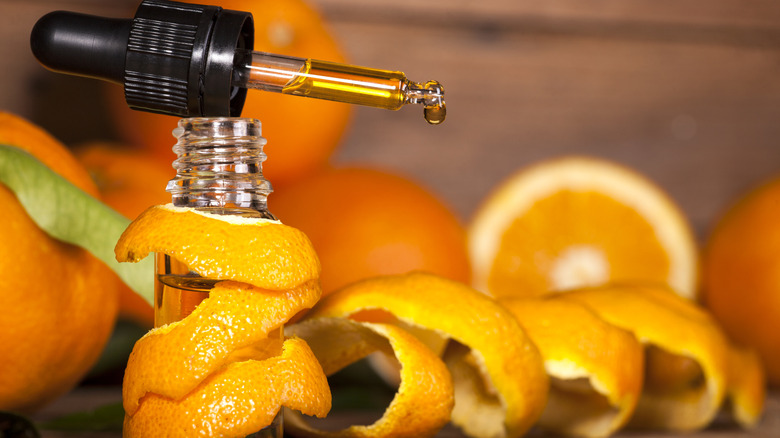
Depending on the type of king cake that you are making, you may find that its ingredient list calls for flavoring extracts. Orange and lemon extracts can add some much-needed lightness to your filling and help balance out the denseness of other ingredients, like ground almonds, cinnamon, and sugar. However, you'll need to be careful with how much of this extract you add, as the flavor is quite potent.
The ⅛ teaspoon of orange oil in your recipe is not a typo; it will be more than enough for a standard-sized king cake. Vanilla is the one extract that you can add more of and not worry too much about since its flavor is milder and inoffensive; consider adding a splash of vanilla to both your icing and the filling to really drive its flavor home.
Consider adding a filling to your king cake
King cake is traditionally filled with a medley of different ingredients. One of the most common and beginner-friendly additions is a cinnamon sugar filling. It's sweet and will give your king cake a cinnamon roll-esque vibe. Plus, all you need to do to assemble it is to spread the paste on your dough, roll it up, and tuck it into your desired shape. A cream cheese filling is another popular choice, but it requires a little more dexterity to fold it into your dough. This is because although the cream cheese is whipped, it tends to resist spreading on an already sticky dough. That being said, a cream cheese filling can really take the texture of your cake to the next level — so it might be worth the hassle.
One filling that I think is particularly underutilized when it comes to king cake is almond. It's perfectly nutty and ties back to the galette des rois that the modern NOLA king cake is based on.
Find a way to shape your bread that works for you
There are just as many ways to shape your king cake as there are to fill it. The standard circular or oval shape is said to be a nod to the king's crown. However, other folks believe the shape is a tribute to the circular path that the Wisemen took to reach baby Jesus. Regardless, the ring can be made in several ways. You can roll up a log of the dough with your filling and just make it into a simple circle by pinching the ends together. However, the more common preparation is to twist two strands of the dough together to give the dough a braided look. Ultimately, the shape you pick is up to you and your comfort level.
If you want to maximize the amount of cake you get from this recipe, you may even want to forego the circle entirely and make the recipe in a standard baking dish — almost like a giant cinnamon roll. This method certainly makes it easier to frost and cover with sprinkles.
Let the bread proof again before you bake it
It's not enough to let your bread proof once. Rather, if you want it to truly have the perfect rise, you'll need to let it rest both before and after you shape it. Like the first proof (bulk fermentation), the length of your second proof will really depend on the recipe — I've seen some recipes suggest as little as half an hour, while others will call for about an hour. Like the first proof, this is also not one you'll want to cut corners on.
The primary reason for the second proof is to allow the dough to expand again before it's baked. When you roll out and manipulate the dough, you inevitably push air out. So, letting the dough rest will give it a chance to reinflate before you slide it into the oven. If you don't do a second proof, it can turn out dry and stodgy.
Bake your cake in a Bundt pan to give it a fun design
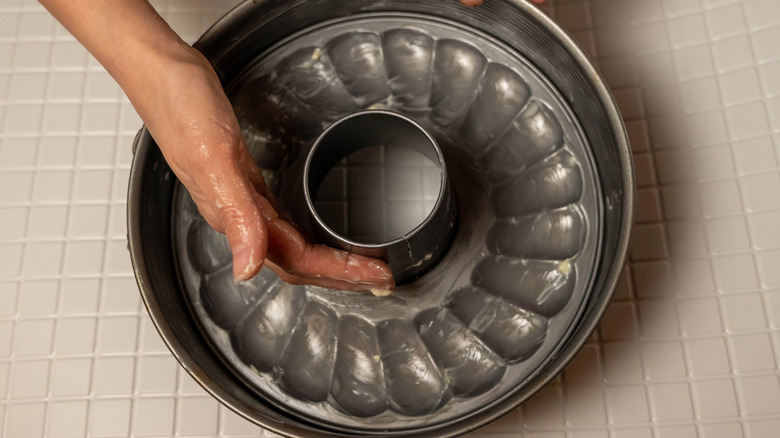
Many king cakes are baked on sheet pans. But the Bundt pan may be a worthy match for this cake, too. It will impart a unique imprint in your dough and ensure that it will retain its circular shape as it bakes.
Before you try this hack, you're going to want to read up on some important tips for baking Bundt cakes. This tin has a ton of nooks and crannies in it, so if you neglect to properly grease your pan, you will risk your bread sticking to the sides when you go to remove it. While this blunder can make removing the cake precarious, though, it's certainly something that a coat of frosting can fix — or at least cover up.
Moreover, letting your king cake cool a little bit will help make the removal process a little easier. But, you'll want to avoid waiting too long to let it cool, as you need the cake to be slightly warm if you're planning to top it with a standard glaze. These are some important considerations you'll need to think about when you think about what type of tin you want to bake your king cake in.
Glaze your cake while it's still warm, but not hot
The golden rule of frosting a cake is to always wait until the cake is completely cool before you slather on the frosting. Though, king cake isn't technically "cake" — so it gets a free pass on this one.
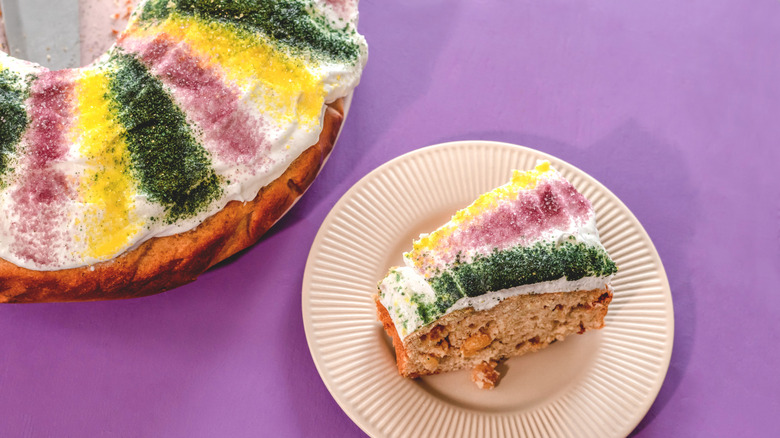
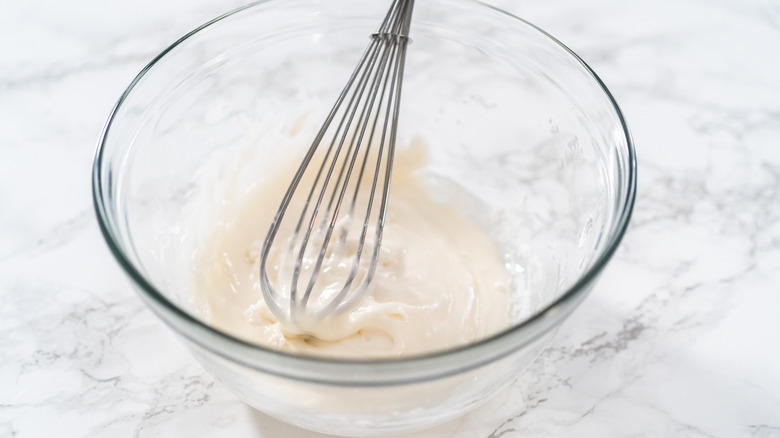
You'll want to make sure that your king cake is slightly warm when you go to glaze it. The radiating heat will allow the frosting to drip down the sides, which will give your cake a rustic look. The glaze can be simple — made with powdered sugar, milk, and vanilla — or you can try a cream cheese adaptation to give it a little bit more tang. The former option will give you a thinner mouthfeel, whereas the latter will make this dessert more like a cinnamon roll.
Once your frosting is applied, then you'll want to immediately sprinkle on your green, gold, and purple-colored sugar. The icing needs to be wet so that the sugar crystals can stick to it instead of just falling off.
Store your king cake on the counter
Mardi Gras celebrations tend to be rather large and elaborate, so chances are that you will not have king cake left over for breakfast the next day. But if you do, the good news is that you can keep it on your countertop for when the mood strikes. It will typically last for about two to three days before it will need to be tossed. However, enriched doughs (think cinnamon rolls) tend not to taste as good on day two or three because they stale so quickly.
You could, alternatively, keep the cake in your fridge — but the moisture will change its consistency and may even cause it to dry out faster. To help reduce this effect, be sure to keep your cake in an airtight container.
Enjoy the flavors of Mardi Gras later by freezing your cake
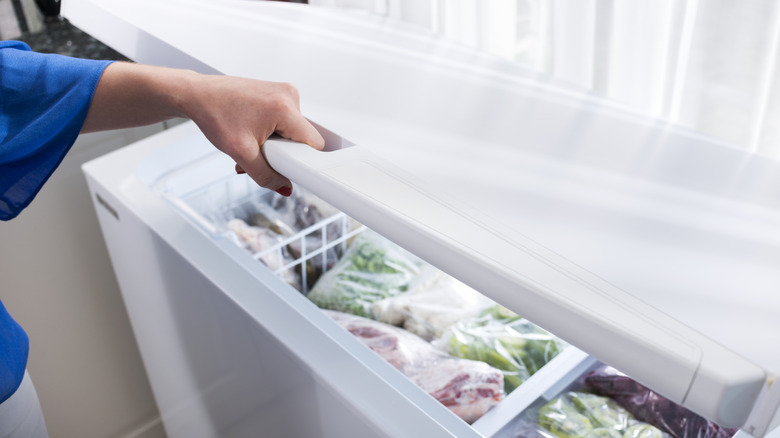
If you make a king cake well in advance, or order your king cake online for Mardi Gras, you're going to want to clear out some space in your freezer for it. Freezing your cake will ensure that it stays as fresh as the day it was baked. It will last several months in the freezer, which gives you plenty of time to enjoy it before you need to throw it out. Just make sure you wrap it well in plastic wrap and/or store it in an airtight container to prevent any freezer smells from tainting it.
When you get a hankering for a slice, set it out on the countertop for a few hours to let it thaw. You can also pop it in the microwave for a little bit to warm it up. But, avoid microwaving it too long, as you don't want to zap all of the moisture out of it.
Add the plastic baby after your cake is finished baking
Nobody puts baby in a corner. Put it in the cake instead.
While it might seem like a little bit of a weird tradition, adding a baby to a king cake is part of the experience. The baby is said to be representative of baby Jesus, but it's also a sign of luck and prosperity. Whoever has the plastic baby in their slice of king cake is said to be lucky — and they're also slated to make next year's dessert.
Religious symbolism aside, should you be baking pieces of cheap plastic into your cake? No. Not to mention, it can be a choking hazard if the baby is small enough. The better way to insert this little toy baby into your cake is to fully bake your cake, then stick it somewhere in the bottom of the cake. Before all of your Mardi Gras guests dive in, have them inspect the bottom of the cake to see who has the baby and celebrate accordingly. And if you're the lucky fellow who is stuck with the baby, well, at least you have some pretty good tips here for how to make a stellar king cake for next year's Mardi Gras celebration.
