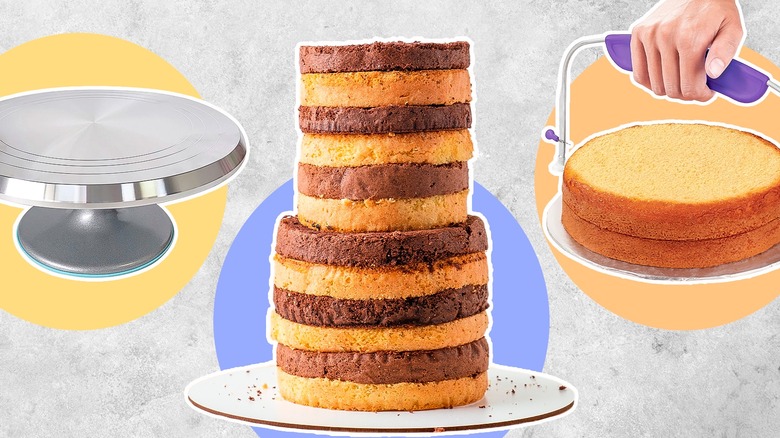
12 Tricks For Stacking A Layer Cake Like A Professional Baker
We may receive a commission on purchases made from links.
What's not to love about a classic, homestyle layer cake? It's a staple at birthdays and special celebrations, and there seems to be something very special about getting to make one yourself for an event, rather than just going to the store and buying a premade one. But like all bakes, your layer cake can look a little worse for wear sometimes. While single-layer cakes and sheet cakes are pretty straightforward — with sponge, icing, and decorations — layer cakes require a very precise attention to detail. Otherwise, you could be left with a cake that's lopsided, sunken, or like it just walked off the set of "Nailed It!"
As a home baker, I have had layer cakes that come out stupendous and others that I have had to sheepishly raise my hand for when someone asks, "Who made this?" In order to save you from a sweet dessert disaster, I curated some of my best tips for making and assembling sturdy layer cakes that look as good as they taste.
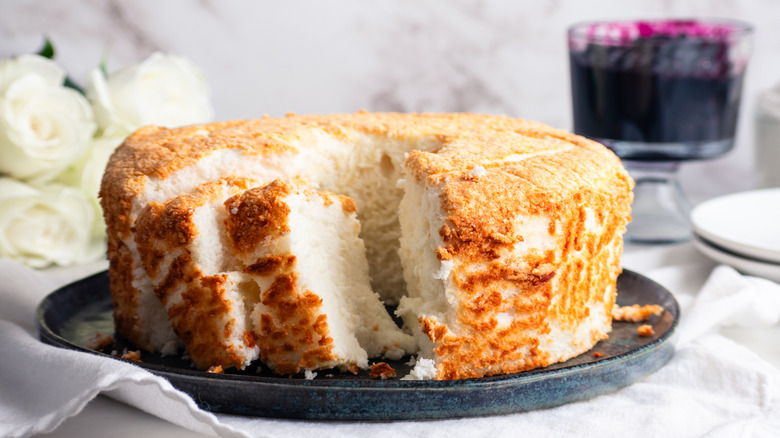
1. Know that not all cakes are meant to be stacked
There are some people out there that will tell you that all cakes can be layer cakes if you try hard enough. I will not be that person.
The main reason why some types of cake work better for stacking is because of their density and composition. In general, I would recommend staying away from anything in the chiffon cake or angel food cake-family because these varieties tend to lack enough heft to support fillings, frosting, and most importantly, other layers of cake. I would also recommend, from a mouthfeel perspective, to avoid any cakes that are especially heavy and dense — like a pound cake or a fruit cake. You probably wouldn't want to eat several layers of this dense, stodgy dessert in a single bite.
Otherwise, there are limitless possibilities for what you can use. White cake, yellow cake, and chocolate cake are three standard options that are relatively beginner-friendly and easy to work with. You could also play into the more flavorful offerings, including moist red velvet cake, carrot cake, and devil's food cake.
2. Use a cardboard to prevent dirtying your cake stand
If you've ever made a cake yourself, you know that no matter how hard you try, icing and frosting will end up all over every possible surface — including your cake stand or turntable. The last thing you want to happen when you're assembling your cake is to have chunks of cake or frosting stuck to it when you apply your decorations. And, if your surface is coated in sugary frosting, it's all the more difficult to pick up the cake and move it to the surface you plan on serving it on.
To avoid this assembly and decorating mistake, consider putting a layer of cardboard down on the stand before you start working. The cardboard will offer your stand some protection, and, so long as you use a piece that is large than the cake you're making, you can easily lift it up with your fingers and transfer it to another surface. It's a simple tip that will save you a ton of time (and mess) in the long run.
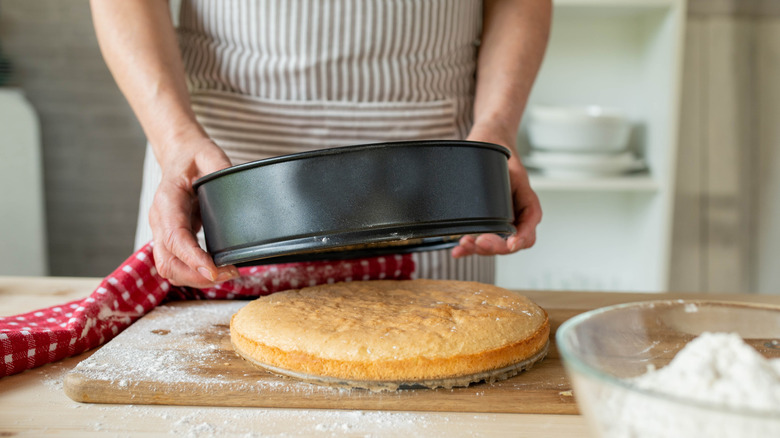
3. Use the same amount of batter for every pan
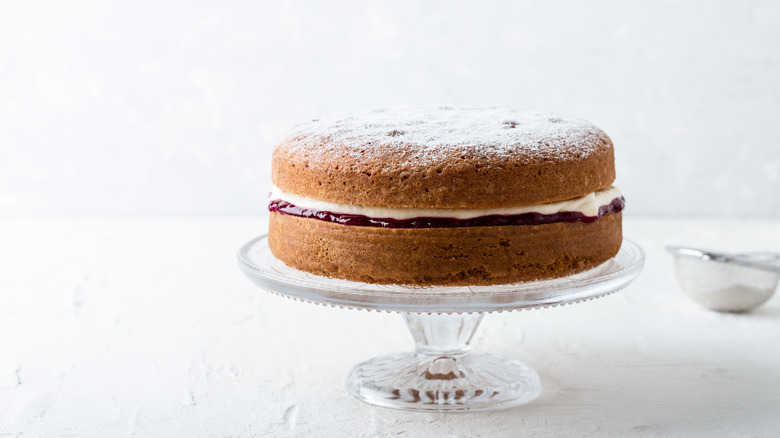
Part of the appeal of making a layer cake is slicing into it and seeing that all of your layers are the exact same size. It can really take a home baker's recipe and turn it into something that could be served at a fancy dessert shop. That being said, if your cake looks super wonky — I'm talking one massive layer and another one that looks like it was made for a mouse — it just won't look as good. No amount of icing can conceal a cake with a poor structure or uneven layers.
When you're portioning out your batter into your pans, you're going to want to make sure that you try and use about the same amount for each one of them. While you may have some slight variation, trying to get them as even as possible before you bake them will reduce the work you have to do later on with your serrated knife or cake saw. I would recommend measuring the weight of the batter and dividing it by the number of cake layers you want to ensure that each one is as equal as possible. Moreover, you'll also want to use a spatula to gently push the batter out to the edges to discourage an uneven bake.
4. Don't work with a warm cake
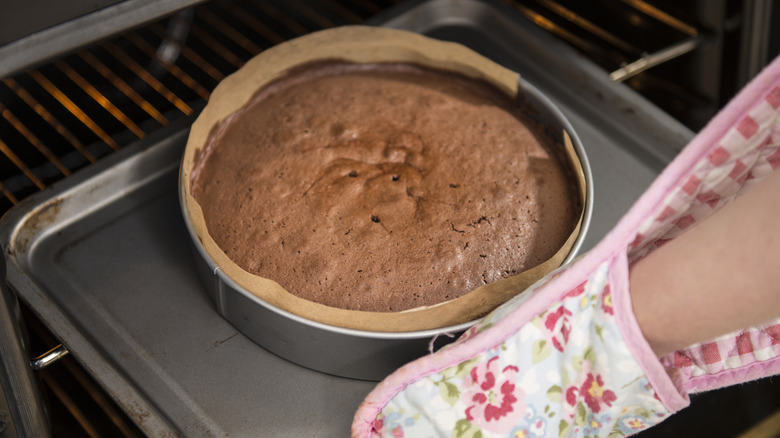
One of the biggest mistakes that people make with cake decorating, as a whole, is frosting a warm cake. For one, warm cakes and butter or cream-based icings don't mix. If your cake is still warm, you may notice that your icing starts to look sloppier and sloppier, and your cake may even shift as the consistency of the inner frosting layers begins to change. This could spell disaster for a tall cake or one that really requires a lot of structural stability. Moreover, if you trim a warm cake, your cuts will not be as even or as precise as if it was cool. So not only do you risk sloppy frosting, but also uneven layers, too.
Ideally, you'll want to allot enough time between baking and building your dessert for your sponge to adequately cool. And, for an easier time, you may even want to freeze your cake layers before you start building them. Once your cakes have fully cooled (which prevents any issues with condensation), you can wrap them in a layer of plastic wrap and stick them in the freezer for a few hours to firm up. Not only will it guarantee that your cake is as structurally sound as possible, but it will also ensure a cleaner frosting experience — a win-win in my book.
5. Add a dollop of frosting to help your bottom cake layer stick to the board
Once you've sorted out the measuring and the mixing, it's time to start your cake assembly. But, before your first cake layer even hits the stand (or the cardboard, as I would recommend), you're going to want to reach for your icing. Dollop a small layer of icing onto the center surface you're working on and spread it out just a little bit. Once you've done so, you should be good to add your first cake layer to the stand.
In essence, this dollop of icing is going to act like the glue that holds your first layer onto the surface. If you neglect to do this step, you may find your cake shifting off to the side or sliding once you start building upwards. Since this coat of icing is thin, you won't have to worry that the people eating it are going to notice it. And if anything, it's a small price to pay for peace of mind.
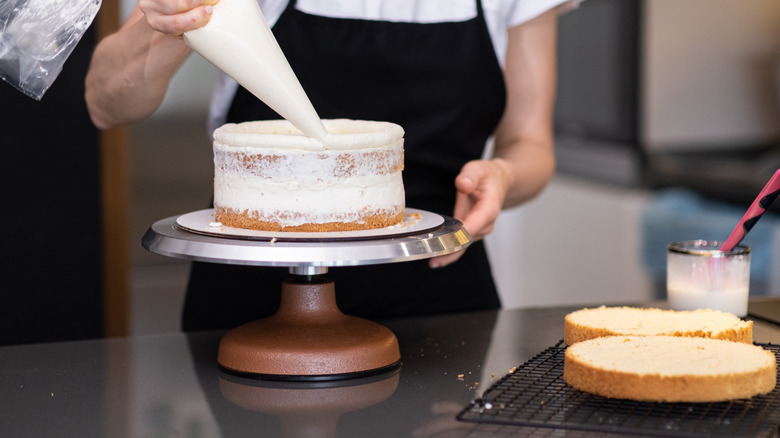
6. Opt for a turntable for easy stacking and decorating
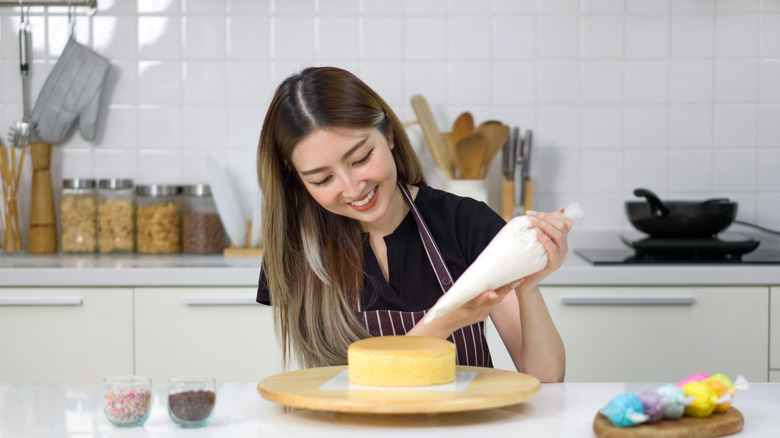
Before you can start building your layer cake, you'll want to have all the tools that you need at your disposal. This includes an offset spatula, bench scraper, piping bag, and of course, a turntable. I generally prefer to decorate and ice layer cakes on a turntable because it's easier to maneuver than a static cake stand. Plus, when you go to add your crumb coat, you can leave your bench scraper in the same spot and just rotate your cake around it. How easy is that?
You don't have to spend a fortune on a good cake turntable, either. I bought myself a Kootek turntable on Amazon for less than $50, and I find that it's super easy to use, lightweight, and rotates super quietly. You can also find turntables in other materials, including plastic and glass, or even buy one as part of a cake decorating set.
7. Get the consistency of your frosting right before you start stacking
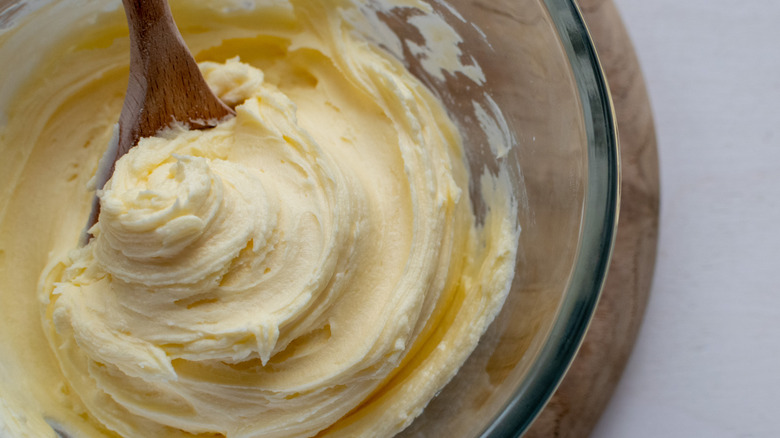
One of the nice parts about making a layer cake is that you're not really beholden to any type of frosting. For one, you can always stick to a classic buttercream, or opt for a cream cheese frosting for your red velvet or carrot cake. In general, you should use a frosting that is sturdy enough to support your cake layers and to decorate with. However, if your frosting is too thick, it will be difficult to pipe. It's all about finding that happy medium.
You'll want to make sure that you master the consistency of your frosting before you pull the cakes out — as you don't want to realize halfway through that you should have been a little less generous with the milk. When I'm making my own buttercream from scratch, I like to test my frosting by taking a spatula-full up and looking for a slight curl on the edge of the plastic. That way, I know it's thick enough to pipe, but soft enough to still be decently spreadable and malleable. If your big concern is stability, and you don't mind putting a little more work in, I would also recommend trying a Swiss meringue buttercream. This type of frosting contains cooked egg whites, which helps it retain its shape better once it's piped.
8. Cake levelers are your best friend
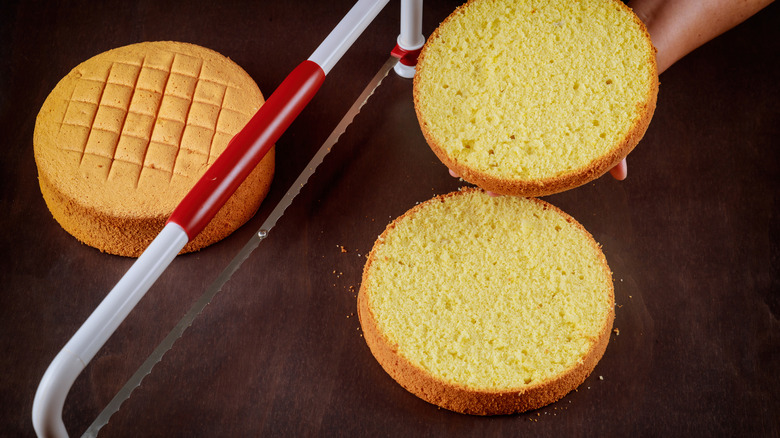
Having a hump is only a good thing if you're a camel or a madeleine. Cakes, especially those used for layered creations, should not have a dome. If you neglect to remove the bubbled top from your cake layers before you assemble your dessert, you may risk some instability or an uneven coat of frosting.
If you want to make your cake layers even, you're going to want to prep each of them by shaving off the dome using a cake saw or a serrated knife. A cake saw (aka a cake leveler) is a handy tool that allows you to adjust the height of the blade, than saw directly across the cake to flatten it out. You can also use this tool to create two layers out of a single sponge.
I personally prefer using a leveler over a serrated knife because I find that the knife not only crumbles off more of the cake, but it's also super easy to accidentally change the angle of the blade and end up with an unlevel slice.
9. Consider using a dowel for more structural support
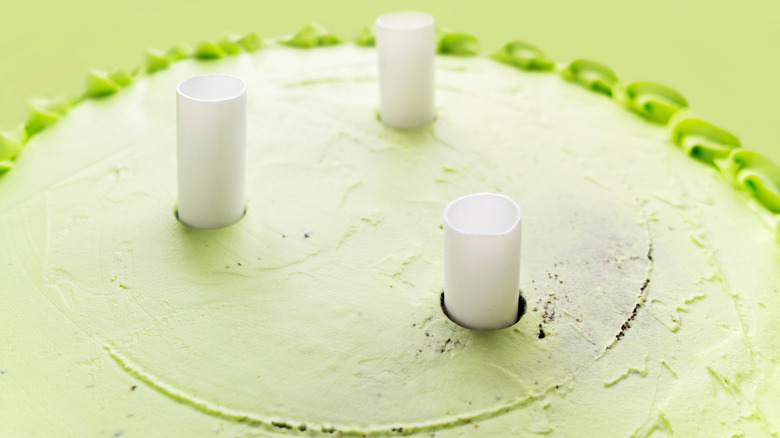
To dowel or not to dowel, that is a great question. Essentially, dowels are small rods made from wood or plastic that can act as a supportive scaffolding for your cake layers. You can find them at baking stores or online retailers like Amazon.
You'll want to use dowels for especially heavy cakes. While cake is edible, it doesn't always make for the best building material — especially if you're scaling upwards and adding a ton of different components, decorations, and tiers. If you neglect to use a dowel (or in the case of a large cake, not enough dowels), you may risk the top layers sinking down and crushing the poor bottom layer.
The number of dowels you need to use for your cake will depend on its size and weight. If you're building a tall, but not heavy cake, you may want to use a single dowel in the center. Or, if you're building outwards, you may need upwards of eight dowels to allow your cake to be secure.
When you're ready to assemble the cake, place the a dowel in through the cake. You'll want to pick one of the corners to work with here and make sure that all of your dowels are supporting the cake equally so you don't get any topsy-turvy spots. Once you've sized that dowel, you can cut the rest of your dowels to fit that shape before placing them into your cake. Just be sure to warn all of your guests that there are dowels in the sponge; luckily, it's relatively easy to eat around them.
10. Resist the urge to add too much filling
Some people will fill their layer cakes with ganache, compote, or curd. These ingredients are all easy (and tasty) ways to give your cake a more sophisticated and tasty touch. However, they also come with some important caveats. For one, if you use a filling on the inside of your cake, you will want to pipe a dam of frosting around the circumference of the cake to prevent the filling from oozing out. The key is to also not pipe too much filling in the center of the cake, as it can not only make the cake heavier, but it can also ooze out of the edges when you start to stack the next few layers on top. Less is more when it comes to fillings, and being mindful about how much you're adding will make the overall presentation of your dessert much neater.
If you're just sticking with a frosting divider, you'll also want to make sure you're not going overboard with it. Ideally, you won't want to add more than about ¾ of a cup of frosting between each layer. Otherwise, you may have issues with stability and get a bite that's too frosting heavy (yes, it is a thing).
11. Use gentle pressure to push your cakes down
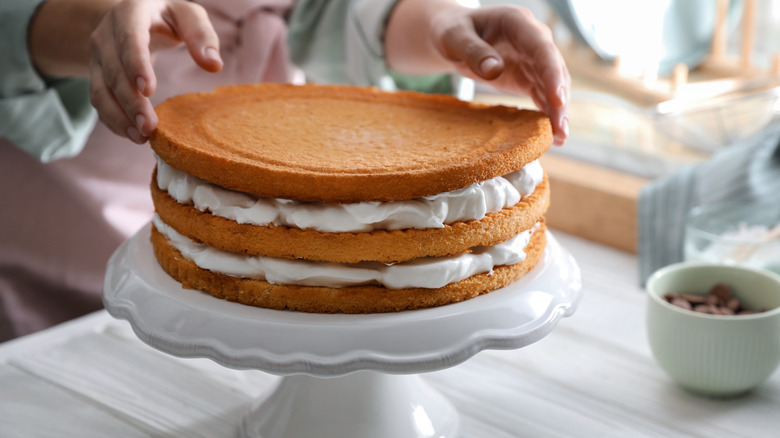
Cake is delicate, so it requires a delicate set of hands to stack it properly. You never want to press down too much on your layer cake as you're stacking one cake layer on top of the other — for several reasons. The first is that adding extra weight by pressing on the cake will only cause the layers to sink down into one another. You could also end up pushing the frosting outside of the edges, which will create unsightly bulges. And, if you press one side of the cake more than the other, you'll end up with a lopsided dessert that will taste great, but looks a little funky.
Gently press subsequent layers on to the cake to fasten them together; never put so much weight down on the layers that they crack or feel resistant. When you're pressing the cake down, you're just making sure that the cake is touching the icing and that the layers are set together. If you're using a dowel, you will also want to carefully guide the cake down onto it, rather than plunk it down or only hold the edges while leaving the middle unsupported.
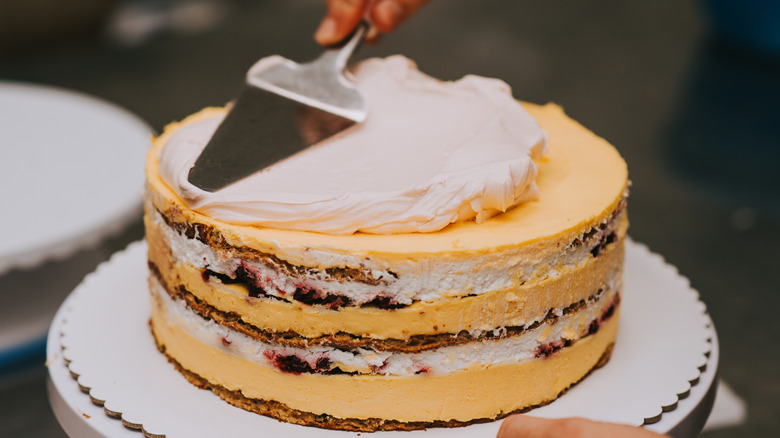
12. Finish with a crumb coat after all your layers are stacked
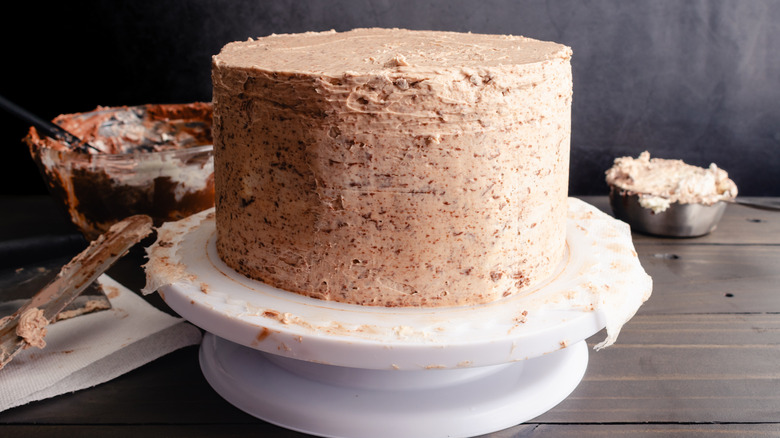
Once your layer cake is assembled, your work is done ... almost. The last thing that you need to do before you go ahead and decorate your layer cake to make it look like it came straight out of a bakery is to add a crumb coat. It's arguably the most important step for decorating your cakes because it will prevent any of the crumbs that you broke off assembling your layers from being visible. You'll essentially need to coat the entire cake — including the edges and corners, in a layer of frosting. You don't need to use too much, as it won't be visible once you coat it with your "real frosting." Once the entire cake is coated in frosting, you can take a bench scraper and remove the excess. What you're left with is a cake coated in a speckled frosting — which on its own, doesn't look very appealing.
But, after you've let the crumb coat harden in the fridge for a little bit, you'll find it much easier to add your final coat of frosting to the outside of the cake and decorate it without any of these crumbs showing through. While it might require that you make an extra cup (or so) of frosting for your recipe, you'll be rewarded with a flawless and easy-to-decorate cake that will make the hard work worth it.