14 Fail-Proof Tips To Memorize For Homemade Pie Crust
We may receive a commission on purchases made from links.
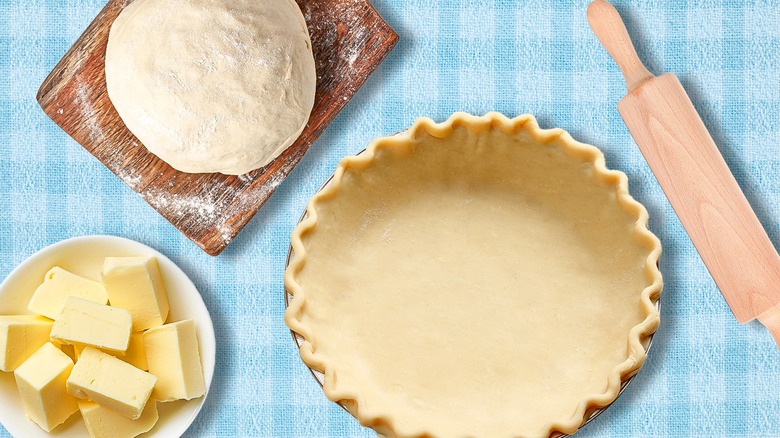
I am a self-proclaimed pie fanatic. They're one of my favorite things to bake, and I find a lot of joy in the process of mixing, rolling, and crimping pie crust. However, I can assume that this is not always a shared sentiment — especially among novice bakers.
A good crust is a fundamental component of a proper pie, so mastering the recipe and the technique is the first step on the pathway to success. And, if you've never had someone to walk you through pie crust 101 — and answer all of those questions that you didn't know you had — you may admittedly feel a bit lost. That's why I came up with this list of some of my most essential tips for making the best pie crust, informed not only by my home baking experience, but also my years of trial and error and soggy bottoms galore.
Keep your cool

I find that a lot of the issues that arise with pie crust, whether you're baking a double-crusted fruit pie or doing a base for a meringue-topped treat, can be traced back to an issue with temperature. Pie crust — and more specifically, the fat inside of it — likes the cold. When you start to introduce warm ambient conditions, then you'll start to run into significant issues with it. The cold pieces of butter turn to steam when they hit the oven, which gives your pie crust both a lift and help to create those signature flaky layers. If your pie crust is too warm when it goes into the oven, you won't have enough steam potential to get the perfect rise. And what's worse is that overworking the crust and warming up that butter will only cause the moisture to seep into the flour, in turn expediting the development of gluten.
Temperature issues are easier to prevent than they are to fix. I would recommend chilling your pie dough as much as physically possible, which means chilling it after you've brought the dough together and again once it's in the tin. This will give the fat the opportunity to firm back up as you do other tasks, like prepare your pie filling.
The one technique I would be cautious of when it comes to temperatures, though, is using frozen butter. Large, frozen chunks of butter do not distribute as evenly as smaller ones, which can give you uneven layers. The frozen pieces are also hard to work into your dough, so you might actually end up overworking it in the process. In short, stick to cold — but not rock-hard — butter.
Only work your dough enough to bring it together
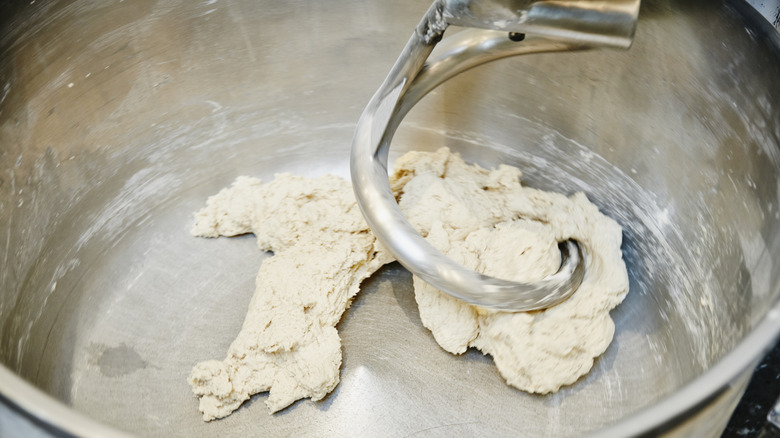
Besides temperature, the other big mistake people make with pie crust is overworking their dough. In general, doughs and batters do not like being poked and prodded. While you'll want to bring your dough together enough that there are no dry spots, continuously messing with your dough will only cause issues later on in the baking process.
There are several points at which overworking is common. It can start as soon as you add water to flour. The addition will kick off the development of gluten, which is strengthened by movement and kneading. If you leave your dough in the food processor for too long or work it too much with your hands, then you will create something more akin to bread dough than pie dough. That's why I would recommend only mixing your dough enough that it forms a cohesive ball.
Overworking can also occur when you're rolling out your dough ball into your pie crust. You'll only want to roll it enough that it is flat and fits your pie tin of choice. If you start to roll it and it starts to pull back, it may be an indication that you've overworked it. Like temperature issues, it's easier for you to prevent overworking from happening than to have to try and fix your dough. Try to give your dough as much opportunity to rest as possible and avoid over-handling your dough every step of the way.
Small, but not pulverized, butter is the way to go

If you consider yourself a novice baker, the phrase "cut the butter into the flour" may throw you for a bit of a loop. Cut with what — a knife?
Cutting is basically a method of combining fat into flour in a way that disperses it evenly yet still keeps it in somewhat small pieces. It's important to keep your butter pieces coarse, rather than pulverizing them into the flour, to create those decadent layers and little pockets of steam. I would recommend that people shoot for pea-sized pieces of butter in their pie crust. If you're looking at your fat and flour and can still see massive pieces of butter, you should keep cutting. If everything is dusty and fine, you've gone a little too far.
That being said, you may see instructions other than cutting the butter on your recipe. Some will call for smashing the butter with your fingertips, while others call for rubbing the butter pieces together with the flour. While the exact specifications will vary, you'll still want to avoid breaking down the butter too much.
A pastry cutter are the best tool for working butter into your crust
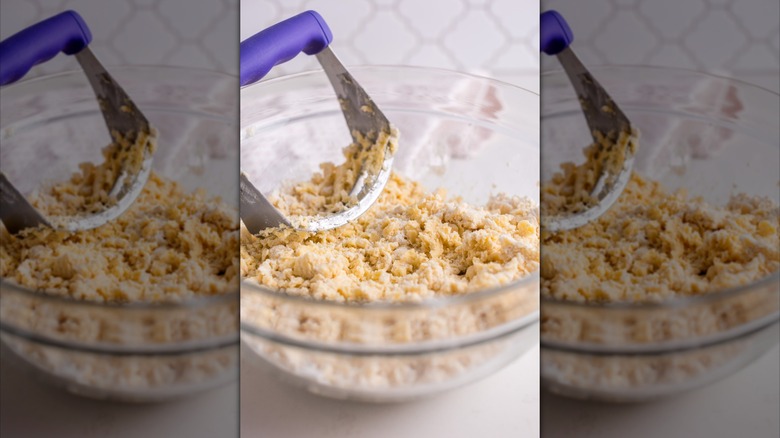
If you don't have a pastry cutter on hand, now is the time to add something like the Spring Chef Dough Blender to your Amazon cart. This nifty little gadget gets a lot of use in my kitchen, especially when it comes to making pies. The cutter makes it easy to break down the butter into your flour, as you can keep an eye on the consistency and size of your butter as you're breaking it down. If you use a food processor, you lose that connection to the dough and can't always see how broken down the fat is — unless you're constantly taking the lid on and off. Plus, once you add the water, it's easier to overwork the dough when you're just pressing the "pulse" button over and over again.
The one annoying thing about your pastry cutter — which is also referred to as a pastry blender — is that you constantly have to take your finger and clean it off. But, it's a small price to pay for a great pie crust.
Vodka can solve some - but not all - of your problems

The last place you may look for pie crust ingredients is in your liquor cabinet. But, vodka is the surprising ingredient that you should add to your pie crust. Most vodkas contain around 60% water and 40% alcohol, and despite its high water content (which will properly hydrate your dough and keep it pliable), it doesn't contribute to the development of gluten in the same way that water would. You can use a 50/50 mix of water and vodka to replace the water that your standard pie crust recipe calls for.
The remaining alcohol content will cook off as the pie bakes, which means you won't have to worry about altering the flavor of your crust too much. And you don't have to always use vodka, either. Select an 80-proof spirit of your choosing, whether that's gin, whiskey, or even rum, and see how big of an impact it can make on the consistency of your crust.
Don't neglect the blind baking
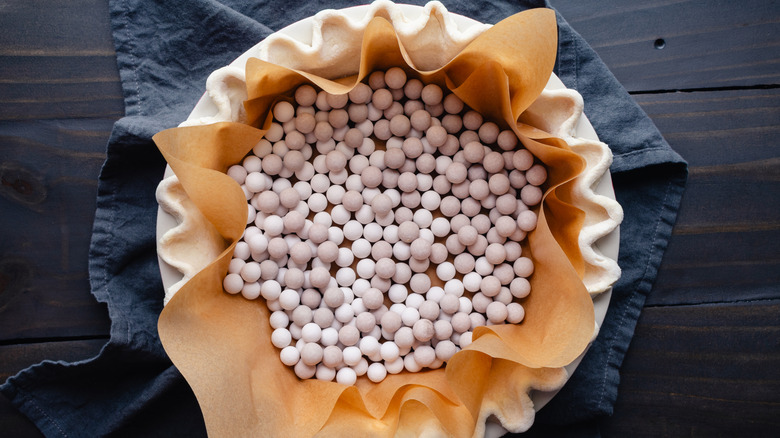
The key to a successful pie crust is — believe it or not — following your recipe's directions. This includes any details about par-baking or blind-baking your crust before you add your filling.
Not all crusts need to be par-baked or blind-baked. Though, it's important to know the difference between the two. The former will give your pie crust a head start in the oven before you add your filling; this might be required for something like a pumpkin pie or a pecan pie. The last leg of the bake will set the filling and finish the crust. On the other hand, if you're making a no-bake pie, you're going to want to do a complete blind-bake on your crust.
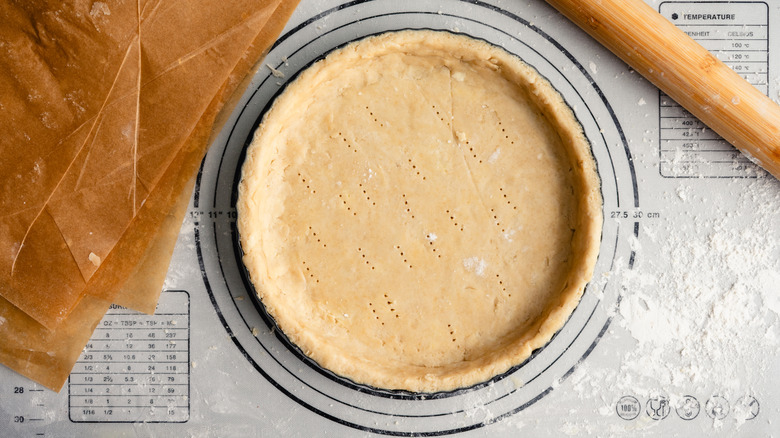
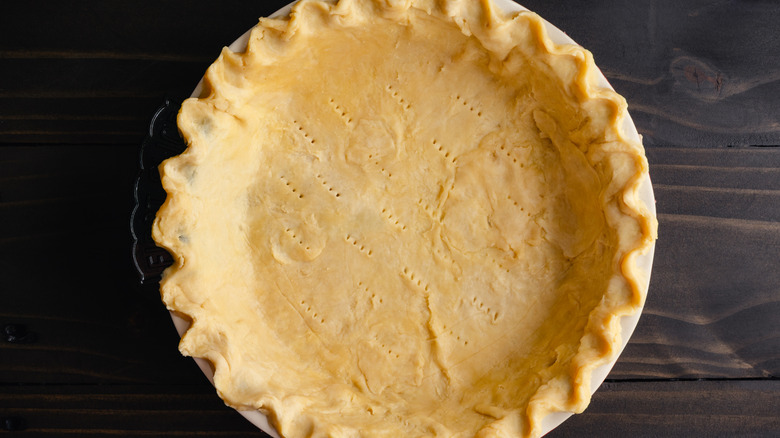
Luckily, blind-baking and par-baking require a very similar set of instructions, just with varying lengths of bake time. You'll want to prick the bottom of your crust first, as this will prevent the steam in the butter from causing too much puff. Adding in weight, either pie weights or dried beans, will also ensure that your pie crust stays flat for the duration of the bake.
Use your pie tin to measure your crust
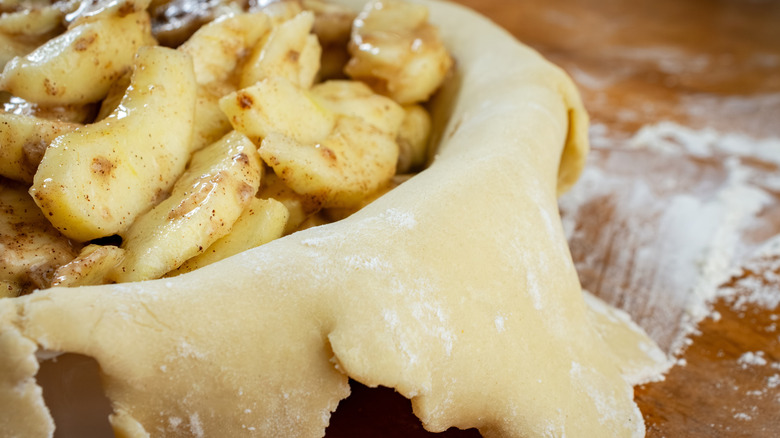
If you don't consider yourself to be someone who is spatially-minded, the thought of measuring out your pie crust and fitting it to your pie tin can be a bit of a daunting task. On one hand, if don't roll your pie crust out enough, you may have issues with it collapsing in the tin. But, if you make a crust that's far too large for your tin, then you'll end up having to cut a lot of extra crust off the edges and potentially having a crust that's too thin to encase a wet filling, meaning that you will run the risk of cracks and leaks.
Whenever I'm measuring a pie crust out, I will regularly check the size by placing the tin, turned upside-down, over the crust and seeing if it's large enough. Shoot for crust that is about 2 to 3 inches larger than your tin. This will allow the crust to sit loosely in your tin; you should not be having to stretch it before you put the filling in.
You'll also need to use spatial skills when you're separating your dough balls into pieces. Most pie crust recipes will arbitrarily say "divide the crust in half." However, your bottom crust will need to be slightly larger than your top crust, as it will have to drape into the sides of the plate and form the crimp. Portion out a third of your total pie crust for the top and the remaining ⅔ for the bottom crust; a kitchen scale will make it easier for you to do the math here.
There is such thing as too much flour
Flour is both helpful and harmful when it comes to pie crust. While it can help prevent your crust from sticking to whatever surface you're rolling it on, it can also absorb into the flour and make your crust come out drier than you intended. Flour absorption is especially common with warm dough, which will more readily absorb the flour than cold dough.
When I make pie crust, I will only add a little bit of flour to the surface of the dough, the rolling pin, and the counter. I'll also regularly pick the dough up and flip it over to help stave off any sticking and redistribute the flour. As long as you're being mindful about the amount you're using, and removing as much of the excess with a pastry brush as possible before you put it in the pan, you should be set.
Another big issue that many people encounter with flour is that it gets everywhere. When my family made pies growing up, my mom would add flour to a piece of cling wrap, add the dough, and then add more flour before layering another piece of cling wrap on top. The wrap makes a sandwich of sorts and helps keep the flour contained inside of it. The bottom piece of cling wrap will also prevent the crust from sticking to your countertop, and you can easily flip and roll the dough out on both sides.
Move your dough around as you roll
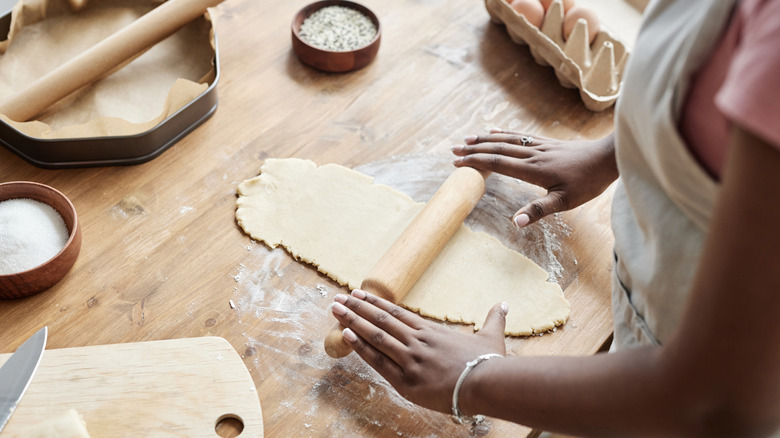
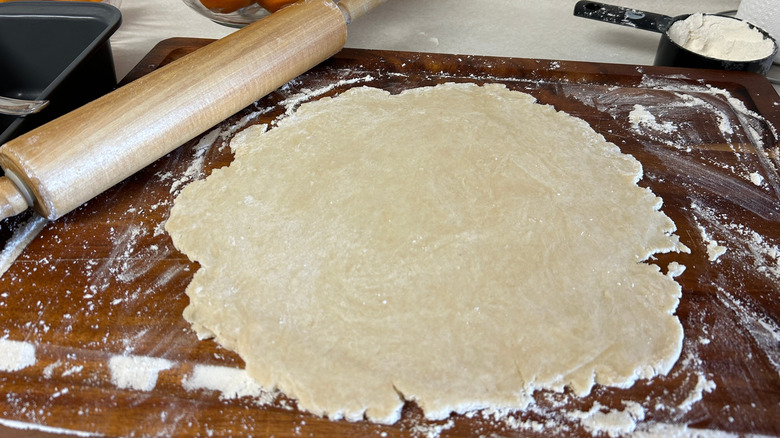
One of the most challenging parts of making a pie crust is definitely rolling it out and achieving the perfect thickness. It may seem like everyone rolls their crust differently — some people opt for lifting and moving the crust, while others will rotate around it on a kitchen island.
The best and most effective method that I've found for pie crust is to gently shape the ball of dough into a rectangle with your rolling pin. Then, once your surface is floured, you can start rolling. Always roll in one direction, avoiding sea-sawing, and don't roll all the way to the crust. You can hard-stop about ¼-inch from the edge, as rolling it out too much can cause breakage when you crimp it, or it may lead to the edge slumping back into the tin when you bake it. You'll also always want to roll from the center of the crust outwards rather than pulling the pin towards you. Once you make that first roll, pick your pie crust up and rotate it 90 degrees. If you are a novice in the crust-rolling department, making even smaller rotations (like 45 degrees or ⅛ of a turn) can help ensure that your crust stays round.
Choose your baking vessel wisely
Not all pans are created the same. This holds just as true for skillets and stovetop cookware as it does for pie plates and tins. The gold standard, in my book, is a durable, lightweight metal pan. Aluminum ones are relatively inexpensive and are great conductors of heat compared to heavier glass and ceramic pie plates. If you're after a golden and evenly-baked crust, then metal is going to be your best bet.
Glass is another solid option. Though it lacks the conductivity of a quality metal baking pan, you can keep an eye on the bottom of the crust as you bake it. Stoneware and ceramic are other popular choices, though they are quite heavy and don't get up to temperature as fast as a metal pan, which means you will risk a less-than-golden crust.
Another vessel that you may never have thought to try is a cast iron skillet. It can help you bake better pies because it is a great conductor of heat. While it is heavy, it will yield a crispy, tasty pie crust that's perfectly golden brown.
Don't overthink the crimp
Pie crimping serves many functions — not just an aesthetic one. It prevents the edges of your crust from drooping over and onto your oven rack, and it offers a neat, clean way to fuse your top and bottom crust together.
There are many different ways to crimp — some of which are more difficult than others. Not only should you factor in your comfort level when deciding which method to use, but also the type of pie you're making. Galettes, for example, are better suited for fold-overs, whereas rope crimps are ideal for single-crusted pies, like pumpkin or strawberry rhubarb. You can even employ an unexpected kitchen tool, like kitchen tongs or a fork, to give your crust an intricate design and take the pressure off you a little bit. All that's to say that there are a lot of different options worth considering — and it's not as daunting as you'd think.
When in doubt, wash

Crust rolled? Check. Filling added? Check. Wash?
You may not think about the role that this simple ingredient plays in the overall color and texture of the bake. But the truth is that you can see major visual differences between a pie that is washed and one that is not. The composition of your wash will affect the overall color and sheen on your bake. Basic washes, comprised of beaten eggs and milk, will give you just enough sheen and a slightly golden color. Using a yolk over a white will give you a darker yellow hue, and using only the milk will give your pie a more matte look. Once you get the hang of it, you can start playing with the different washes to pick the one that's right for your recipe and the color you're aiming for.
Keep an eye on the color of your crust as it bakes
Your work is not done until your pie is out of the oven and cooling on the countertop (and even then, there's more — as you have to figure out how to cut the perfect slice of pie). But for all intents and purposes, the oven is the last stop on your pie crust journey.
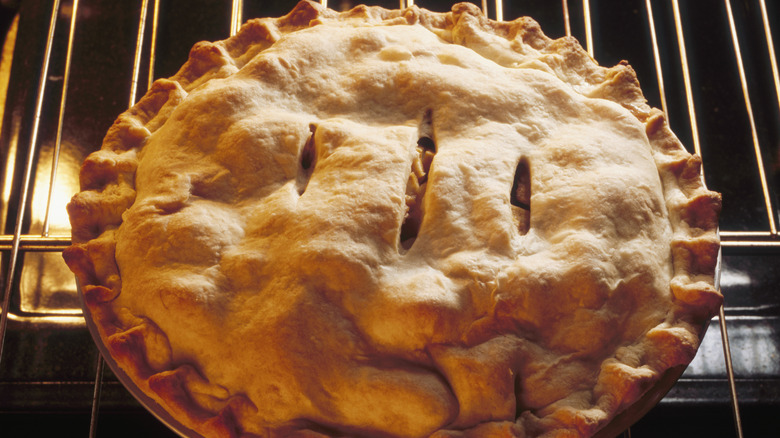
Pie crusts don't all bake the same; the oven temperatures, whether or not you par-baked it, and whether there is a top crust or not all play a major role. As such, I would recommend checking on your pie periodically to see how it's doing. If you start to notice that one side is browning more than the others, you can easily rotate it. And, if your pie still has 20 minutes left and it's already a little too dark for your liking, you can cover it with foil to allow the filling to finish but to keep the crust from browning too much.
Experiment with flavors - within reason

There is something to be said about a basic, but still well-made pie crust. Once you feel comfortable with a basic pie crust recipe, you start experimenting with different add-ins and flavorings. Not only can you play with a variety of different herbs and spices, but you can also swap out the type of flour you're using for one with a nuttier profile. However, the mantra "less is more" is certainly paramount here, as adding too many unique elements may alter the texture and flavor of your pie crust too much. A good pie crust also goes hand-in-hand with an equally tasty filling, so you want to make sure that you find flavors that complement, rather than detract, from the filling.
One common tactic that I'll employ for a blueberry or a cherry pie, for example, is to swap out some (not all) of the white all-purpose flour for whole wheat. That way, I'll get all the structural benefits of the all-purpose flour but with the rustic flavor of whole wheat.